|
|
Post by AZBlues on Jan 28, 2023 19:43:00 GMT -5
^ That looks beautiful, AZ ! Thanks Steam.
Today's job was the rear fuel line and vapor line. The new 3/8" line dropped right in with no fuss, tracing the original route. The front line will be a different story, it has to go alongside the frame rail rather than through it, and I still have to make it up. I may do that after the engine is in, so I know where it terminates at the fuel pump, clears the exhaust manifold, etc. The original clamps fit the bigger tube - just.
|
|
|
|
Post by AZBlues on Feb 4, 2023 14:59:52 GMT -5
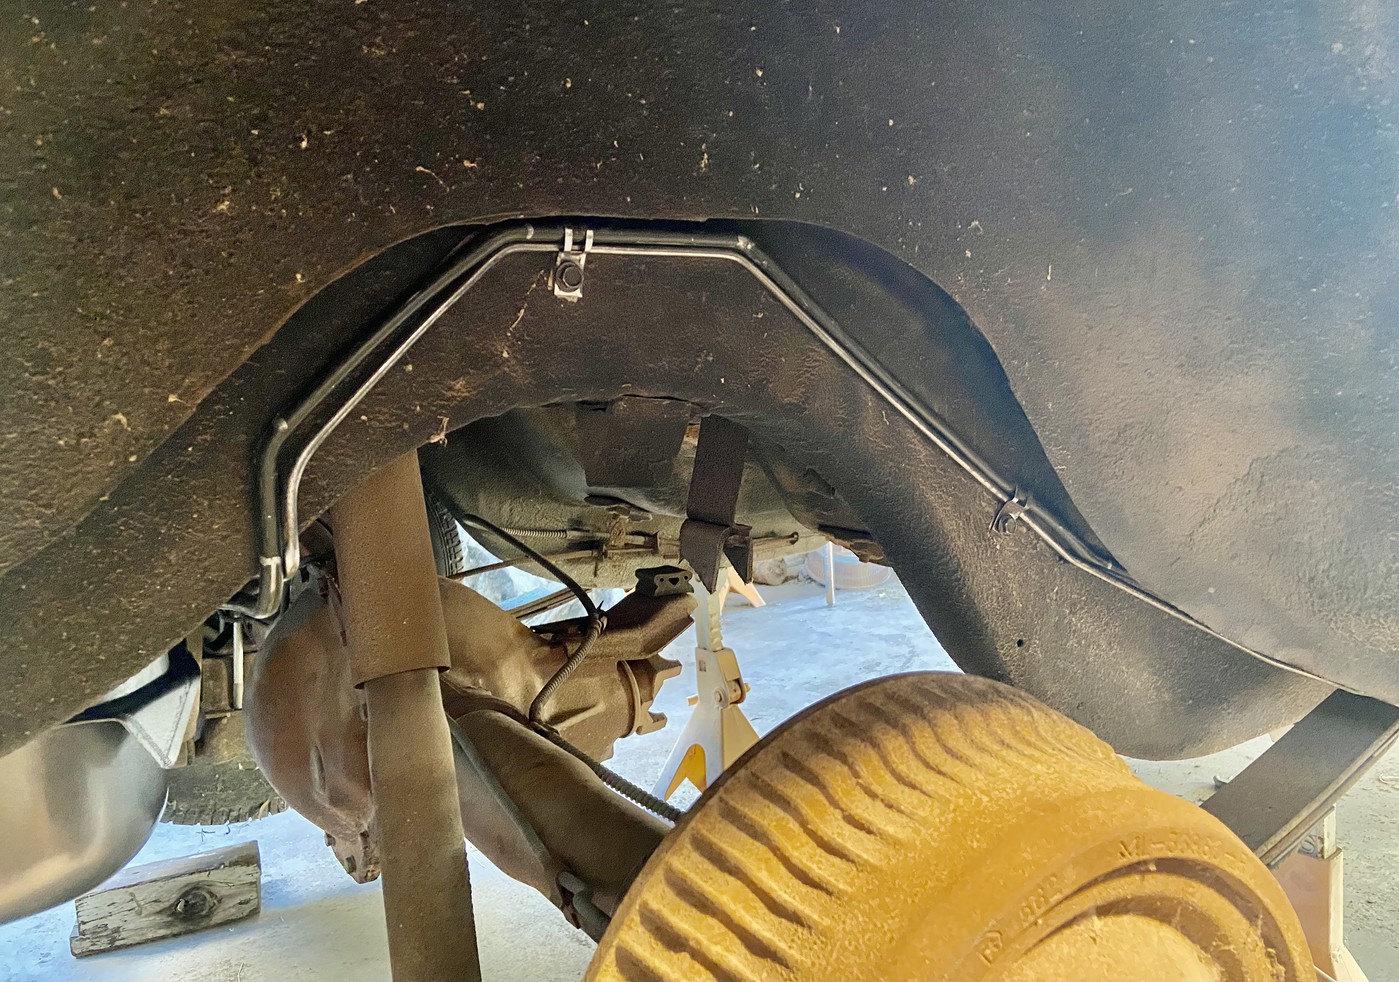
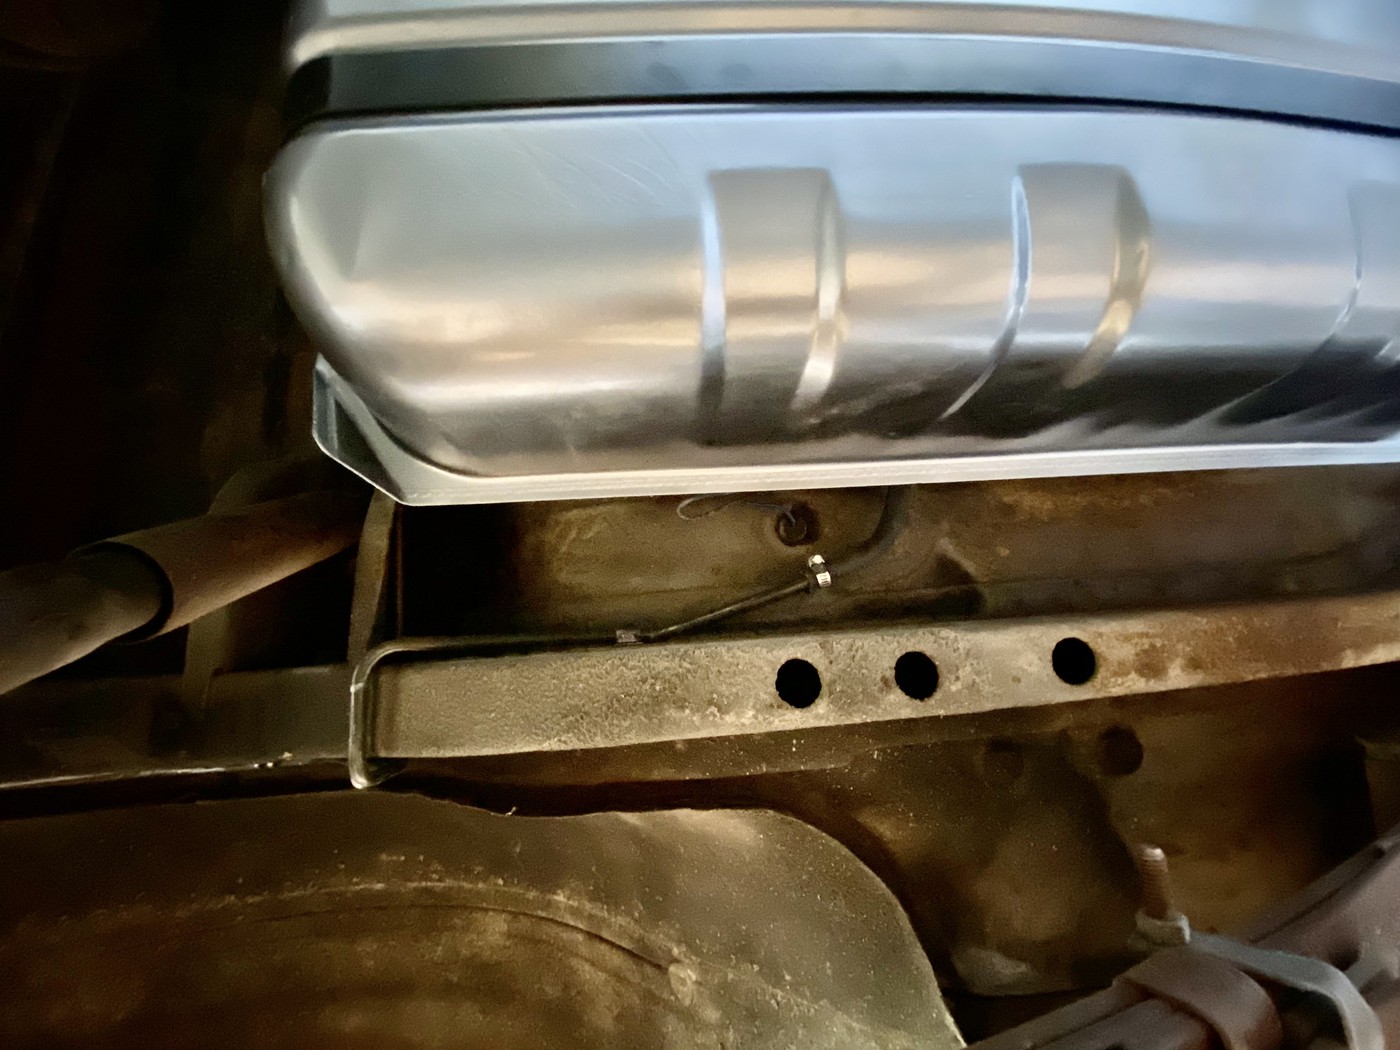
Front fuel line is made and installed. Running it along the frame rail was easy, like it was supposed to be there. I shortened the rear line and added 16 inches to the back of the front line to put the junction behind the sub rail instead of alongside it. In the engine bay, it runs in the same route as the original. New line clamped to old line as a bending guide: 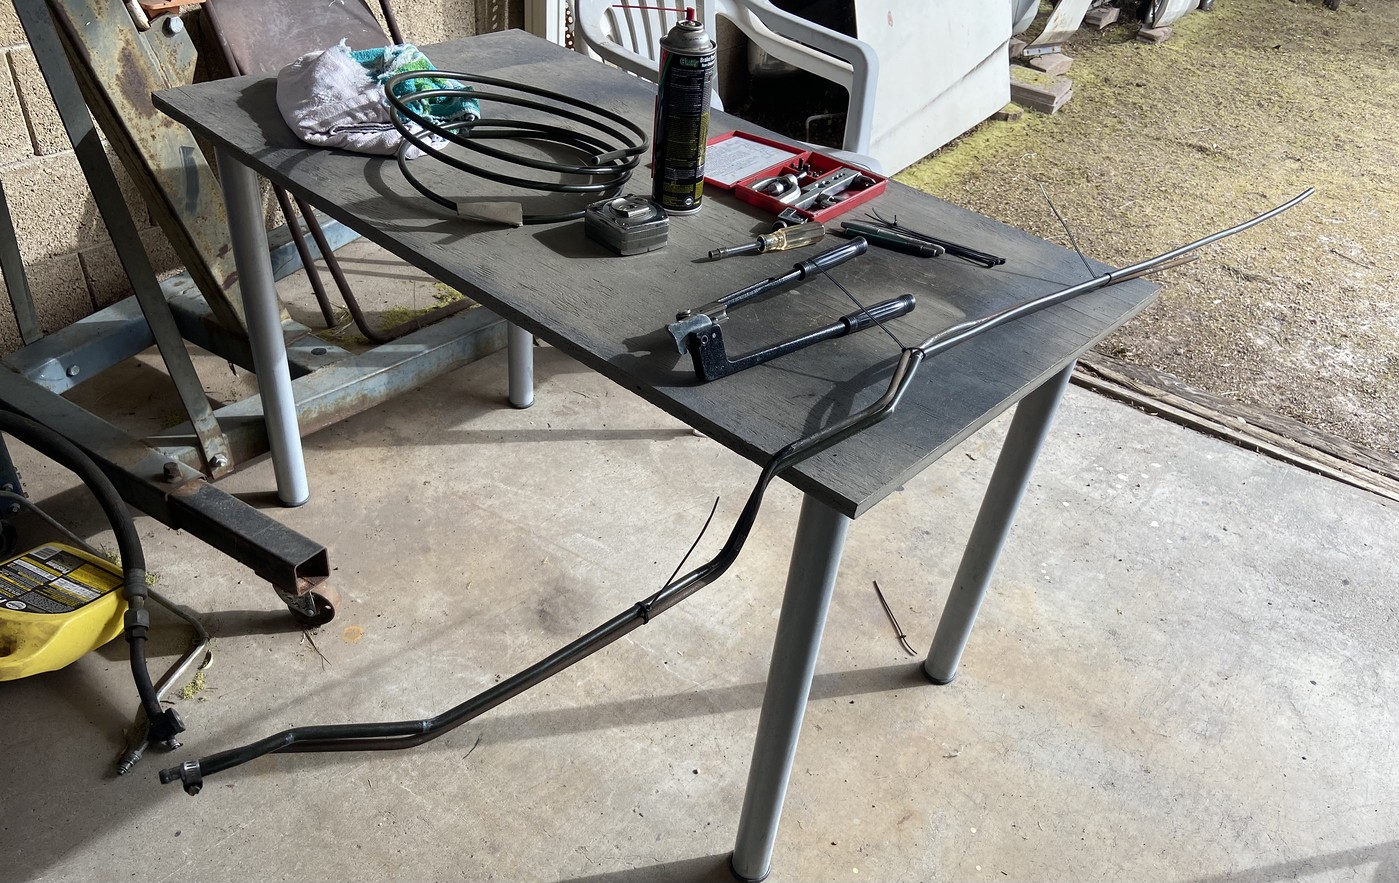 Under car junction, fuel and vapor lines: 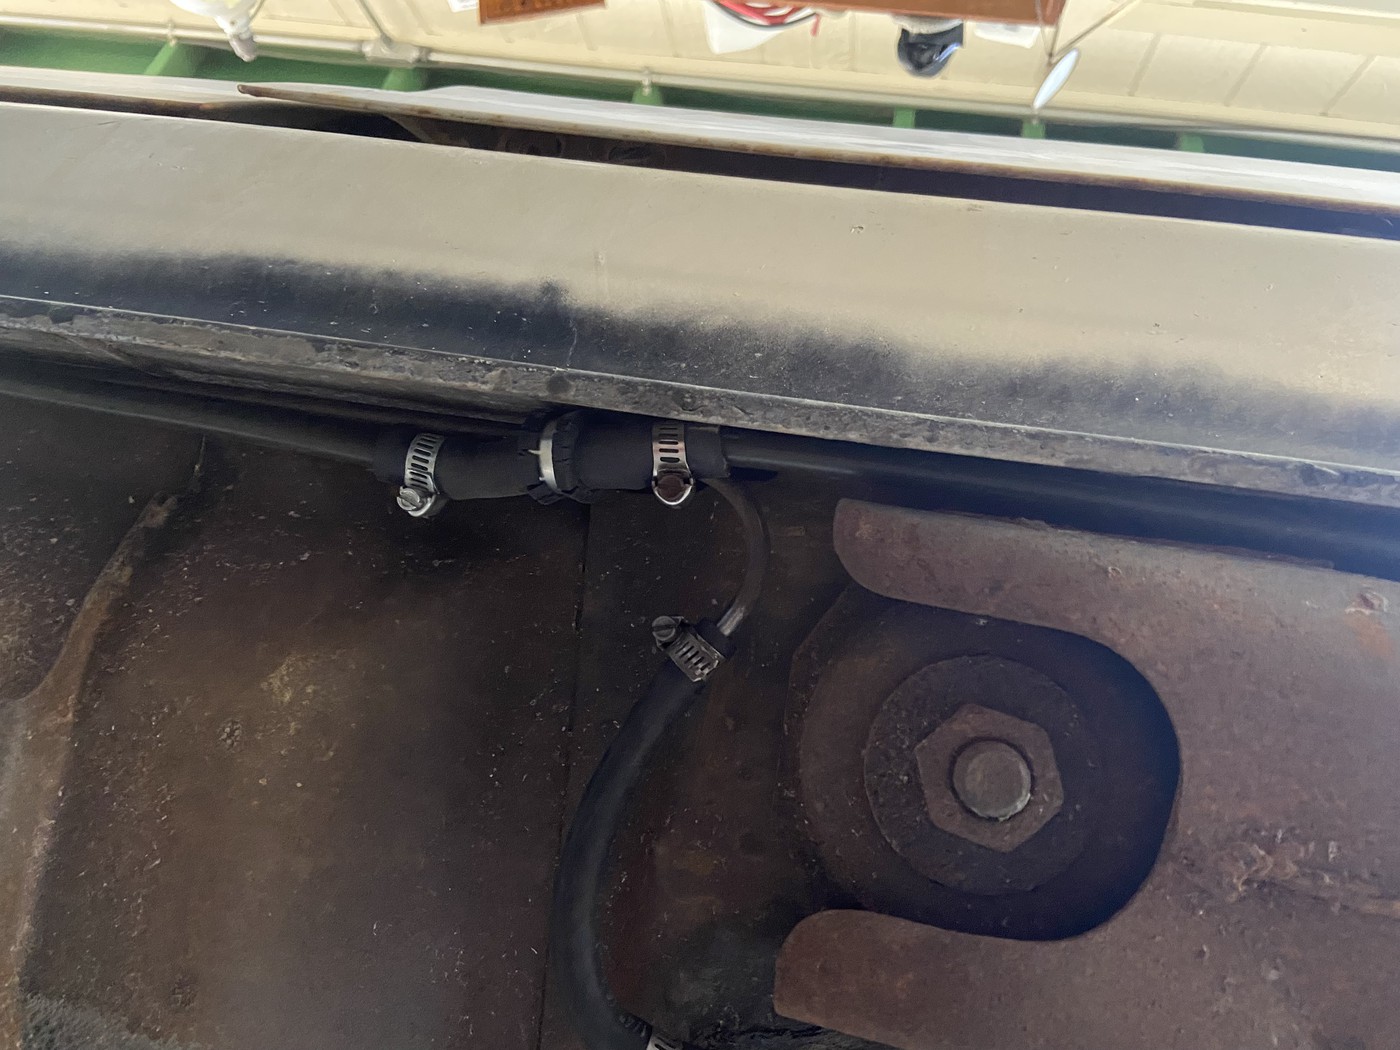 Engine compartment placement:  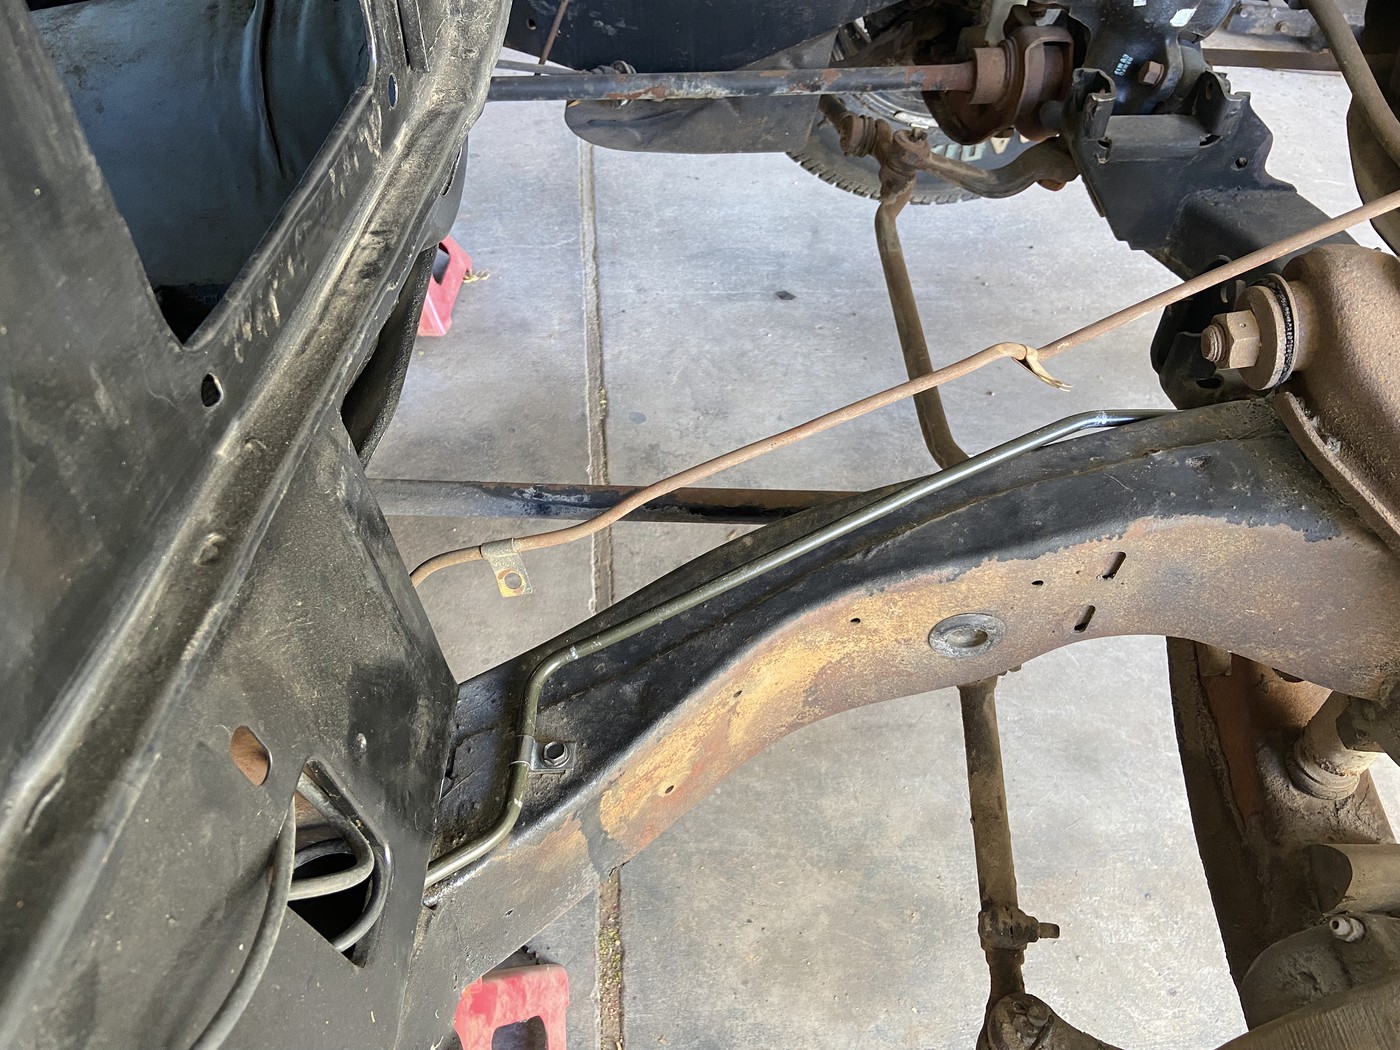 |
|
|
|
Post by AZBlues on Feb 7, 2023 21:18:16 GMT -5
Got a new heater core, always a good idea to test these before burying them in the dash. This is the method I use: 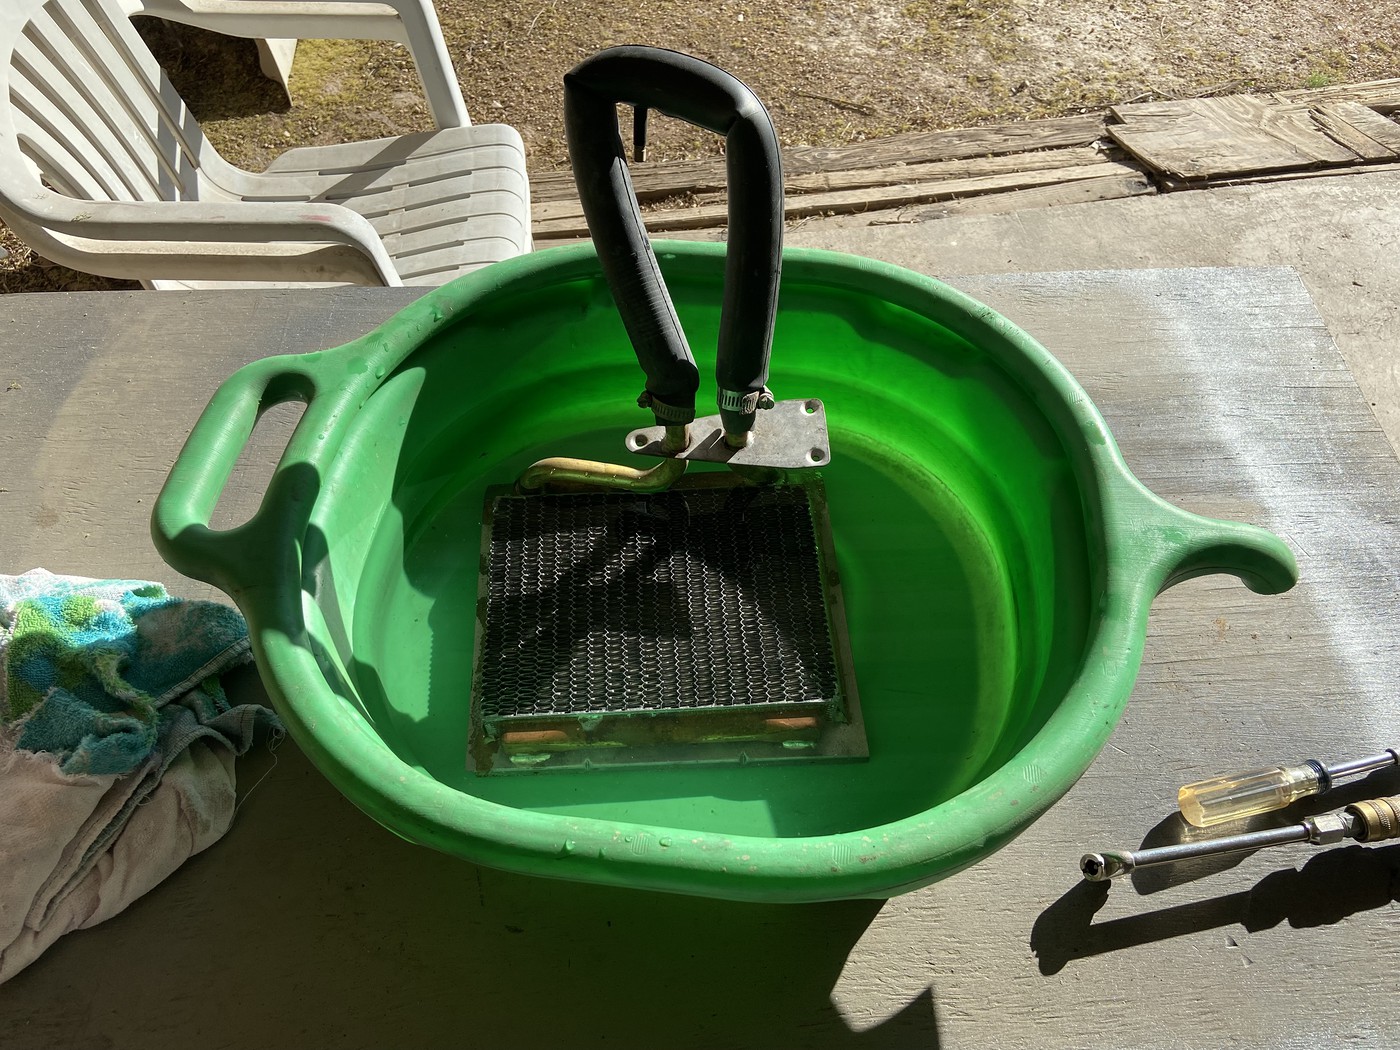 |
|
|
|
Post by AZBlues on Feb 9, 2023 20:38:00 GMT -5
Time to re-foam the suitcase. The first problem, where do you get the the necessary 1/4" open cell sheet foam? Try the hardware stores, try Ebay, try Amazon, try a few other places. And when all that fails, go to your local Joann fabric store and buy 12" of foam backed automotive headliner material. It was even on sale, under five bucks. The fabric peels off easily, leaving you with the correct foam. 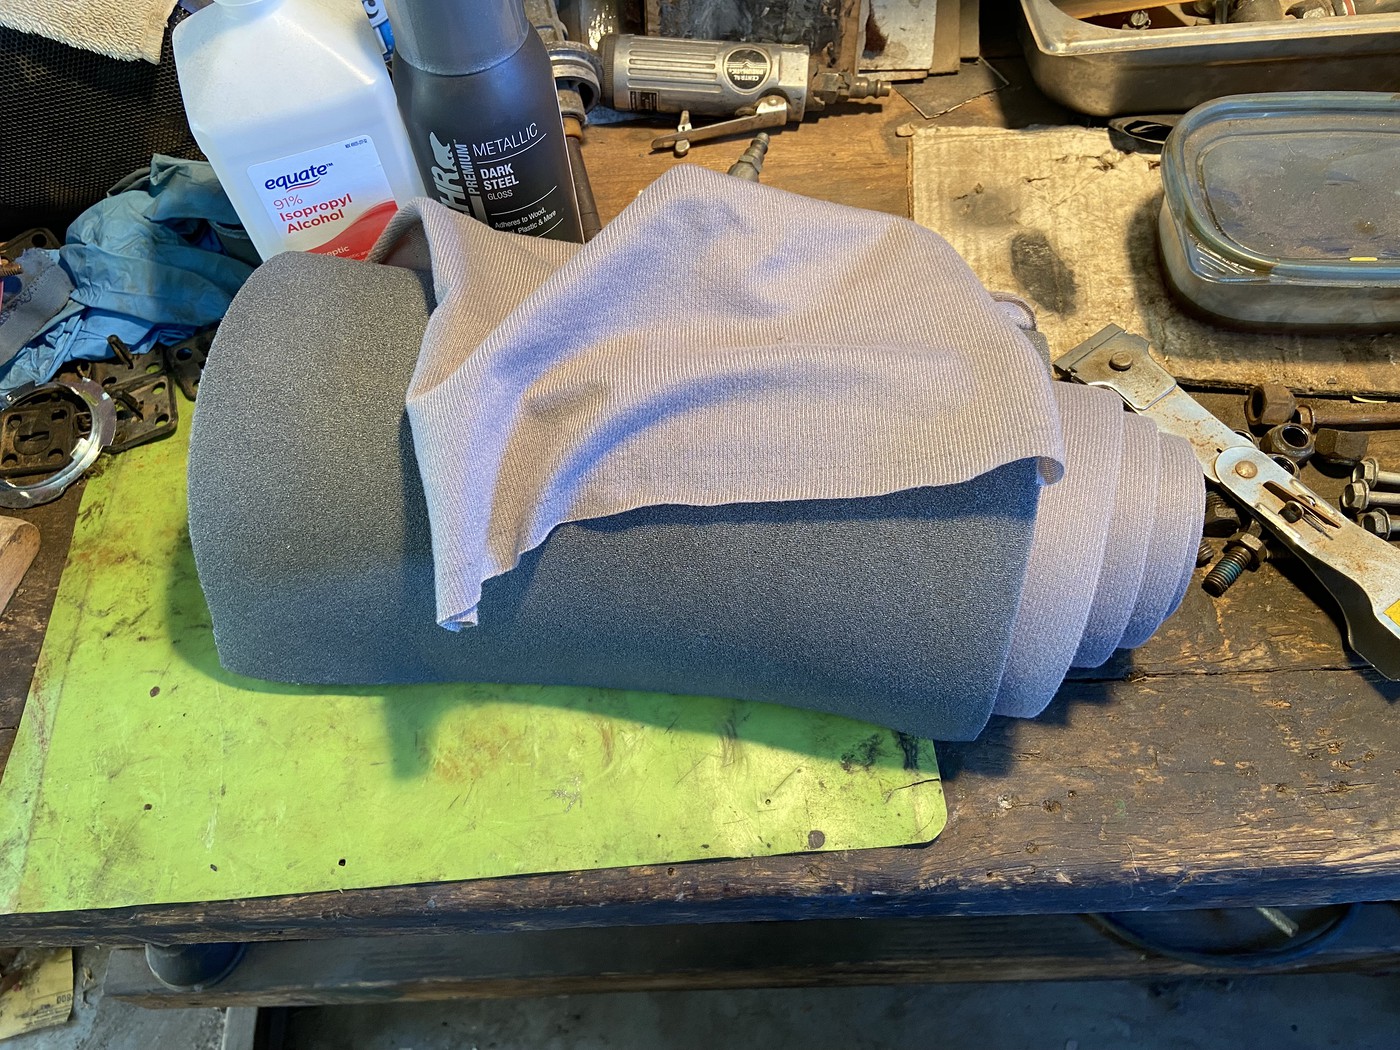 Comparison of new to old foam:  Mixer doors came first.  With one side of the old foam shaved off, note that you have a roughly 1/4" overlap margin on the edges of the door. That's important to maintain. 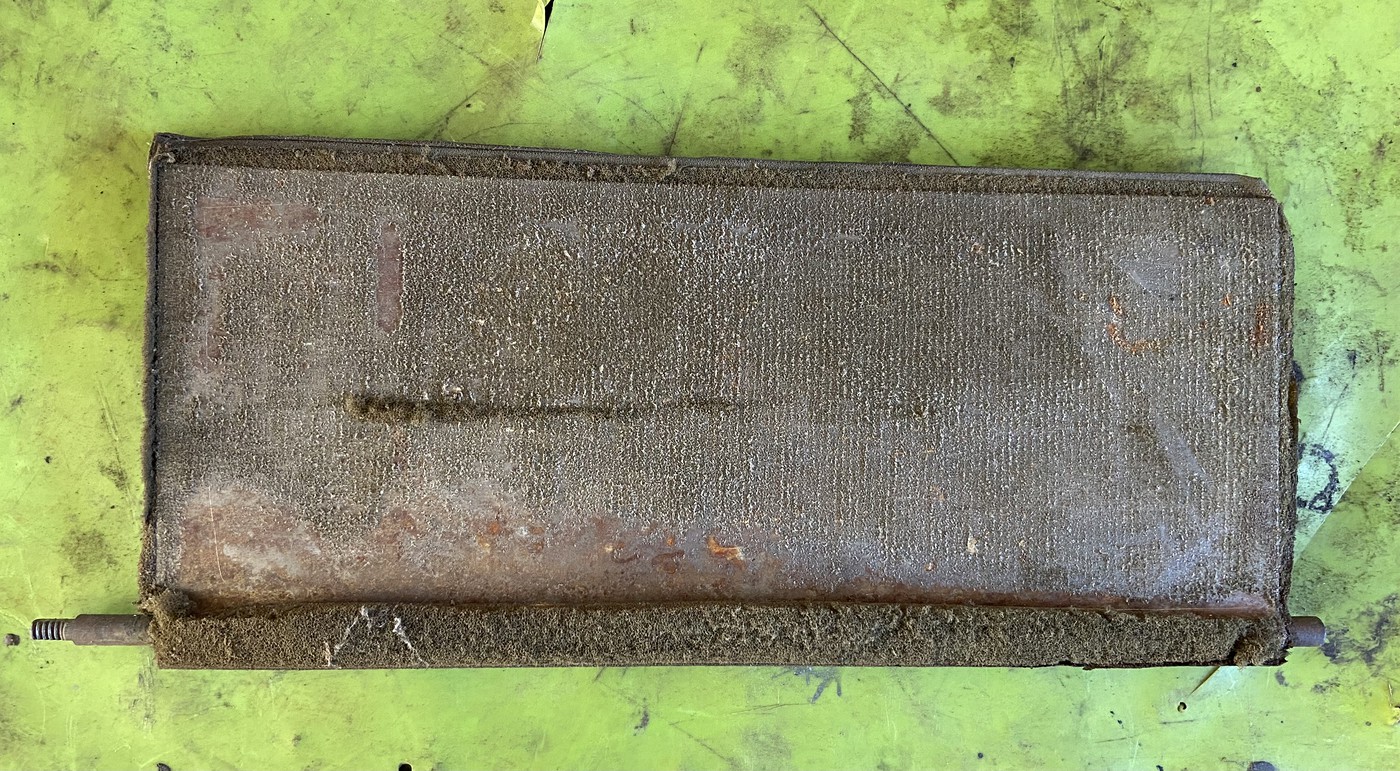 Note also that there are two sides to the foam, a smooth side and a rougher side. Apply the glue to the smooth side for the best bond. I am using 3M 77 spray adhesive. 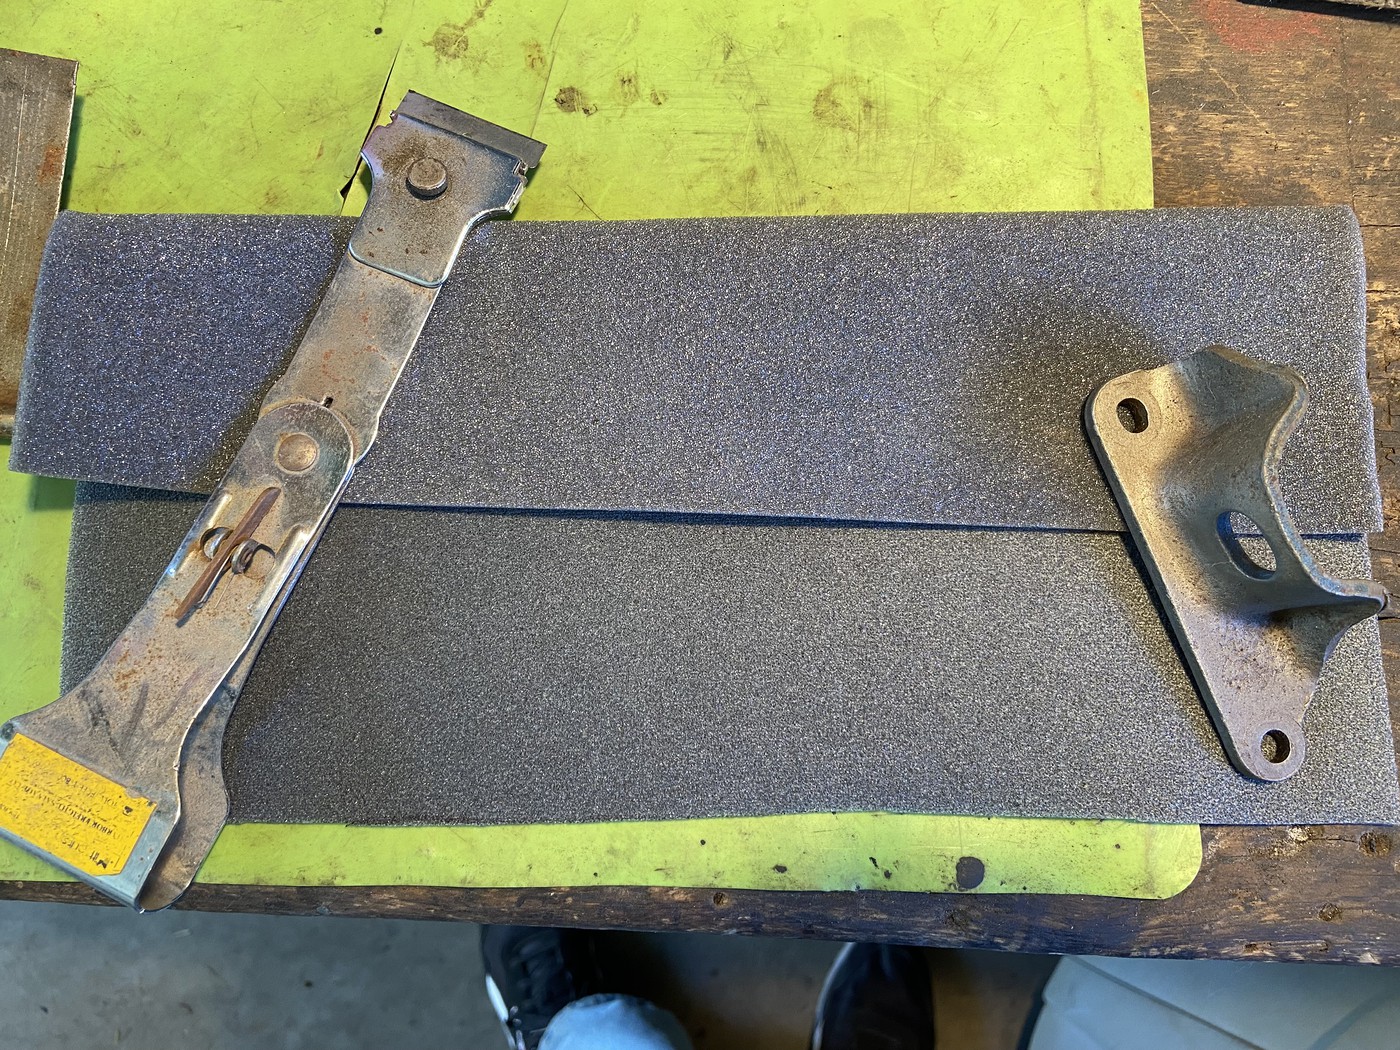 After cleaning the doors with a wire wheel, I laid them on a piece of foam with the 1/4" border. A steel straight edge and an exacto knife works best to cut them straight. This is a single piece of foam, wrapped around the hinge side of the door. 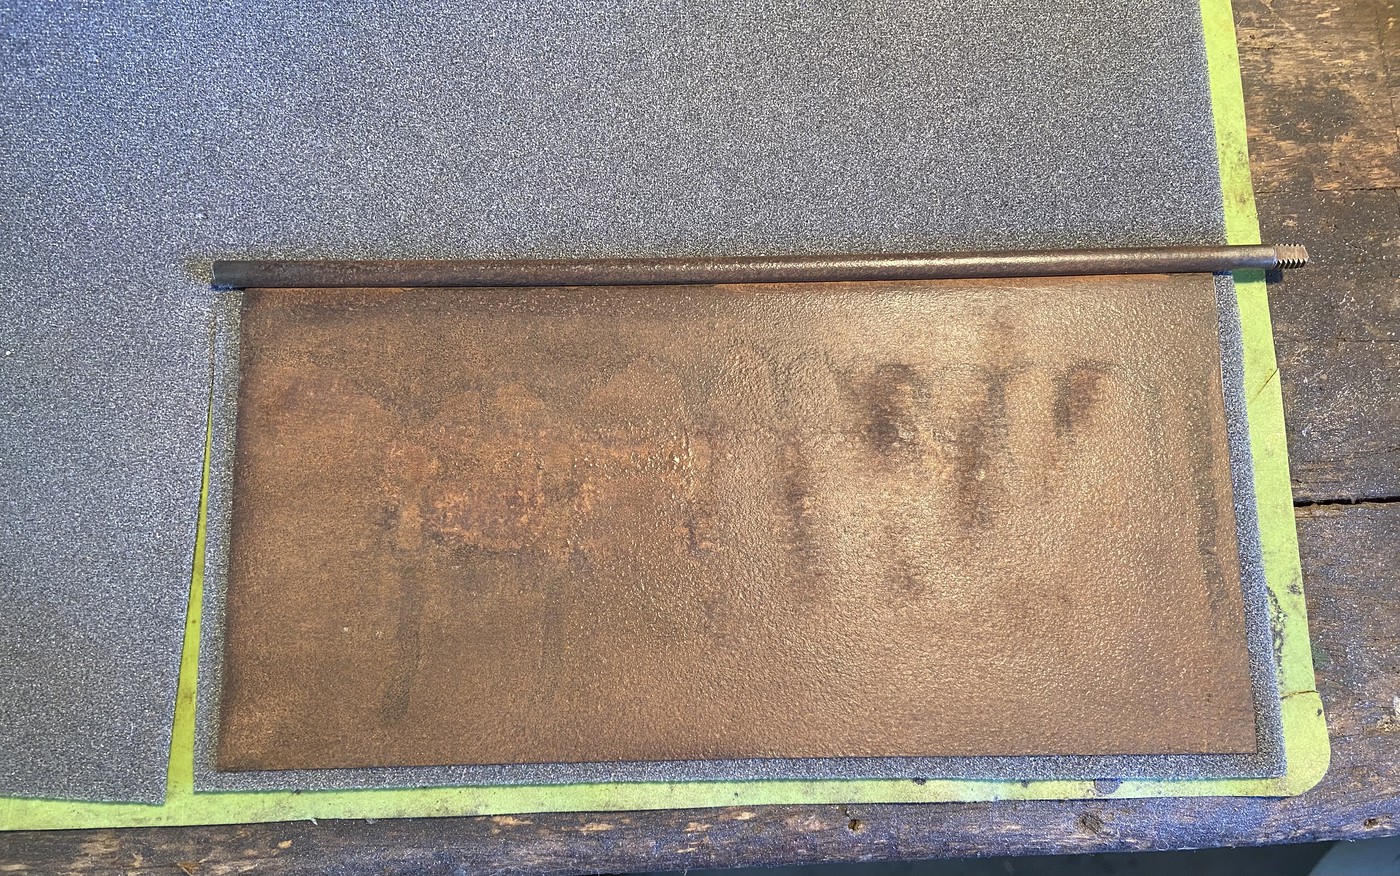 Both doors done and glued: 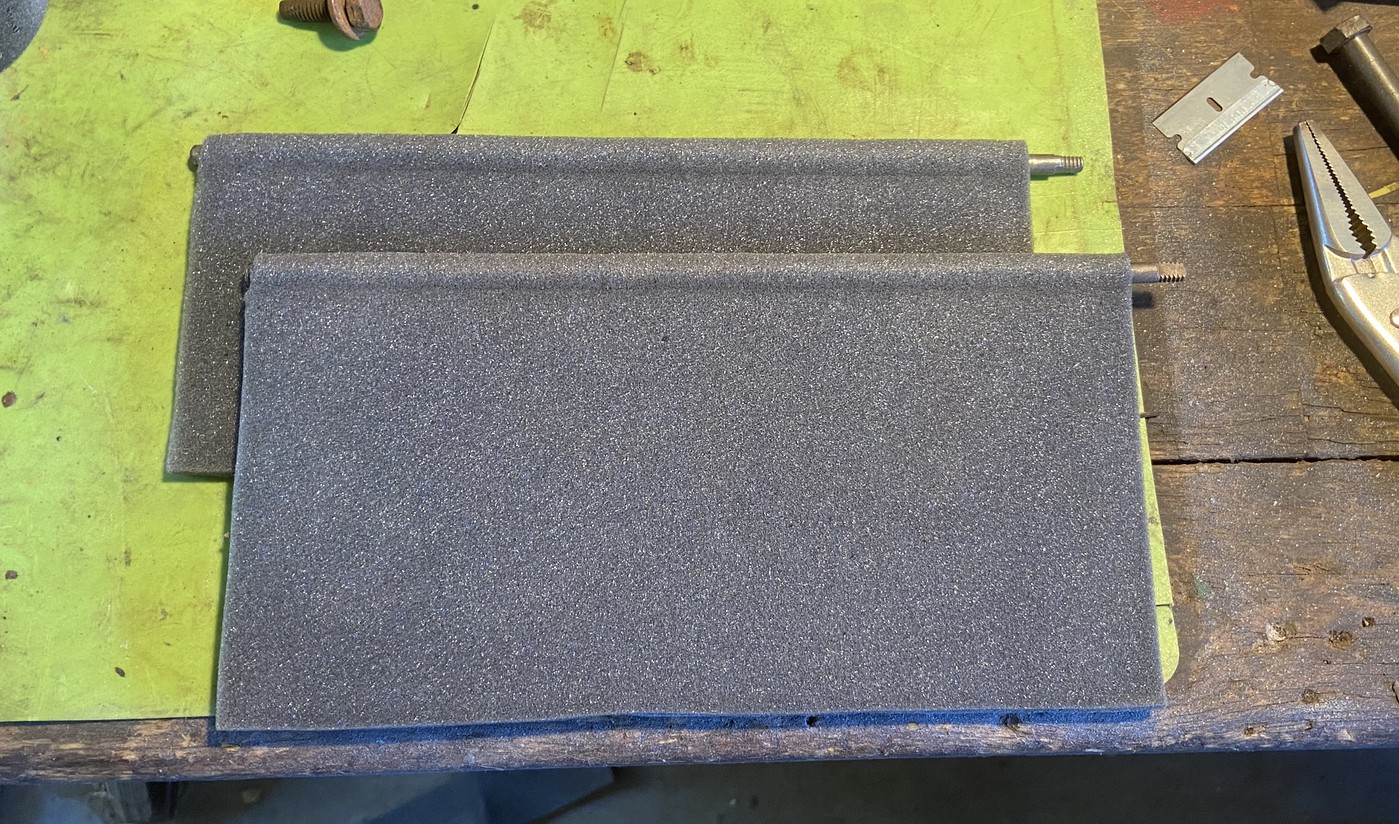 |
|
|
|
Post by AZBlues on Feb 12, 2023 20:59:46 GMT -5
Attention future restorers: Past Mike here. You're not gonna like this part. I removed the old foam from the cover plate, easy does it with a razor blade cutting it off a little at a time. Then I had to remove the glue that held it on by repeatedly soaking it with WD-40 and scraping it off with a fresh razor blade in a scraper handle. It was a sticky mess, set aside at least two hours for this job. You don't really need to take it all off, but my OCD kicked in and I did. Cleaned the cover top and bottom with Gunk degreaser and a parts cleaning brush, then cleaned the bottom with a cloth and alcohol so the new glue would have a fighting chance. 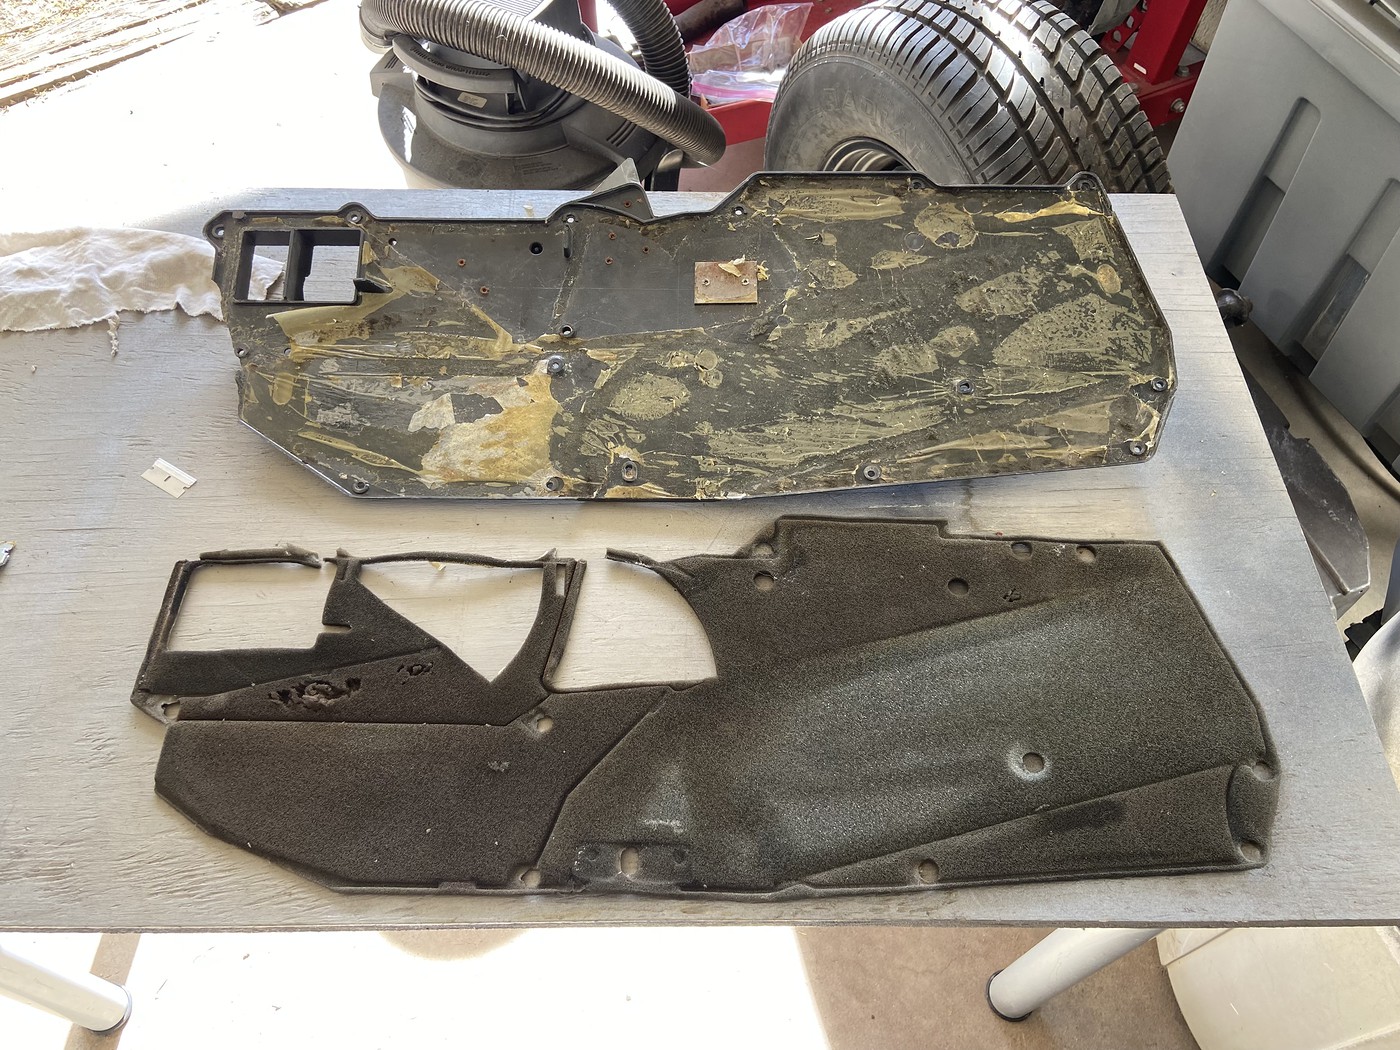 All cleaned up:  Top side looking respectable: 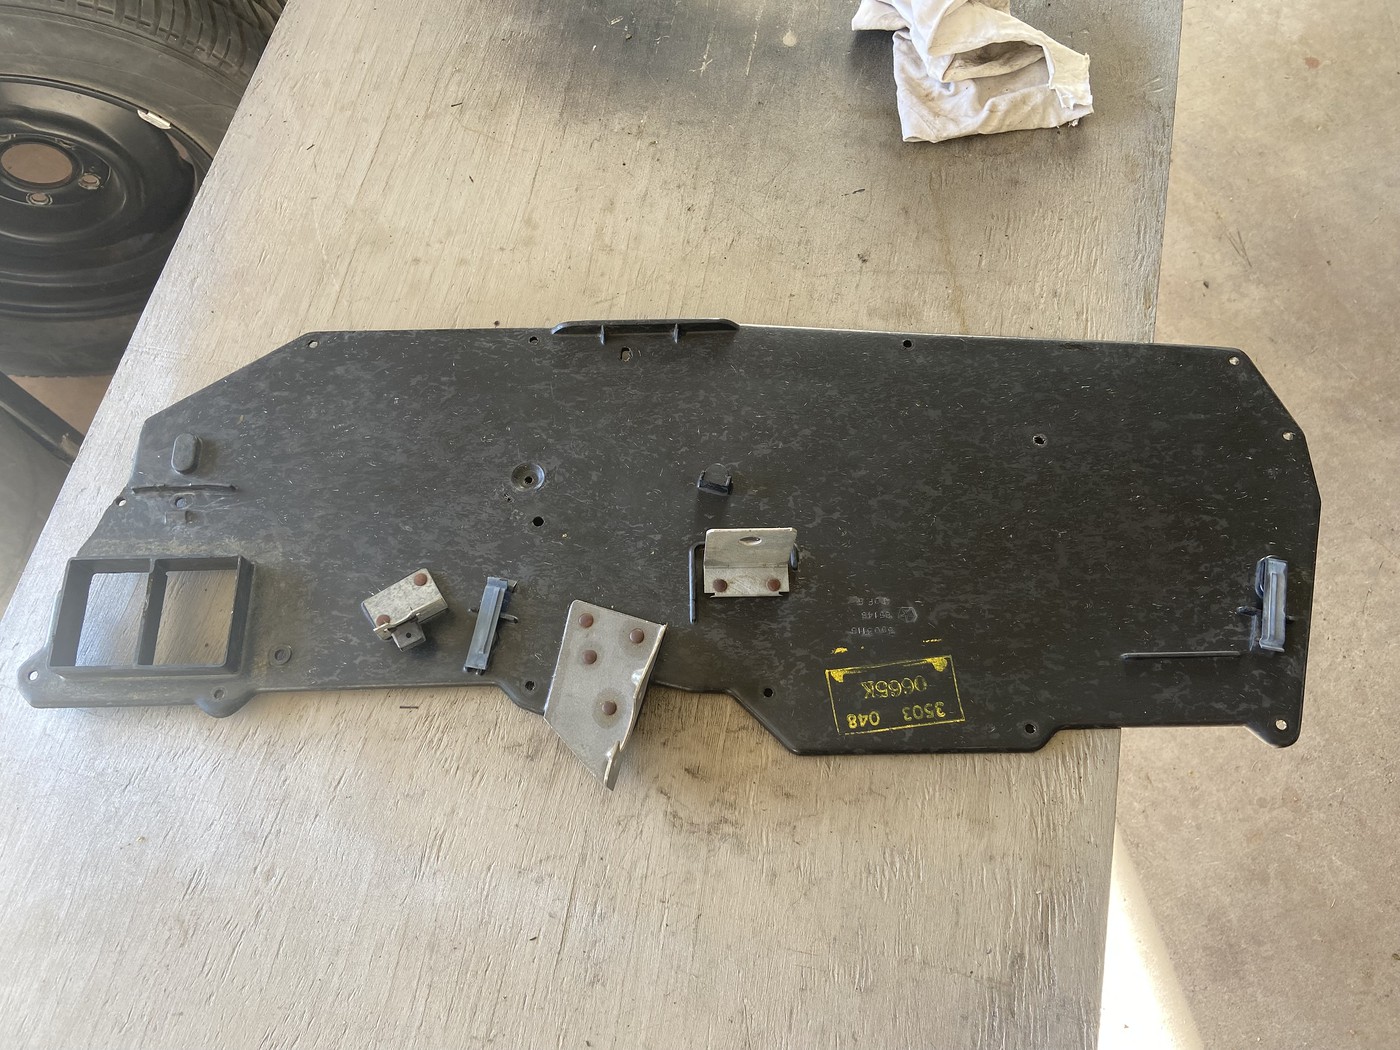 New foam glued in place:  I masked off the two triangular door swing areas before spraying the glue to keep it away from the door edges. Next step is to get it all together and back in the car. |
|
|
|
Post by tk826 on Feb 18, 2023 17:53:24 GMT -5
This is some great work.
I'm sure the payoff will be very worth the effort.
What is your opinion on the 3M Super 77?
I am considering it for a different project involving some much thicker foam.
|
|
|
|
Post by AZBlues on Feb 19, 2023 18:47:05 GMT -5
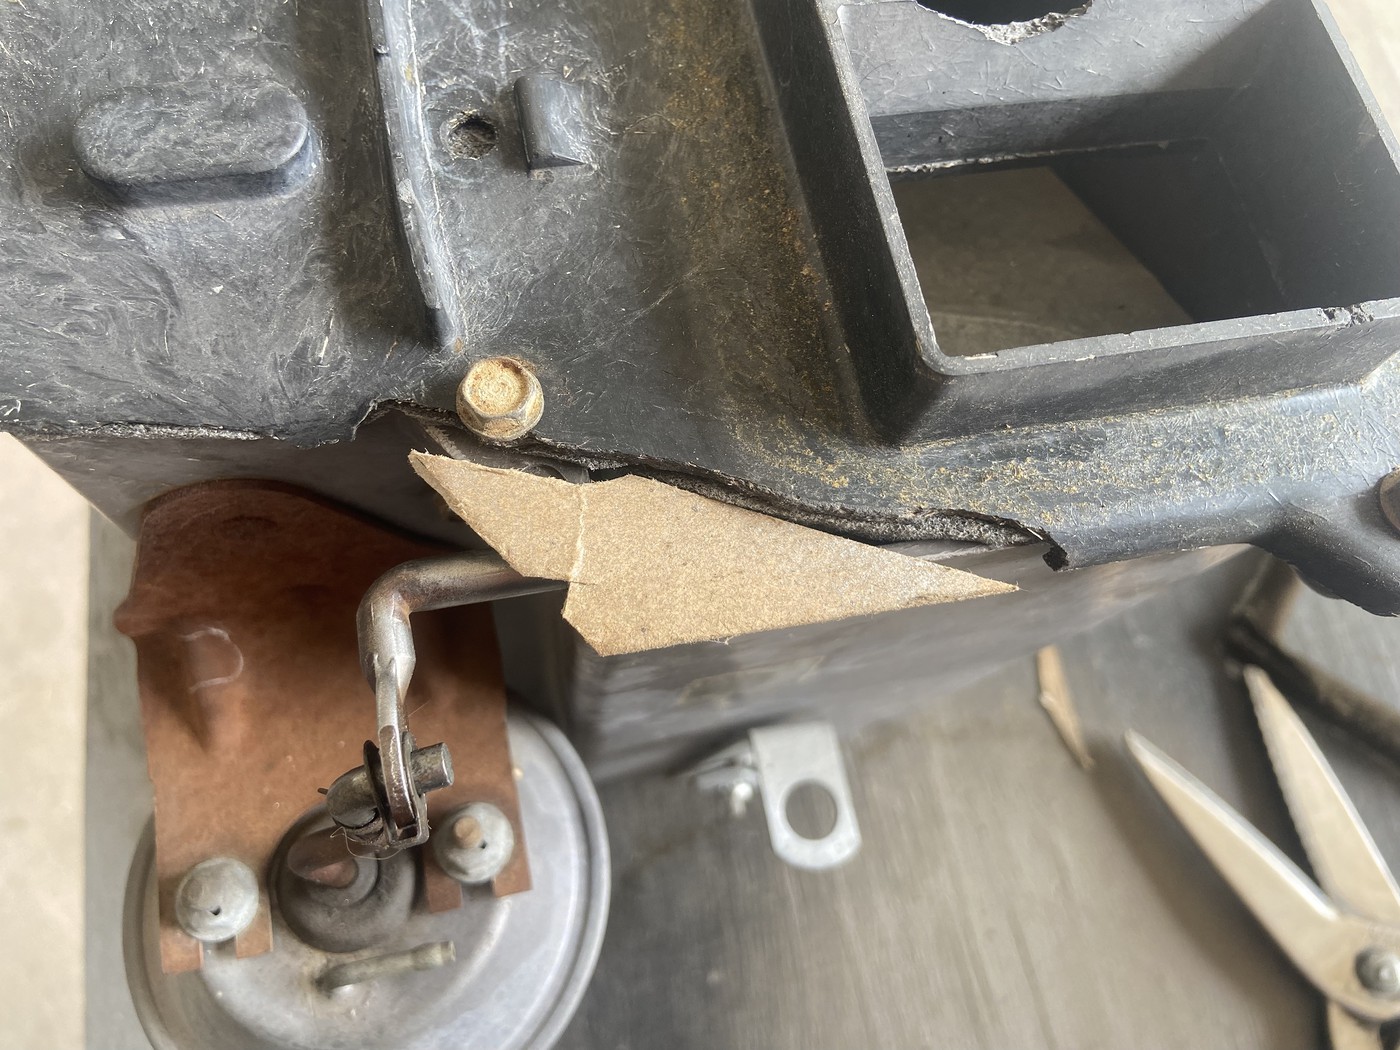
This is some great work. I'm sure the payoff will be very worth the effort. What is your opinion on the 3M Super 77? I am considering it for a different project involving some much thicker foam. It's OK, but I like the 3M 80 better. I think it was called 8080 in the old days, but I can't find any info on that. It was stringier, and seemed to grab and hold better. For best results on the 77, spray both surfaces with a modest coat, wait until tacked up, spray the hard surface with a light coat, then press the two together. Without that third coat, the edges can unravel. With the evap and heater core back in the suitcase, it was time to button it up. Predictably, the new heater core was not a perfect fit, but some closed cell foam strip and longer screws on one side sealed it up. I did not want to chance bending the tubes so it would line up. 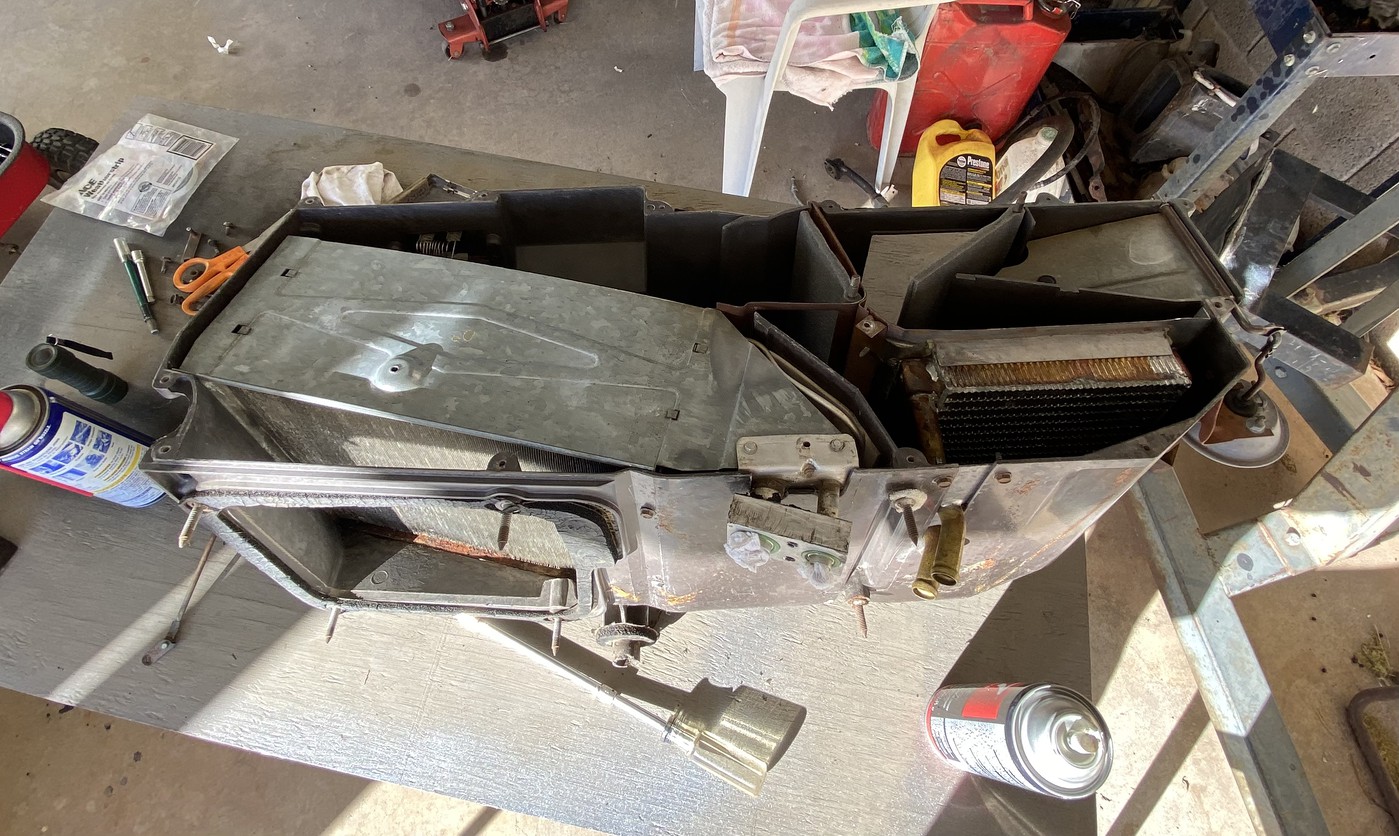 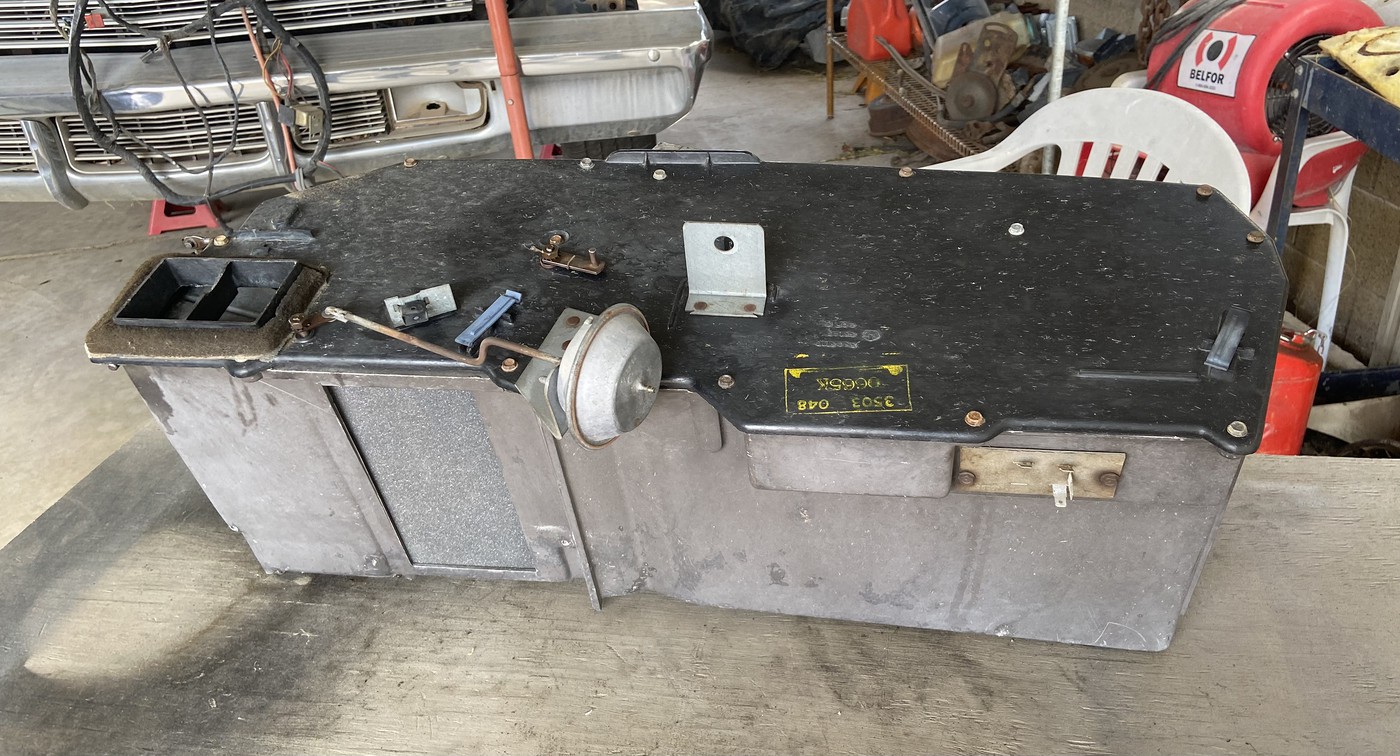 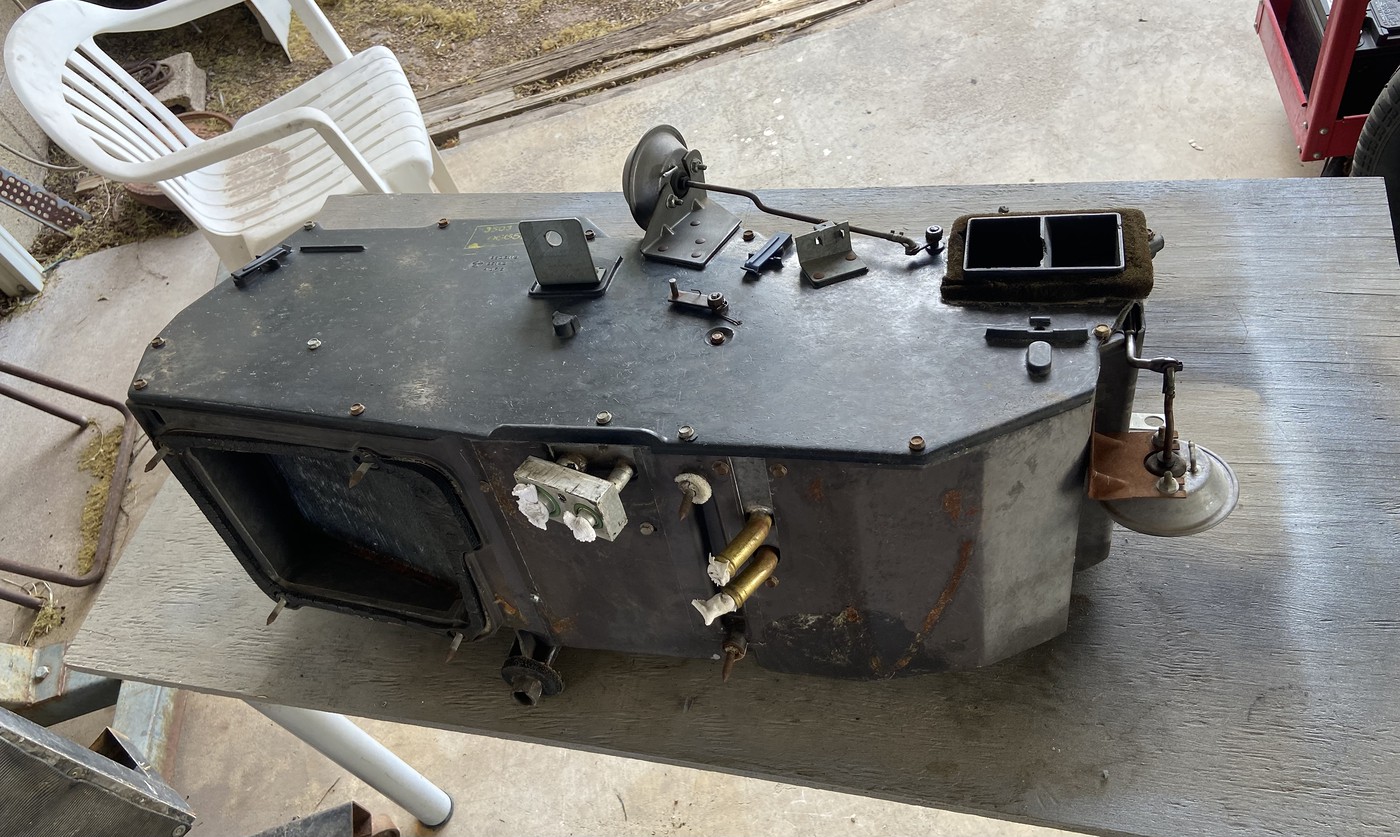 The doors all work smoothly. Just one problem, a piece was broken off by the fresh air door hinge, which likely snapped off because of the hinge pressing against it. If I ever had the piece, I don't now, but that's just as well because... 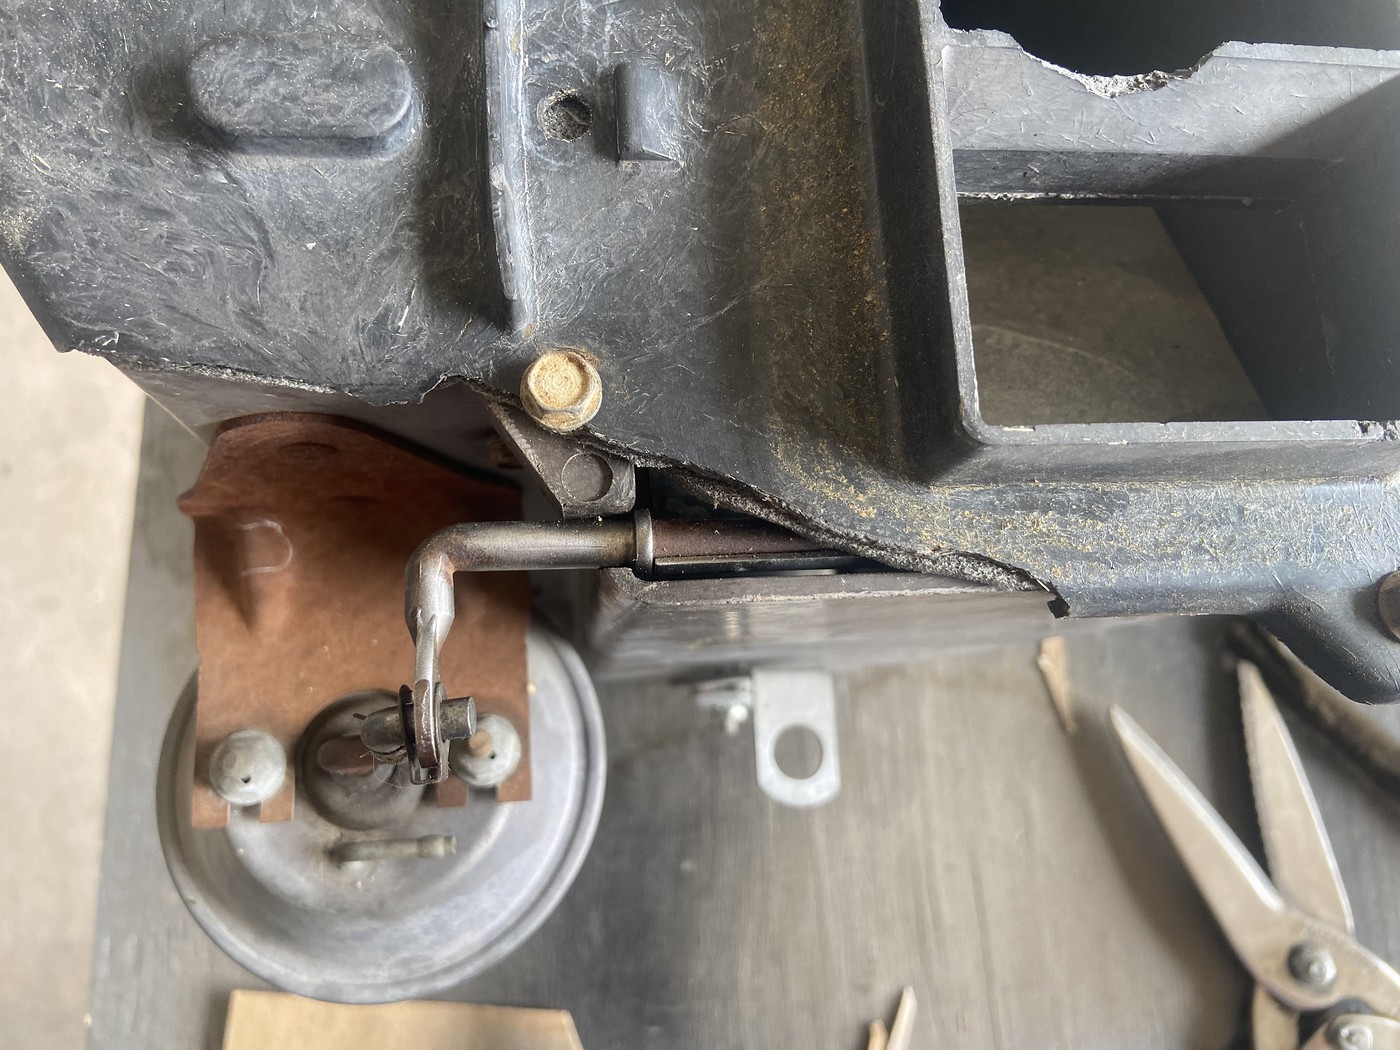 ...I get to make a new one out of sheet metal. I did it in CAD (cardboard aided design) and cut the new piece from an old scrap.
I shaped the new piece so that it had a ledge that went under the lid to hold it down, then bent that ledge up so it made contact with the underside of the fiberglass. I tapped the area above the hinge down with a body hammer so it was in contact with the hinge, eliminating slop. Then I drilled the piece and the case for a sheet metal screw. Very smooth action now, and it should last.
After I round up some closed cell foam weatherstrip, I'll bolt it in.
|
|
|
|
Post by AZBlues on Feb 28, 2023 16:28:53 GMT -5
Added the original insulation to the suitcase.  Cleaned up and lubed the right side fresh/recirc plenum and installed it. It must be installed first. Then it was followed by the suitcase. 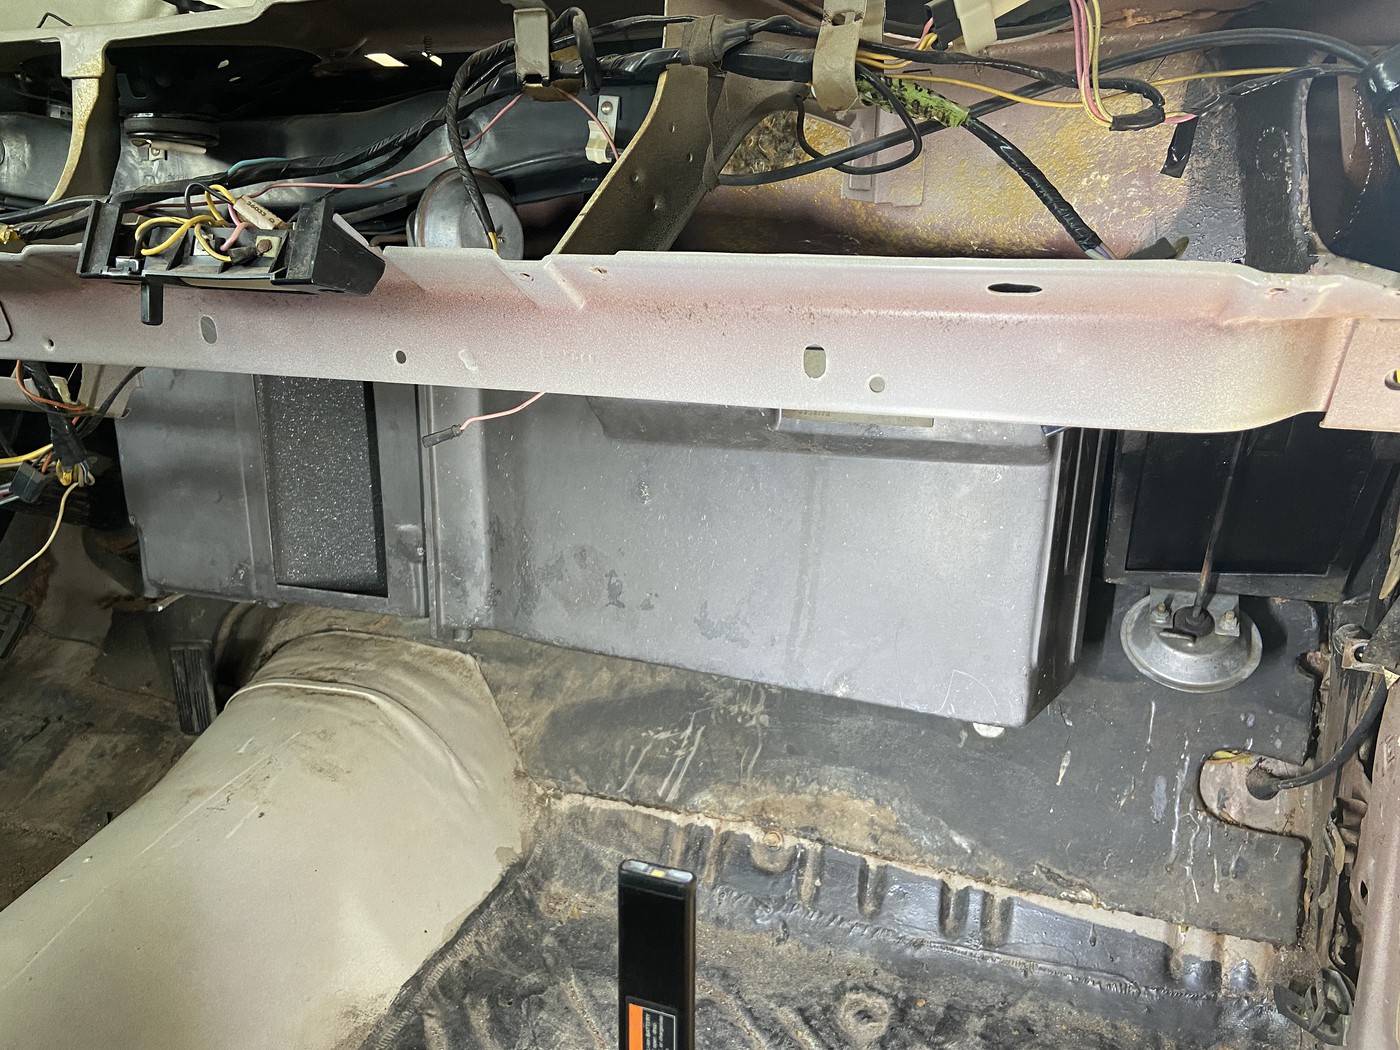 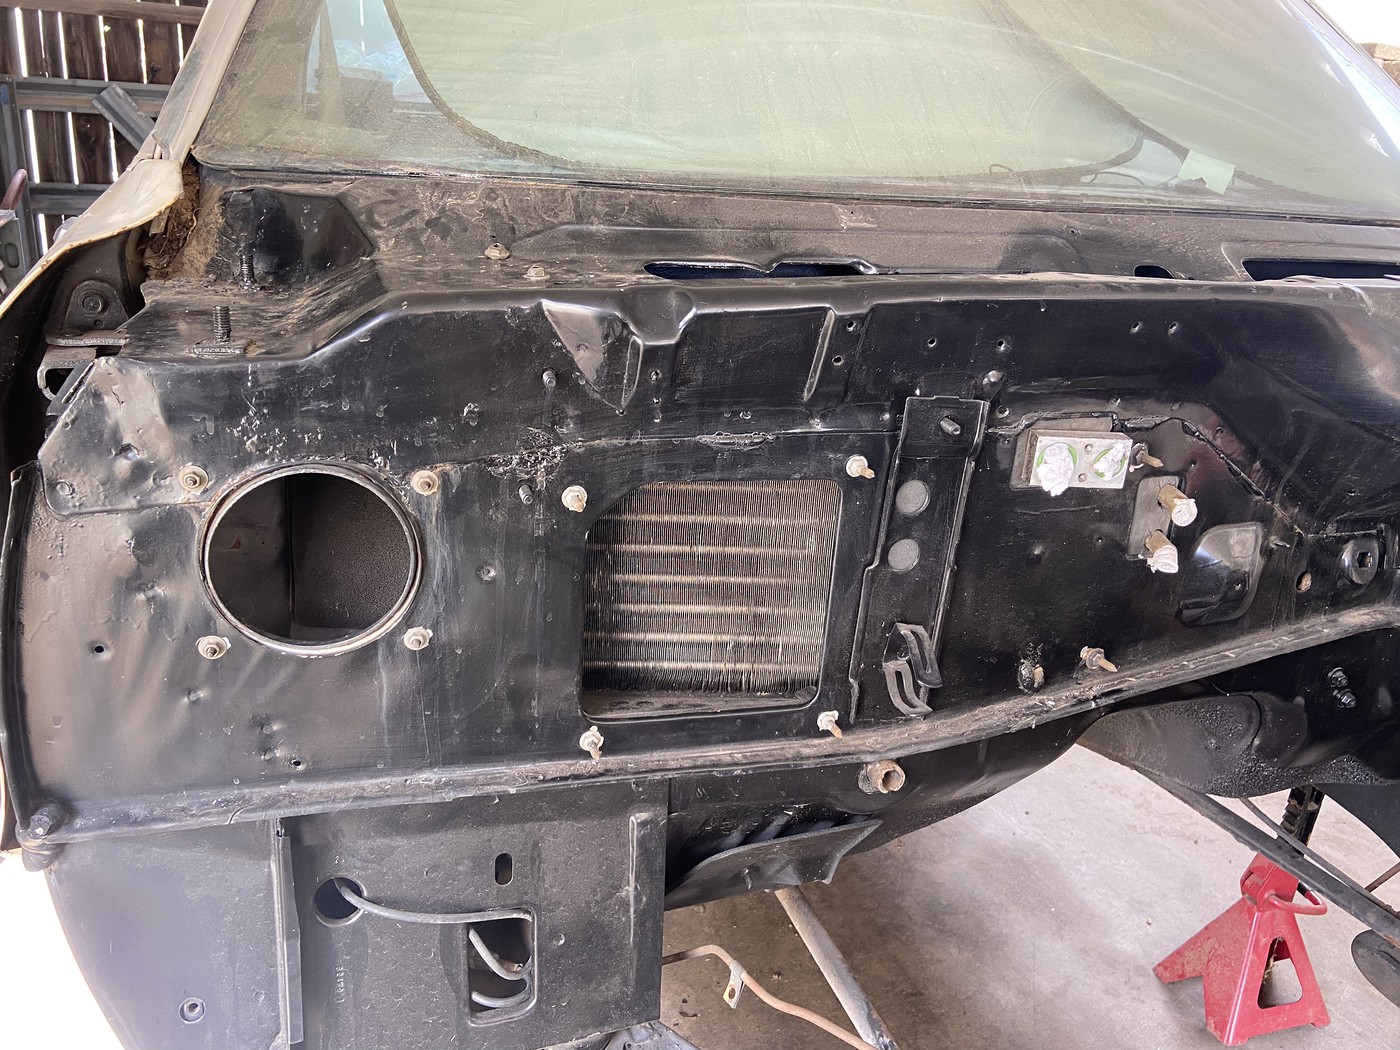 Nice to get a big chunk of the blues back in place. Next is the blower motor plenum, but first, I have to get a new blower motor. Anyone have a preference on those? Mine works, but they are a pain to get to once everything is all buttoned up, so I want a new one. A reliable new one. |
|
|
|
Post by AZBlues on Mar 5, 2023 16:25:56 GMT -5
The restored blower motor case is in place. 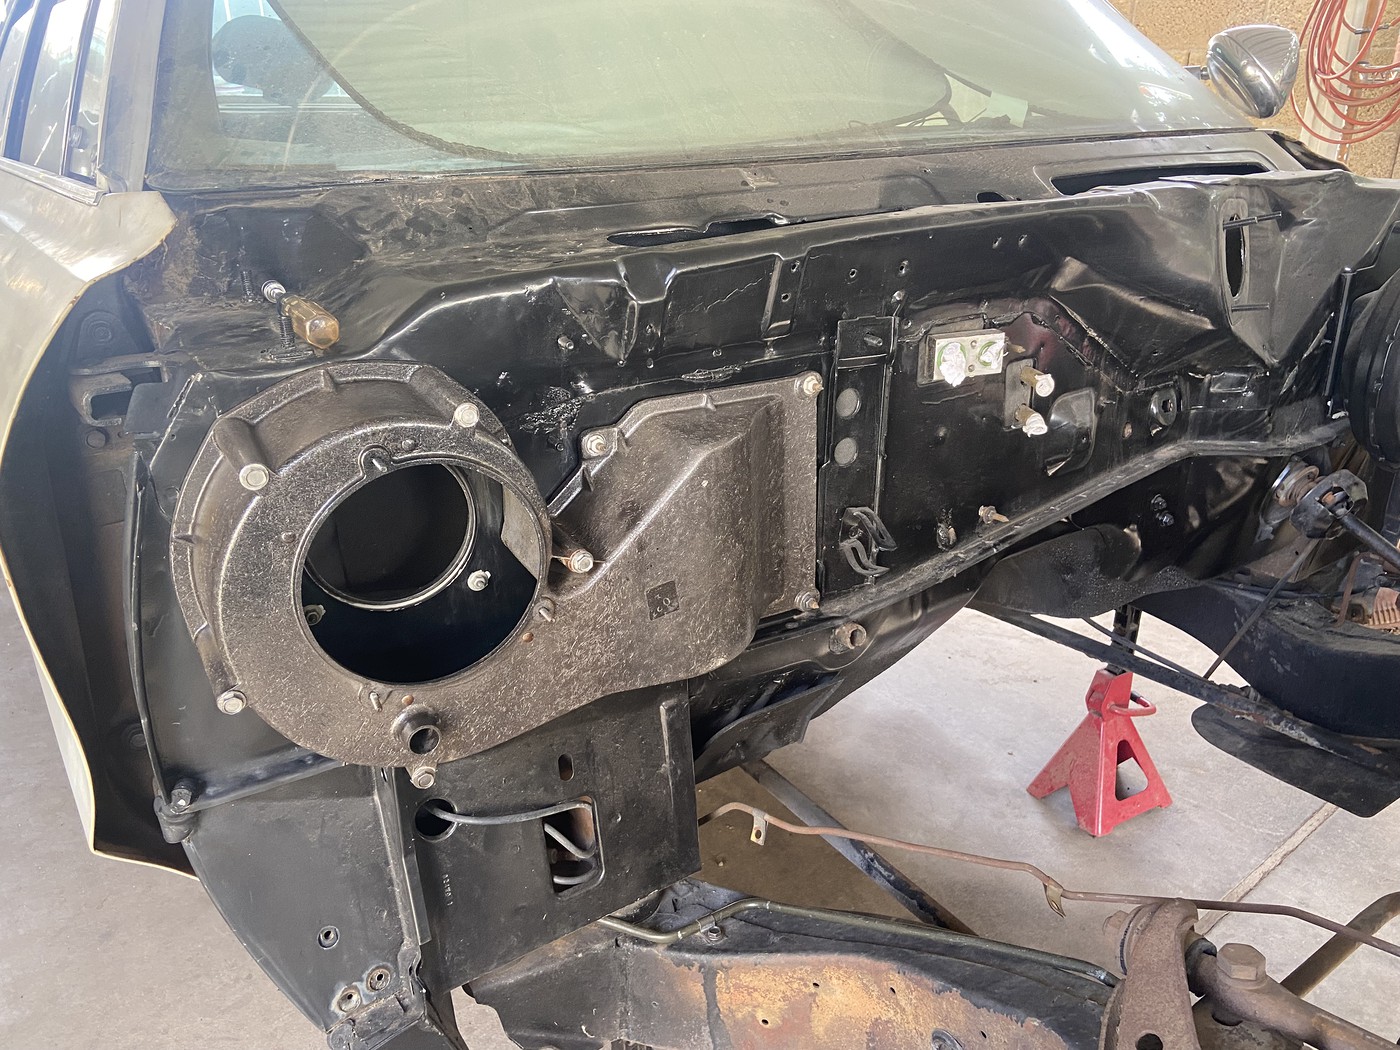 I spotted a new blower motor on Ebay, made in Canada (beauty) for only 25 bucks. But no pictures showing the hole in the side of the motor for the cooling duct, so I asked the seller if it had one, and he responded with two more pictures showing that it did. Very nice. The next day, I pulled the motor, cleaned it, lubed the armature, and tested it. Works fine, no problems at all. New or old? Decisions... Then the seller PM'd me an offer of $22 for the new motor. Well, that was easy. So now it's on the way, and time to address the front suspension and brakes. Ordered a set of upper A frame inner bushings, and while that stuff comes in I will start chipping all the crud off of the suspension to get it apart. |
|
|
|
Post by 77granfury on Mar 6, 2023 7:53:17 GMT -5
I'm loving your build. The attention to detail and workmanship I see here makes me think that your Monaco will be nicer than any C-body when they left the factory. Can't wait to see it all come together!
|
|
|
|
Post by AZBlues on Mar 6, 2023 11:36:09 GMT -5
Thanks! I'm not planning to detail the chassis aside from a good cleaning, but the whole thing has been (predictably) a series of slippery slopes from a simple engine/trans/rear swap to all of this. No regrets, it seems all of my car projects go down this road; so I can't say how far I'll go - other than further.
|
|
|
|
Post by AZBlues on Mar 8, 2023 20:58:01 GMT -5
Comparison of new blower motor and old. I also tested the new motor, it's much smoother and quieter than the old one, glad I replaced it. 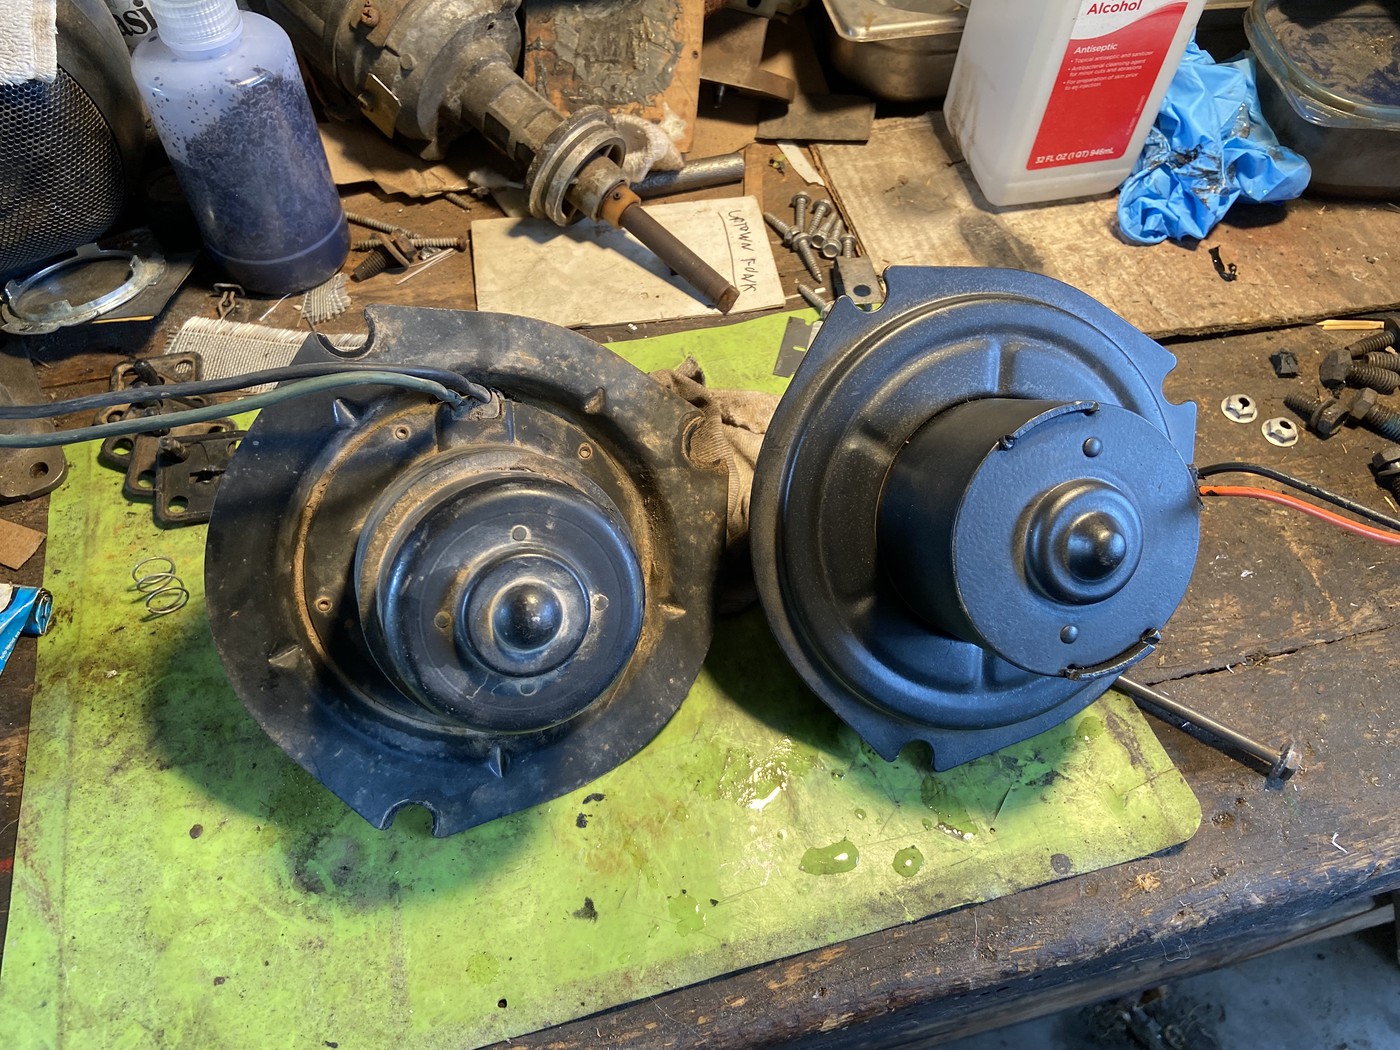 Installed. 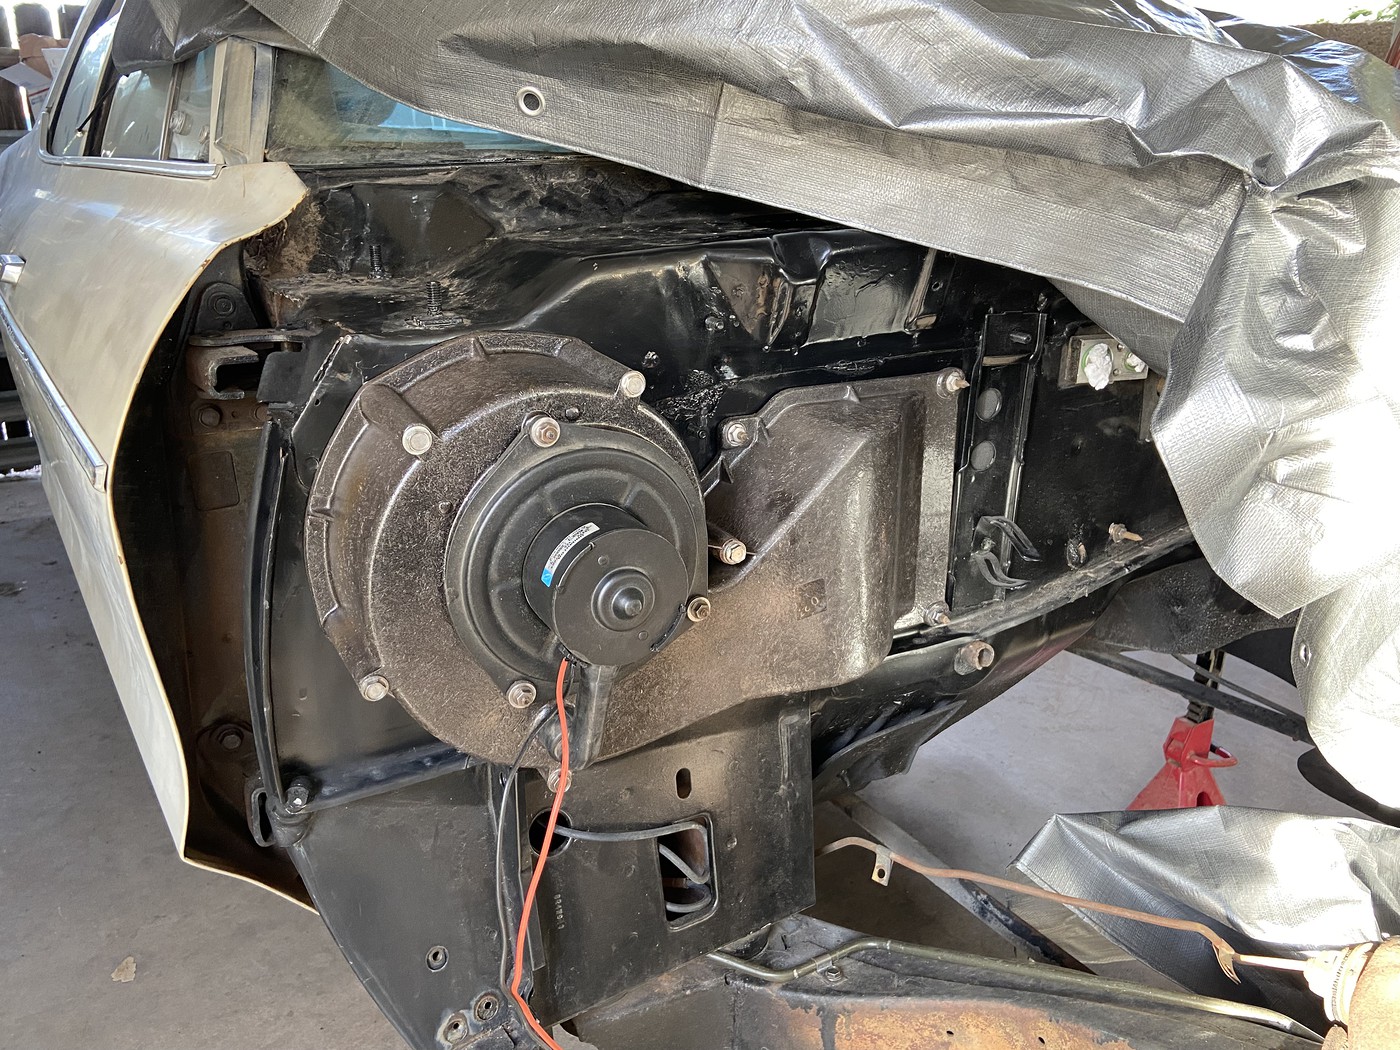 The nasty job of de-crudding the front suspension is underway. This pile of crud is from the left upper and lower control arms. The pile from the right side was much bigger.  Soaking in Gunk degreaser now. Tomorrow I'll bust out the hot water pressure washer and clean it up all nice & pretty, then it's on to pulling it down for a sympathetic rebuild and torsion/sway bar upgrade. |
|
|
|
Post by AZBlues on Mar 13, 2023 14:20:34 GMT -5
4 days of soaking in Gunk, followed by a very wet 1 hour session with the hot water pressure washer, and... 
Time to replace some parts.
|
|
|
|
Post by AZBlues on Mar 19, 2023 17:15:53 GMT -5
When you go from other brands of cars to working on Mopars, you will find yourself needing a few specialized tools, like a torsion bar removal tool. Now you can remove the torsion bars without a tool, but you will have to disassemble most of the front suspension and whack it all apart with a hammer. But what if the suspension is largely in good condition and you don't have to blow it all apart? You need the tool. It costs $50-$100, and you have to order it because it's a cinch that no one local carries it. Plus, I like making things. I found a video on Youtube from a guy who made one from 1/4" steel stock and hardware store U bolts, so I took that idea and ran with it because I already had the steel, and Ace Hardware had the U bolts for five bucks. I didn't use any measurements, just marked it off with a Sharpie and cut it with a Sawzall. 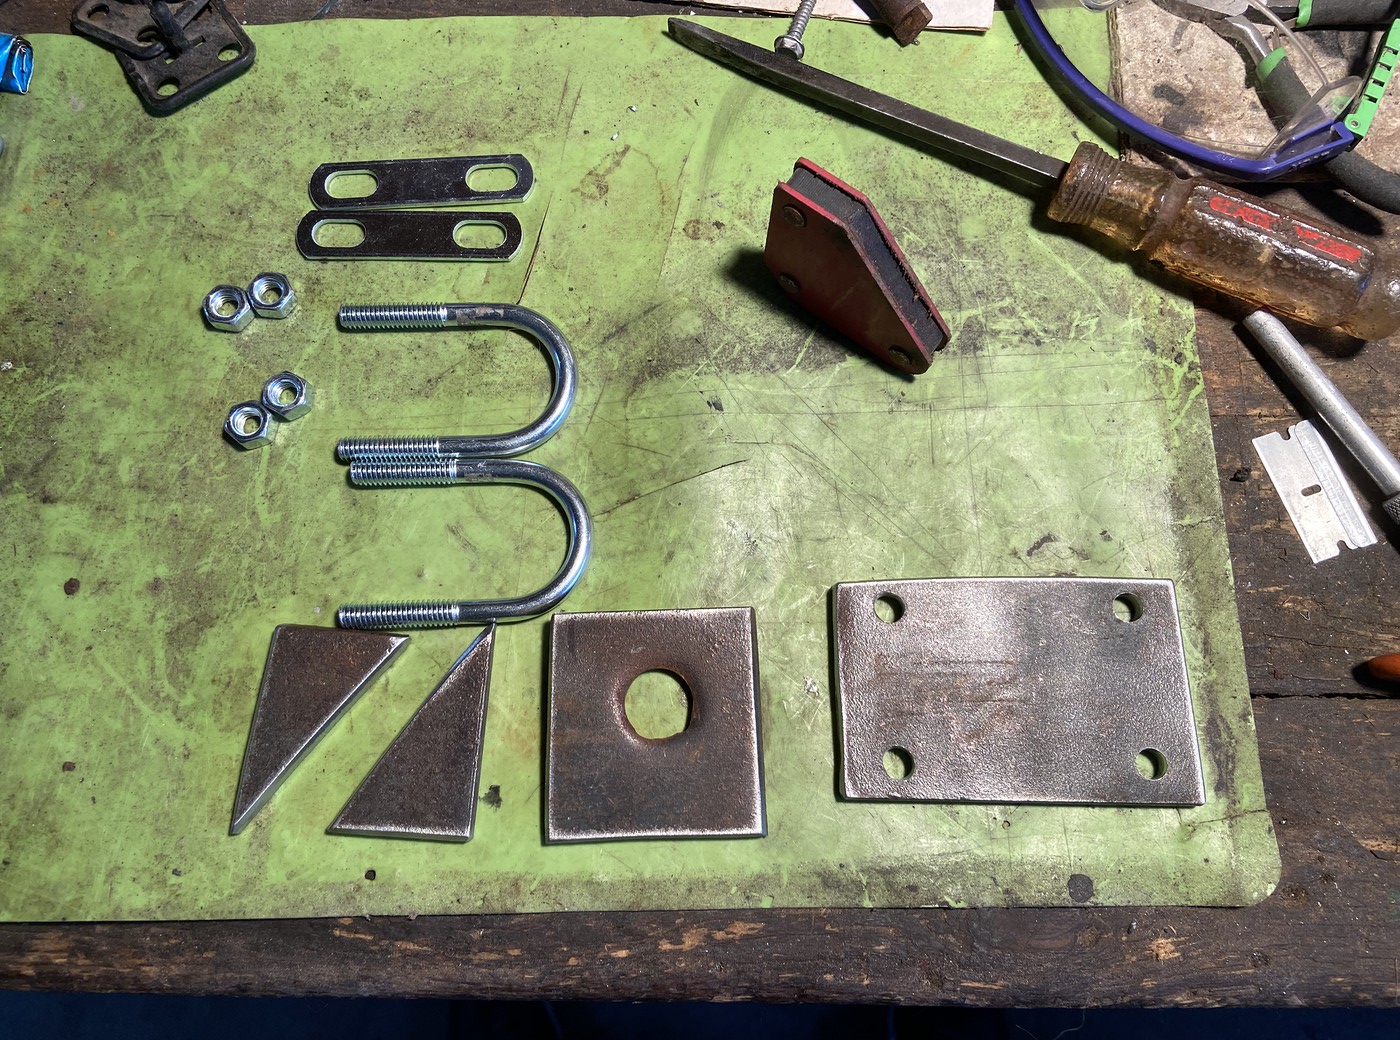 Mocked up with welder's magnets:  Welded up, welds dressed a little with a flap wheel to tidy it up: 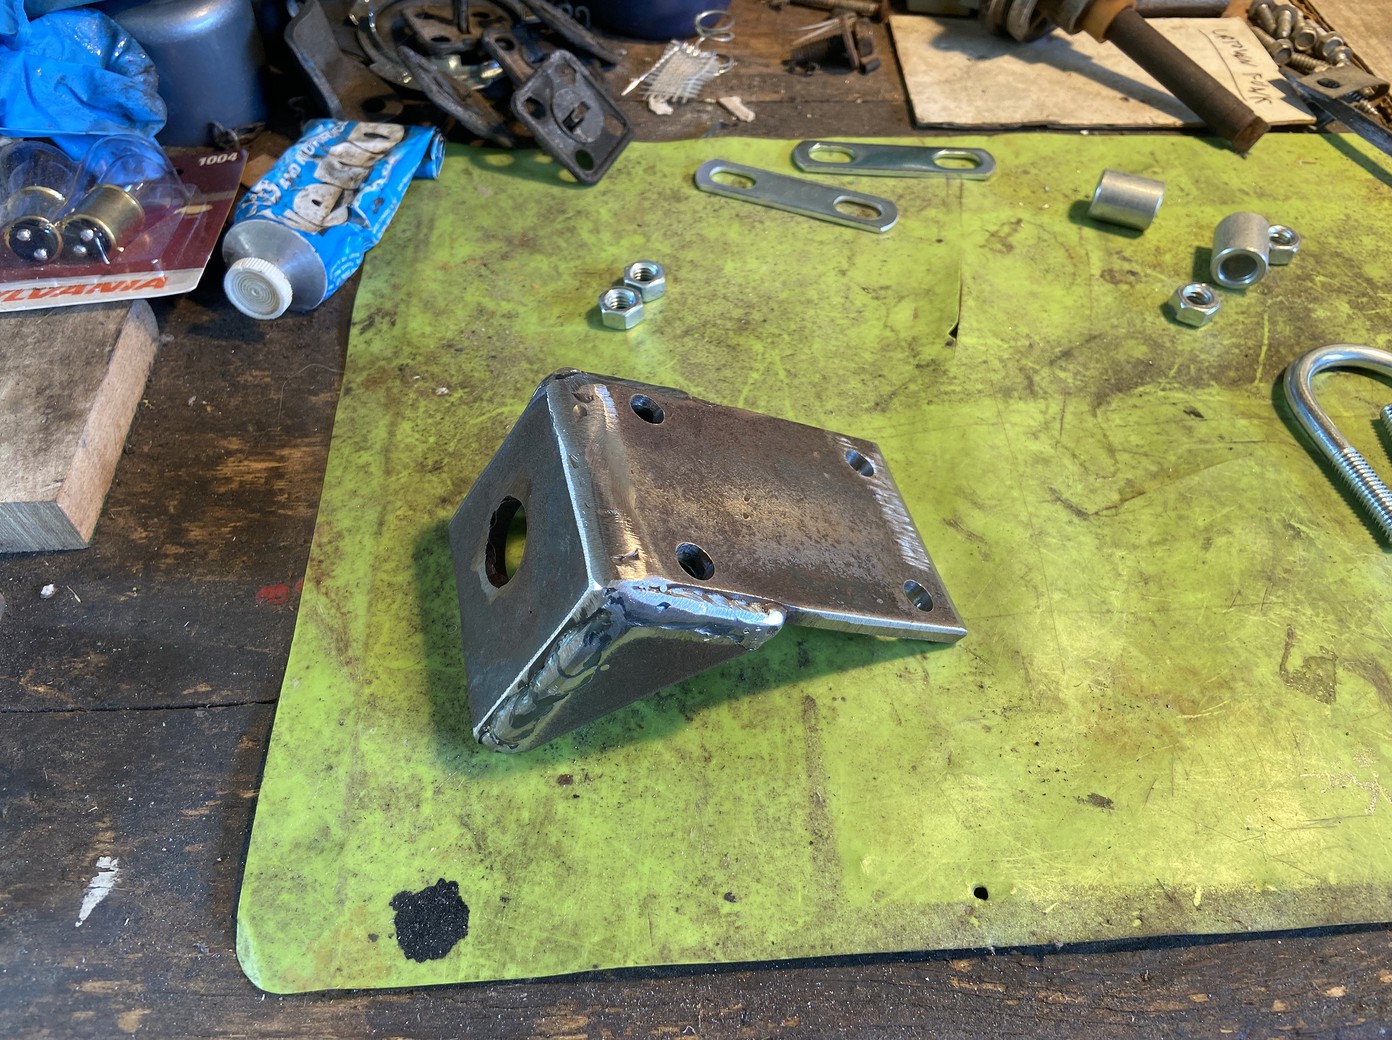 Aimed a rattle can at it: 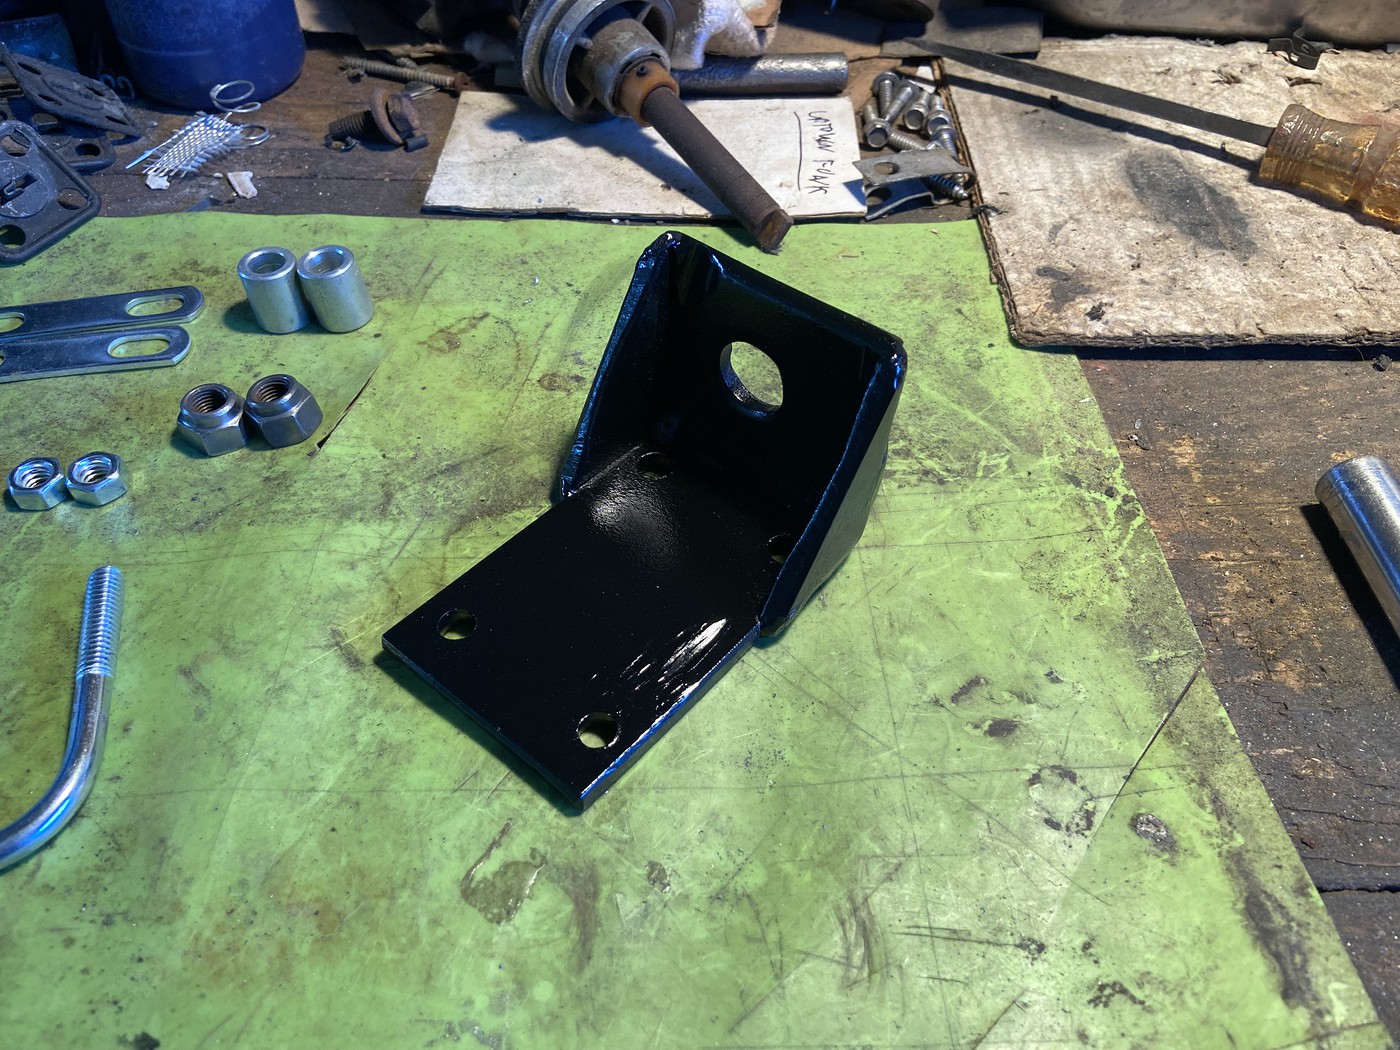 And there it is. 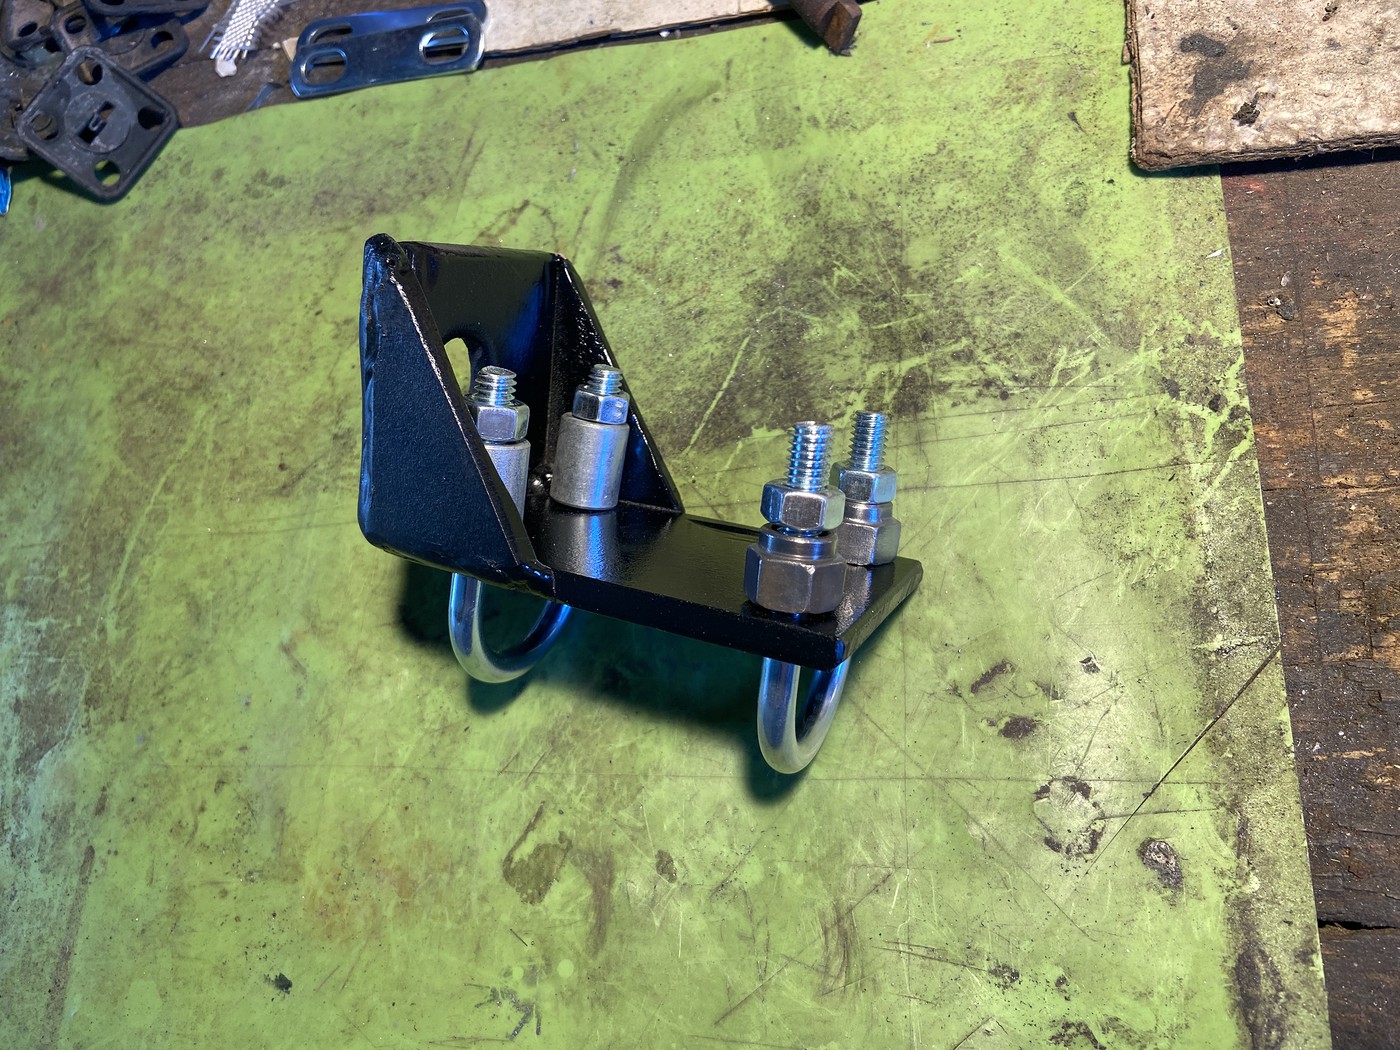 For the uninitiated, this tool clamps on to the torsion bar, and then you smack it with a hammer, driving it rearward out of the torsion support. 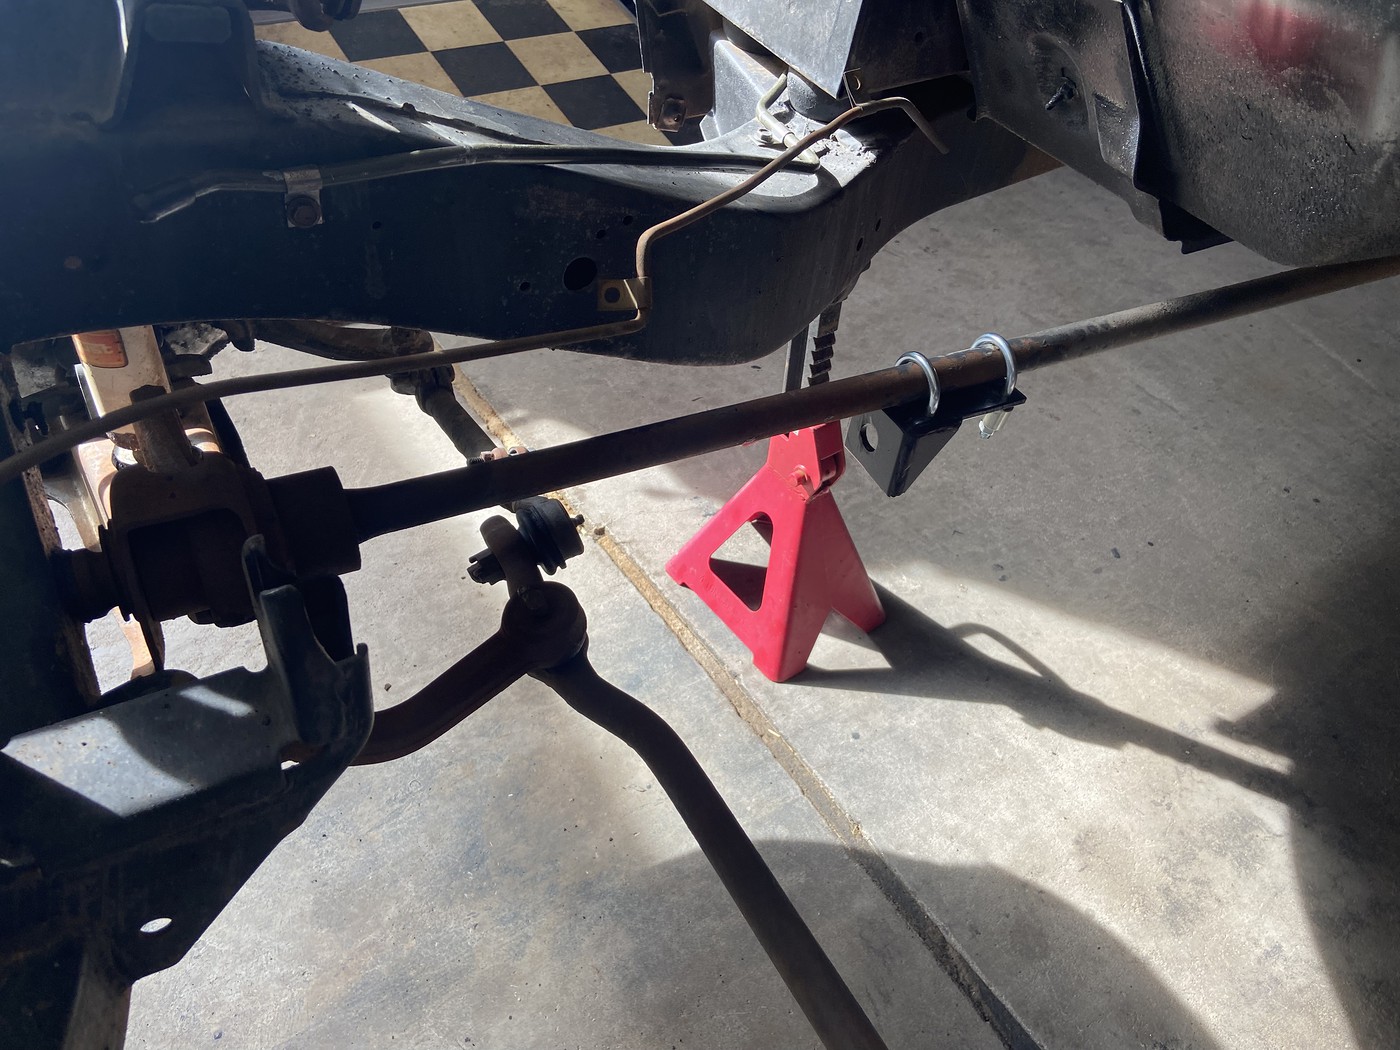 Total cost to me: Five bucks. But will it work? Tune in tomorrow to find out! |
|
|
|
Post by AZBlues on Mar 20, 2023 19:06:46 GMT -5
Why, yes it did work. 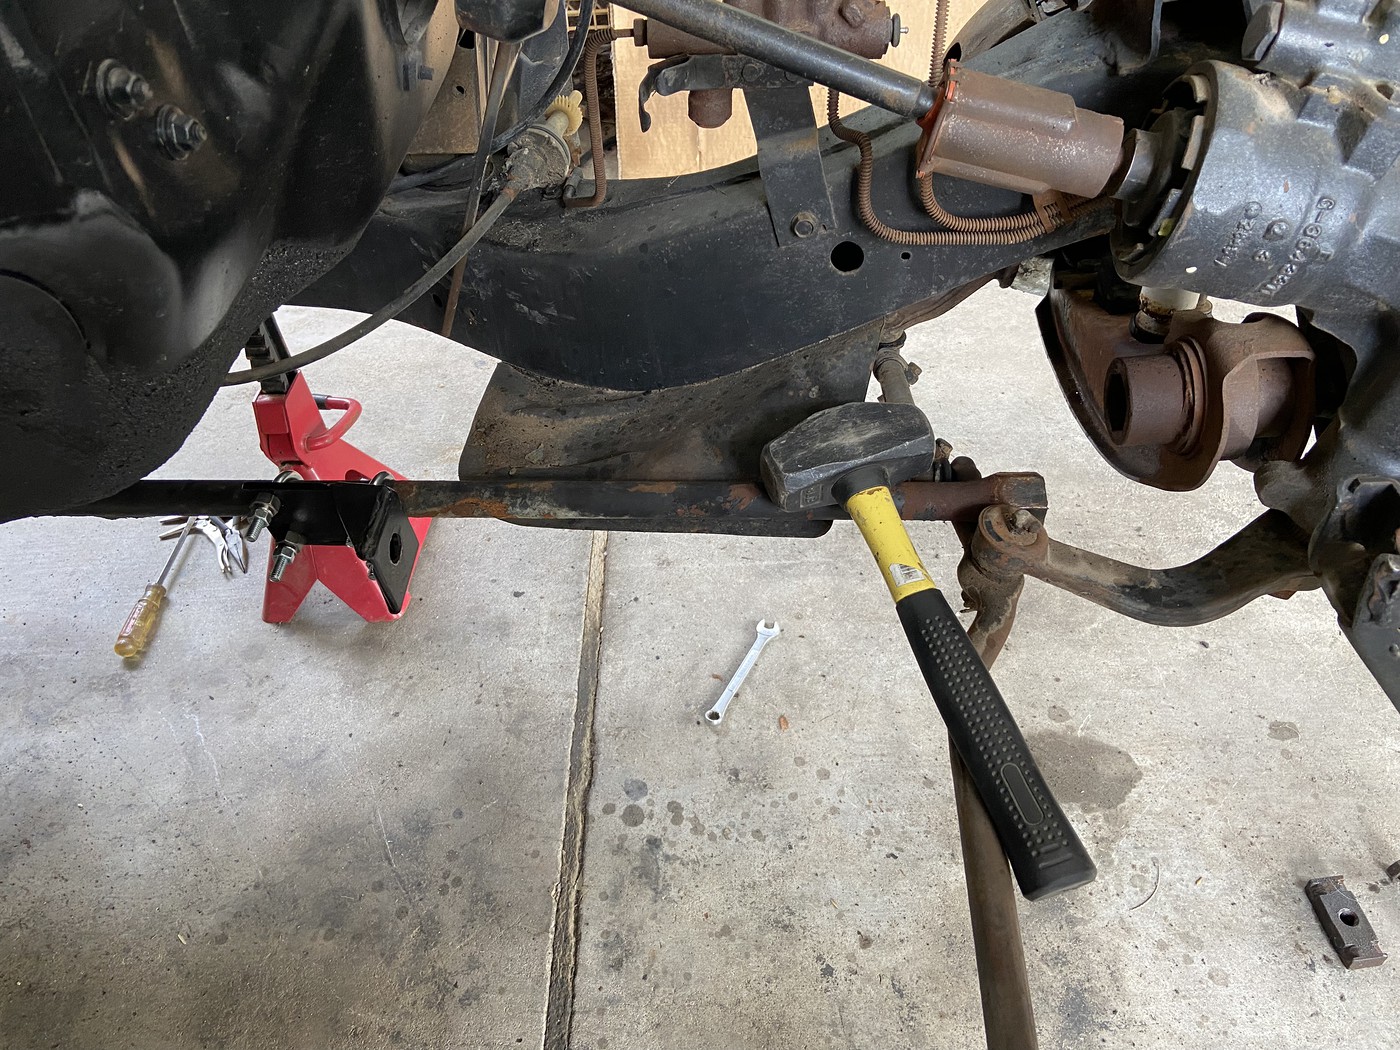 In fact, I didn't have to wail on it as hard as I thought, a few good whacks with the hand sledge and out they came. This is a messy job, the torsion bars are packed solid in grease in the torsion support, so I went through 4-5 pairs of rubber gloves pulling them out. Have a piece of cardboard on the ground to put the bars on when you pull them free or you'll get a size large glob of grease on your floor. 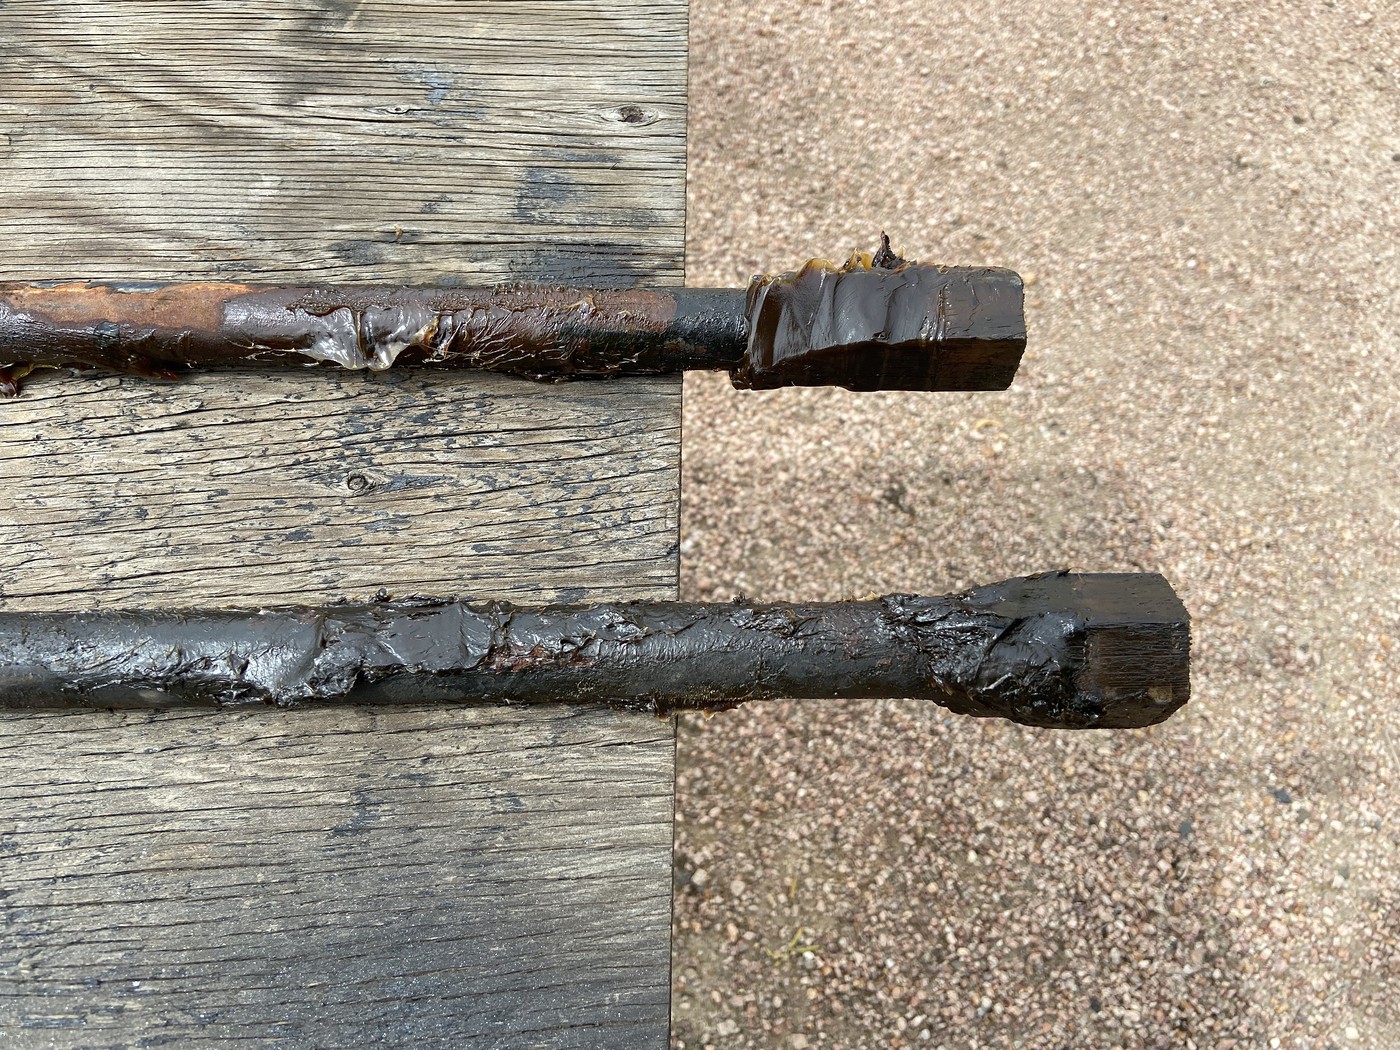 Also pulled the sway bar. Here's a comparison between the 15/16" and the 1" bars.  New bar to frame bushings for a 440 Town & Country wagon are hard to find, but I'm hoping that Advance has something that will work. Torsion bar adjusters cleaned up and ready to go back in. I was missing one retainer clip, so I'll have to chase one down somewhere.  |
|