|
|
Post by AZBlues on Jan 1, 2023 10:27:06 GMT -5
I've got to pull the tank out of my Blumo, too. I'm currently restoring the tank in the '62 Falcon Ratwagon this weekend, and I plan to save it any way that I can, because tanks for these wagons are going for insane prices. My sending unit looks exactly like yours, lol...there's no rebuilding it, so I bought a new one. Tomorrow I'll be patching the pinholes, coating the inside with Ospho and Marvel Mystery Oil, and then refinishing the exterior. Rob I hear ya, I was able to find a nice original tank for my '60 Comet wagon. At the time, there were no repros. You can get one now, but they are about the same price as a box Monaco tank. Alas, we don't live in cheap times anymore. I've never heard of the Ospho before so I looked it up. Interesting stuff. Does it and the Marvel form a fuel proof barrier inside the tank after it is stripped? If you need a new tank, Rockauto has them listed for $328. Much less than the $765 I saw listed on Autozone's website. Yes, I found both figures in my search for a tank. 50 bones shipping from RA. I figured if the tank was around the same as the Fairmont tank I bought back in oh-something, ($177) I would just gopher it. That's a negative, Ghost Rider! |
|
|
|
Post by 77granfury on Jan 2, 2023 13:45:09 GMT -5
This is impressive! Your bodywork and welding skills around the coil area are in a totally different league than mostly anything I've ever done or seen before! I can't wait to see more of your project, fortunately it's warm enough in the South to cover some land while the North falls behind in temperatures too cold to keep your beers chilled :-)
|
|
|
|
Post by Ghostbluesman (Ghostsoldier) on Jan 2, 2023 15:10:55 GMT -5
I've never heard of the Ospho before so I looked it up. Interesting stuff. Does it and the Marvel form a fuel proof barrier inside the tank after it is stripped? The Ospho (which is just a brand name for phosphoric acid) will treat the metal for priming and painting if you brush it on, or it can be used as a rust converter for the inside of the tank if you pour it inside, slosh it around on and off for about 30 minutes, and then pour it out; you let it sit for another 20 minutes or so to allow the phosphoric acid to convert the rust. Then you need to neutralize the acid by washing and flushing out the inside with a water and baking soda mix (or acetone), then dry the interior with air from a compressor or a hair drier. Don't buy the Ospho brand because it's insanely priced; go to Walmart or Home Depot and look for the Klean-Strip Metal prep and etching brand, as it's less costly (only about 20 bucks a gallon), and it's the exact same stuff as Ospho. The MMM is added after that strictly to keep the bare steel surfaces on the inside of the newly-stripped tank from flash-rusting until you can install the tank, as it will do, and the MMM will disolve with the first new tank of gas that you add later. Rob |
|
|
|
Post by AZBlues on Jan 3, 2023 22:34:17 GMT -5
Thanks Rob.
Today is my birthday. So to celebrate, I took the gas tank to a metal stripping facility in Phoenix so that I could work on other things. I really go all out!
Then I visited a friend, went to get a sammich and fries at a local greasy spoon, and then came back to Mesa to go to the Mesa Police Department to ask them about selling the Monaco catalytic converter without going to jail. Predictably, they had no answers other than "That's illegal as of May 1 of 2022." Thanks detective, I already knew that, hence my presence here now. Gotta say, that went as expected. But on the bright side, I found a buck on the ground at the gas station.
|
|
|
|
Post by AZBlues on Jan 5, 2023 20:04:41 GMT -5
Suitcase day. (Not Ellwood's.)  After removing the top which is held on by a lot of 5/16 hex screws, it becomes clear how to extricate the A/C evaporator and the heater core, which are held in by several more. I might have lucked out, the heater core looks mint and the evap is nice too. I'll take them both into an A/C shop owned by a friend and a radiator shop to have them checked out before reassembling the suitcase and installing it. Getting to these components after everything is together is a hassle. 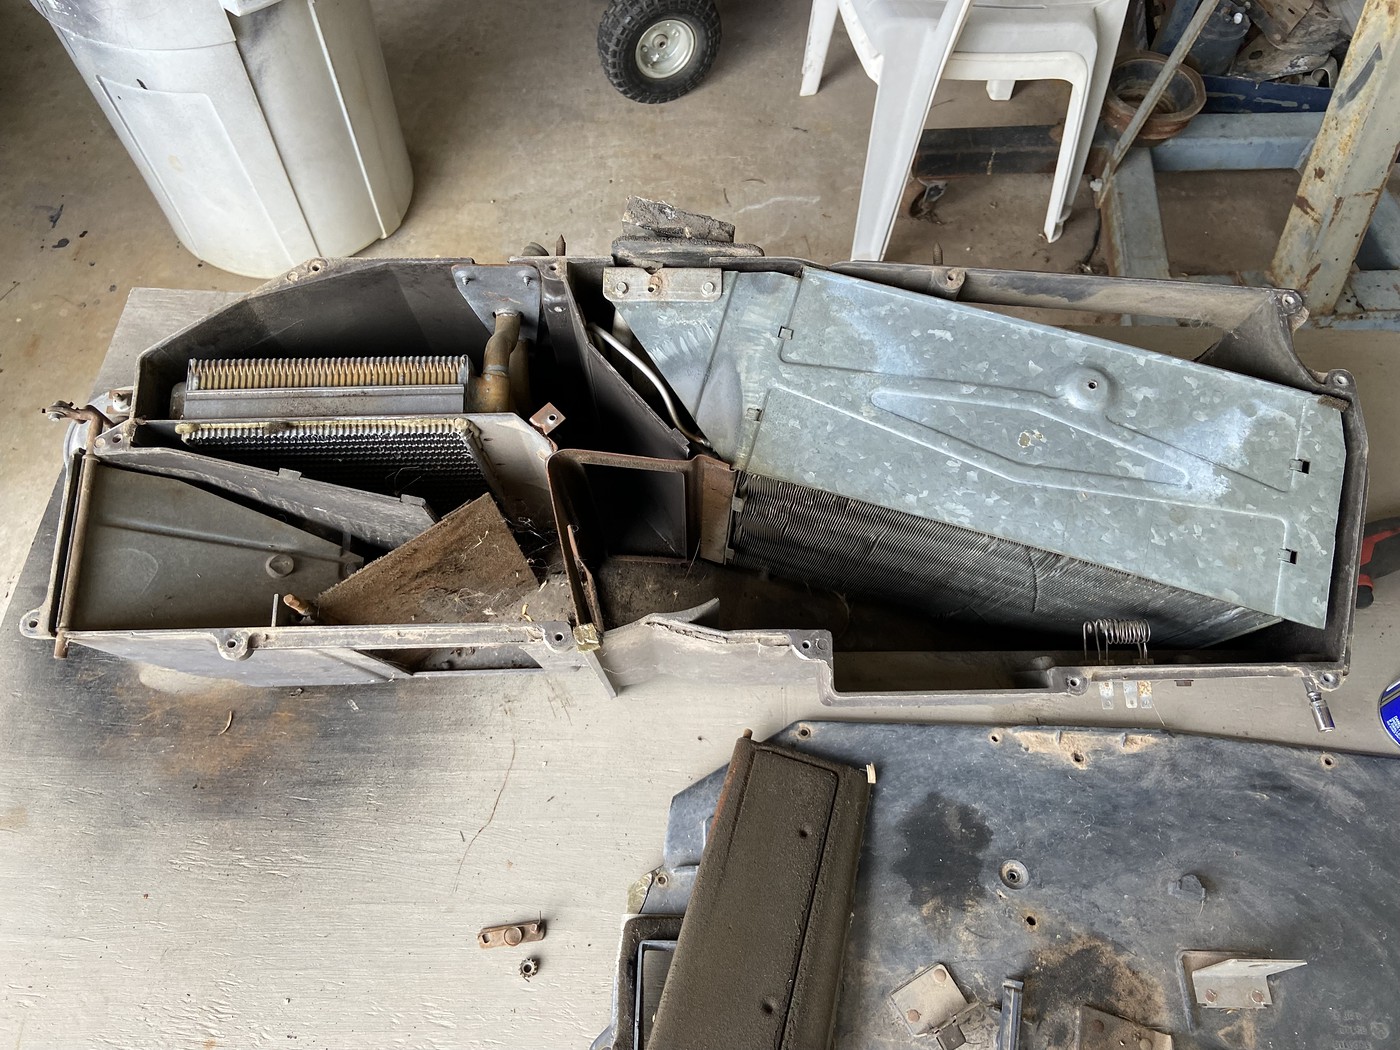 And the two units ready to go. 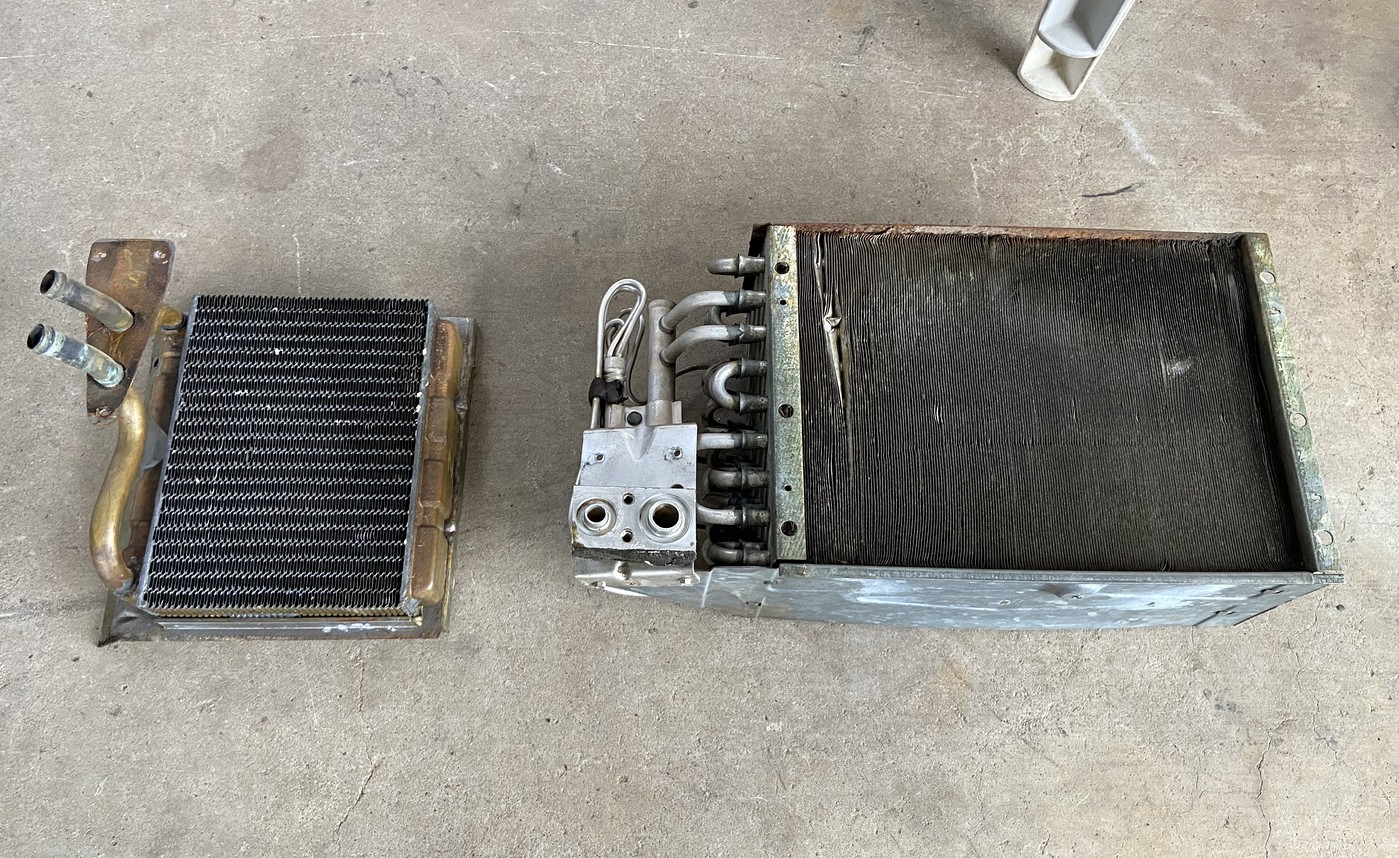 |
|
|
|
Post by AZBlues on Jan 9, 2023 18:58:26 GMT -5
Got the tank back from the metal cleaning shop, came out minto out and in. I thought I'd be clever and drop by my local chrome shop to see what they thought about coating the inside with copper or nickel or something... only to find out that they have gone out of business. Great. That was the LAST chrome shop in the Phoenix area, and they were good too. Now we have to bring stuff down to Tucson (100 mi) to have them done. I know, first world problems. Minto: 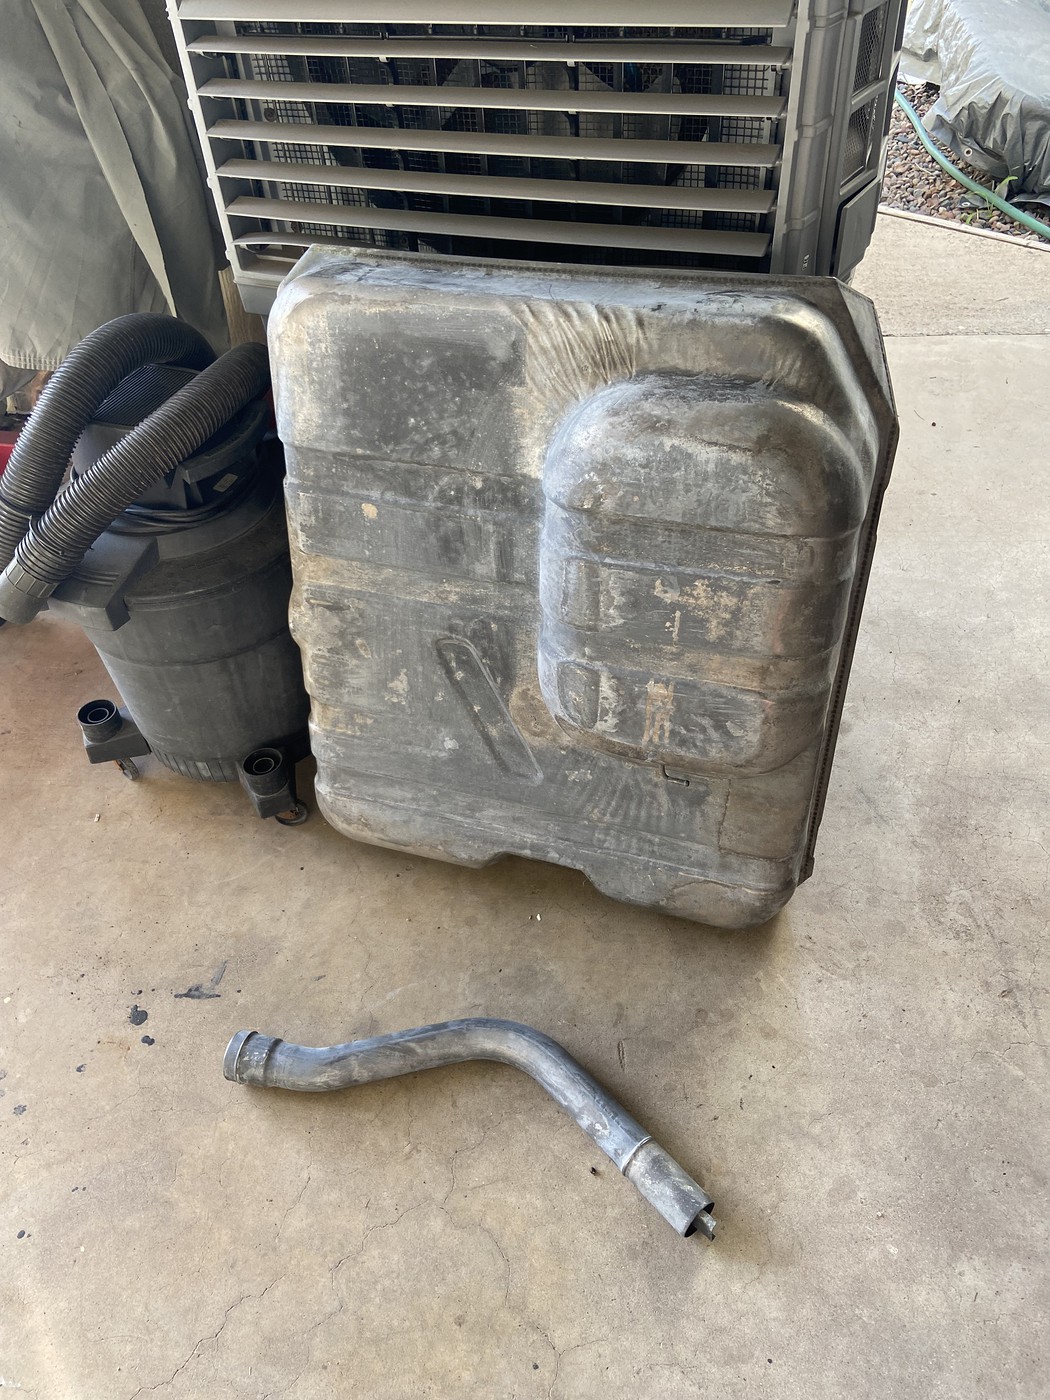 Dropped the evap off at the A/C shop to be tested, came back all aces. Sweet! Here's Dean flushing it out with A/C flush solution: 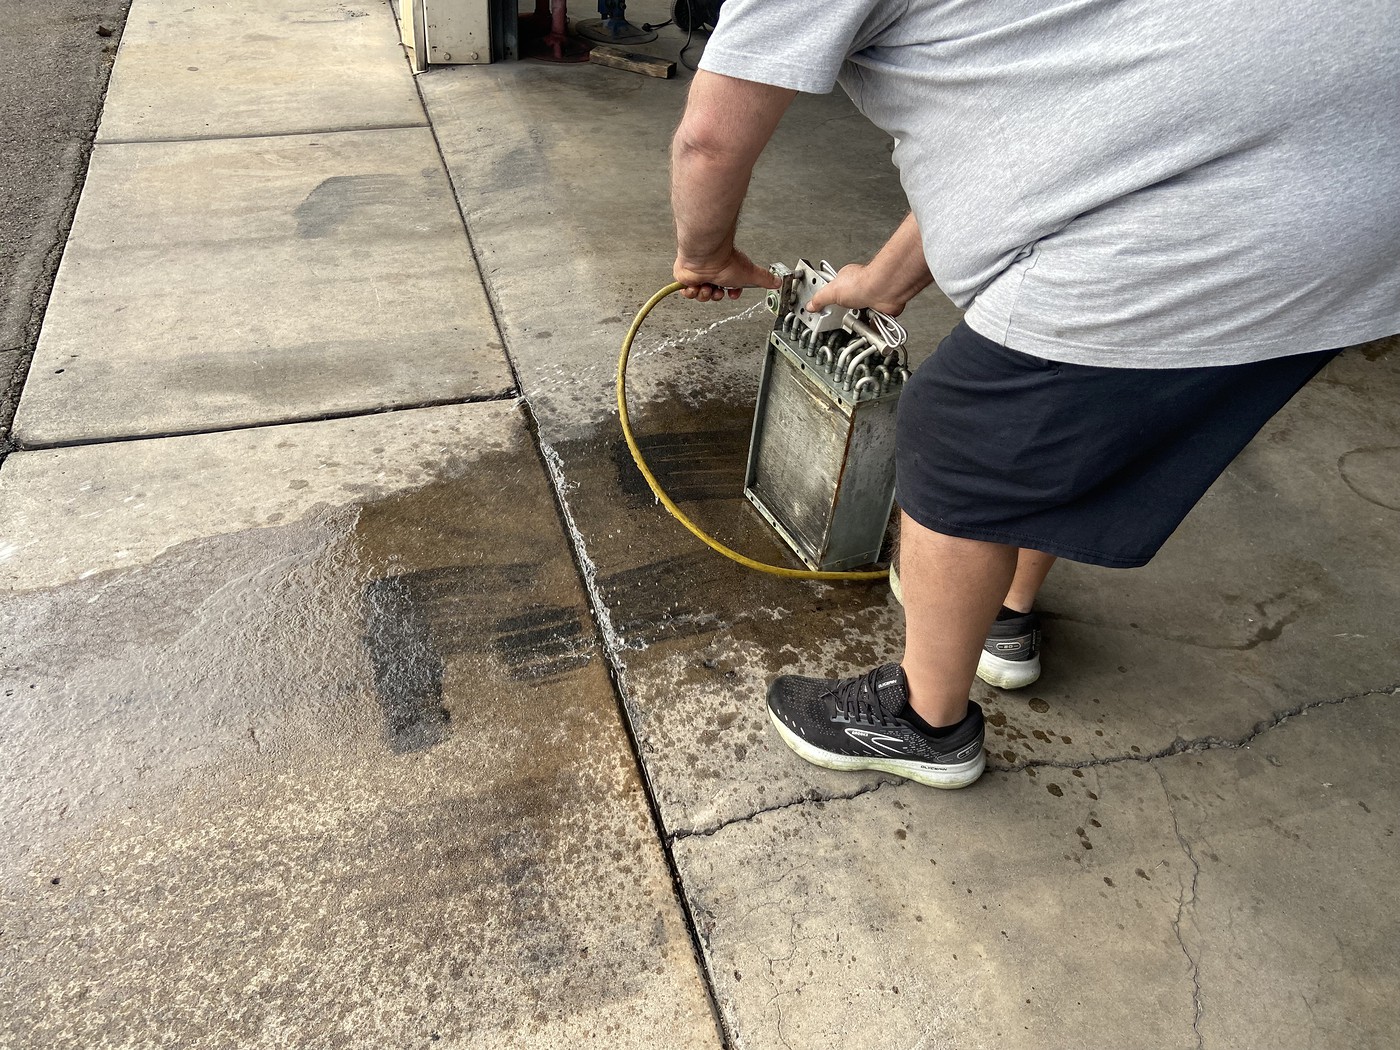 Took the radiator and heater core to Chandler Radiator so Dean (another Dean) could tell me that the heater core has too many leaks to fix (crap!) and something I already knew; the 2 row radiator wasn't up to the task of cooling a hot 440 with A/C in the AZ desert. So I need to get a 3-4 row aluminum, as copper radiators simply aren't being made any more. So, question: What are the 440 guys running? several choices on ebay, 3 row, 4 row, $159-$250 or so, Champion, Spawon, DH Racing etc? |
|
|
|
Post by cynot on Jan 10, 2023 7:51:57 GMT -5
I installed a 3 row aluminum Champion a few years back when I was still running the low compression 400...it never even thought about running hot, even with A/C on in the summer. Now I am in the process of installing a built 440, havent had it on the road yet, but Im hoping the 3 row is adequate enough to handle it.
|
|
|
|
Post by flcl64 on Jan 10, 2023 11:43:24 GMT -5
I installed a 3 row aluminum Champion a few years back when I was still running the low compression 400...it never even thought about running hot, even with A/C on in the summer. Now I am in the process of installing a built 440, havent had it on the road yet, but Im hoping the 3 row is adequate enough to handle it. As long as you have a good fan shroud it should be fine. My truck never has an issue, except maybe stuck in the drive-thru for over 10 minutes with the A/C on. |
|
|
|
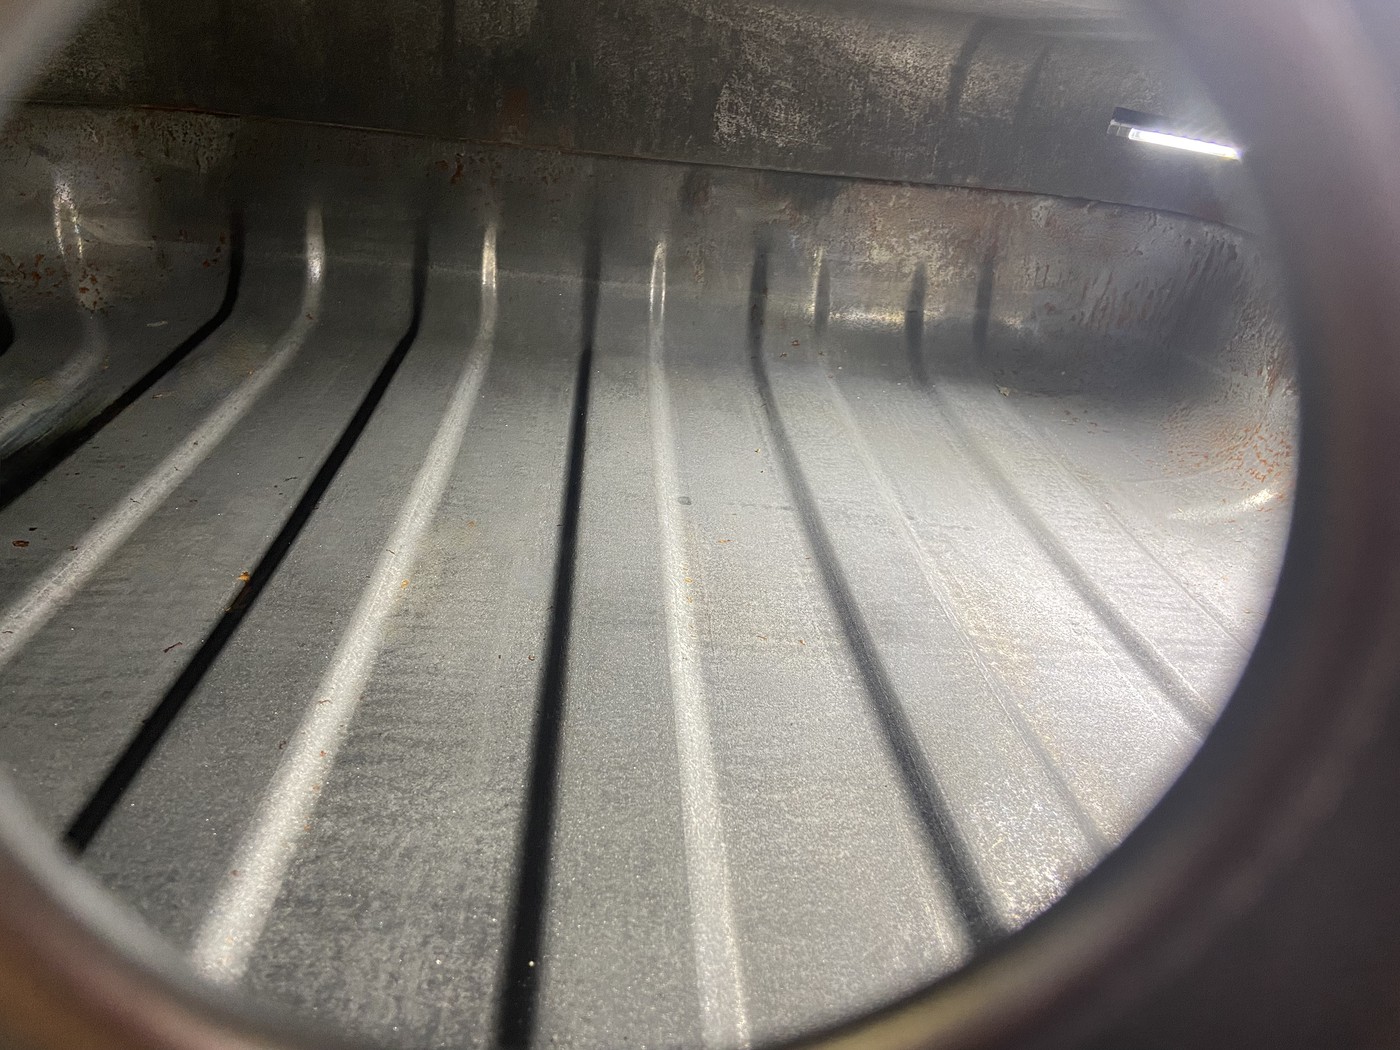
Post by AZBlues on Jan 14, 2023 20:53:15 GMT -5
Got the tank painted. Used a new brand I hadn't tried before, very nice paint that dries hard.  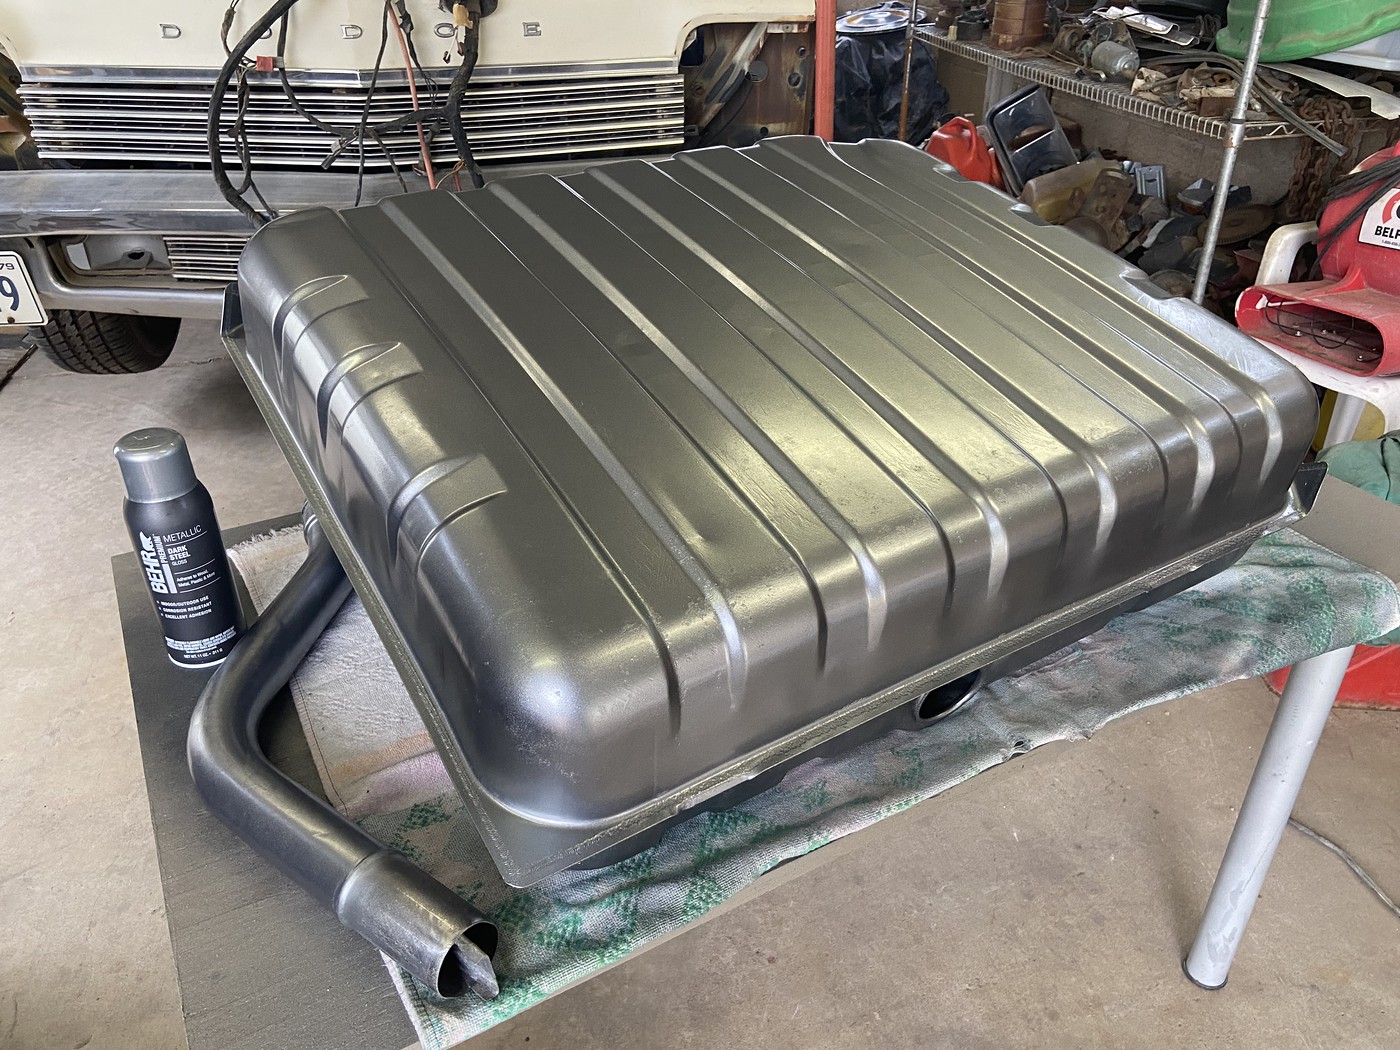 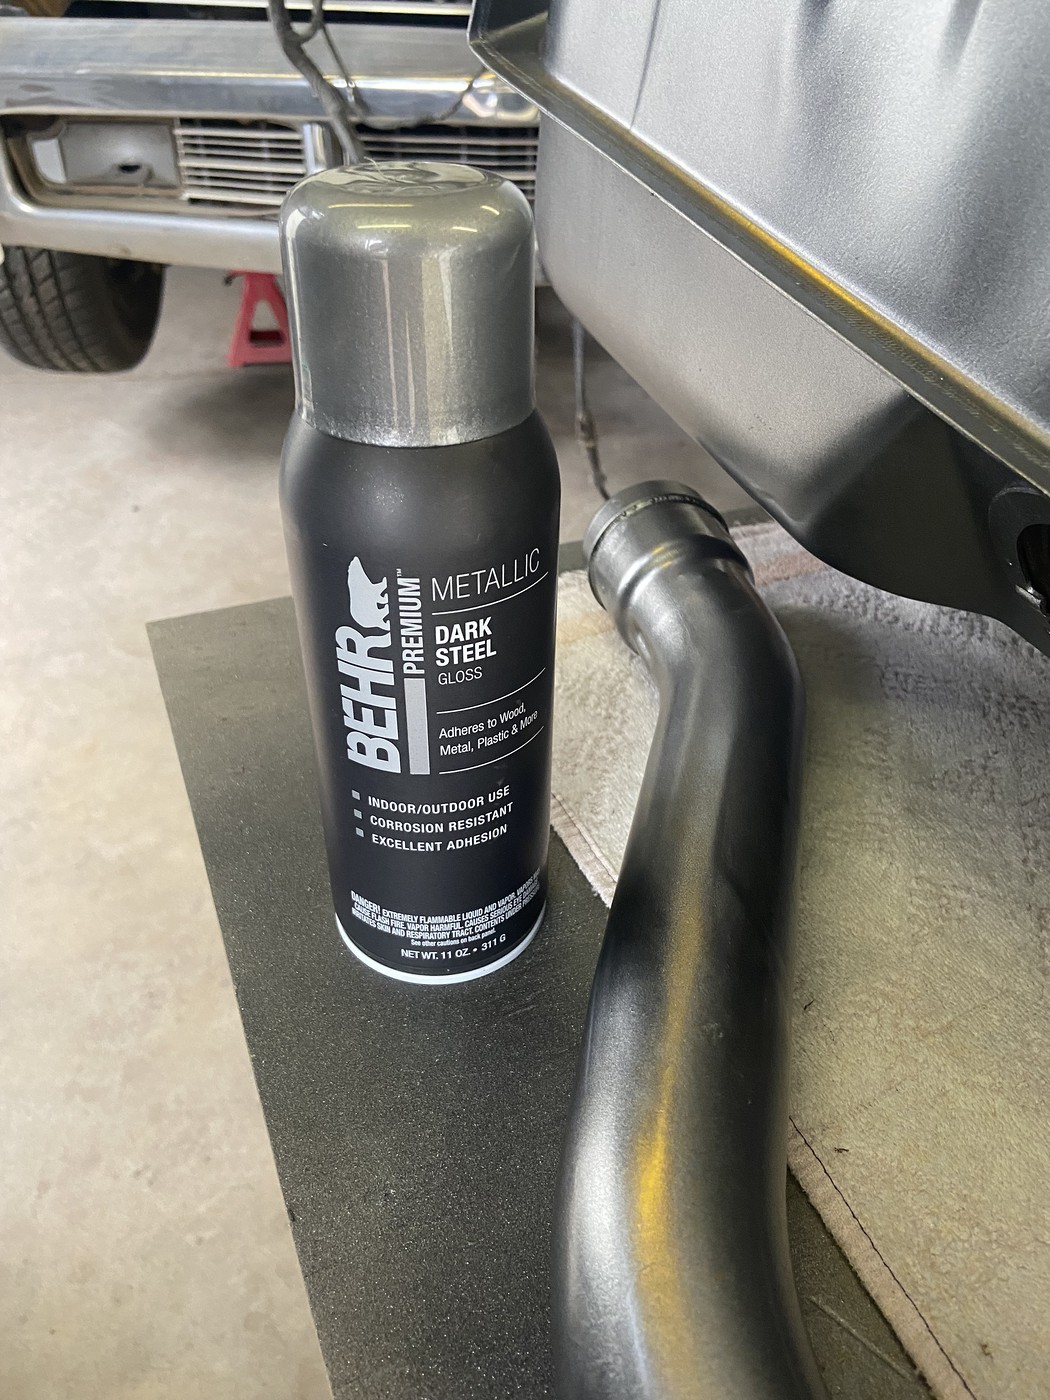 Inside of the tank after the chemical strip. Before, it looked like the outside of the Andrea Doria.
I am waiting on a new sending unit and fill tube grommet to arrive, then it can all go back in the car.
|
|
|
|
Post by 77granfury on Jan 14, 2023 23:23:35 GMT -5
Looking awesome! I shied away from Behr spray paint because it's quite pricey, but their paints in general are top notch!
|
|
|
|
Post by AZBlues on Jan 17, 2023 17:29:40 GMT -5
The new sender and filler tube grommet came in. I tested the sending unit with an ohm meter for a clean sweep, then installed it. The new unit came with a new retainer ring, but the ramps weren't high enough to lock it in. An easy fix for sure, but I opted to clean and re-use the original ring. After a quick clean up and black paint on the straps, it's ready to go back in the car.
The new grommet is a thick, stiff piece; so use a good shot of silicone spray to tease it in place, as well as to install the filler tube.
The new sending unit has a large 3/8" fuel tube, and given the nature of the performance built 440, I think I may upgrade the factory 5/16" to 3/8" for seamless smoky hooning in the neighborhood.  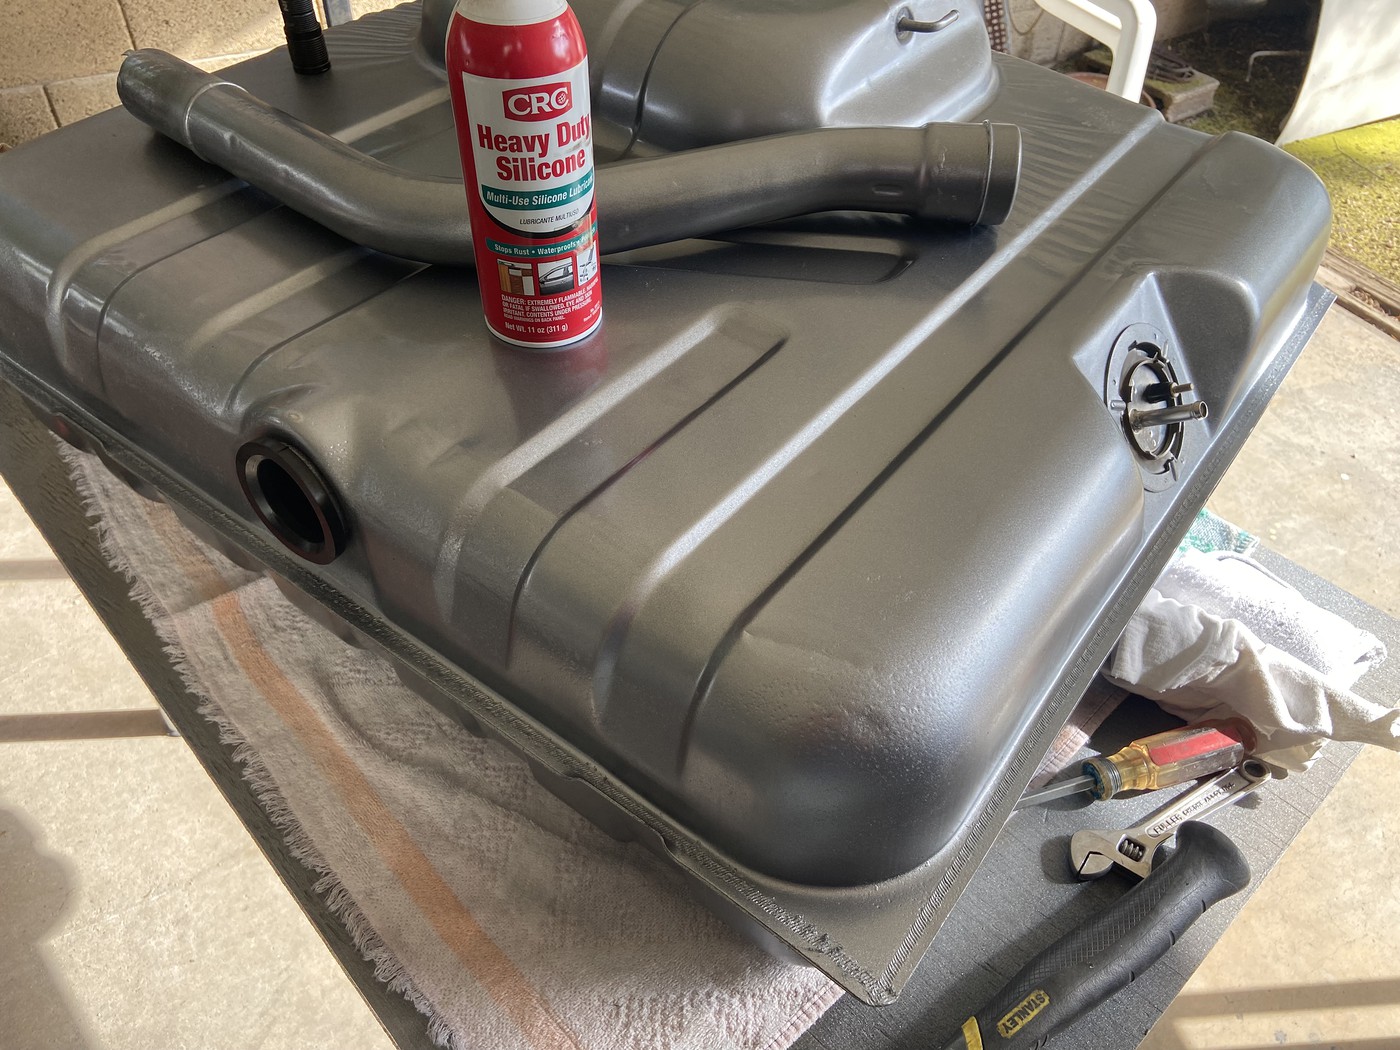 |
|
|
|
Post by AZBlues on Jan 19, 2023 16:18:01 GMT -5
Fuel lines are out. They are broken into two sections, front and rear, connected by rubber hose at the rear of the front subframe rail. The fuel line and the charcoal canister vent tube are run together. The rear section is easy to remove, the front not so much. The front section is run through the right front subframe rail, and Chrysler assembly installs them before the subframe is bolted to the car. That means that unless you want to separate the subframe, there is no way to remove them without cutting them. Since the vent tube will be reused, I cut the fuel tube and I will relocate it to the outside of the frame. I still need to get a section of bulk steel line, either today or tomorrow depending on who has it. The fuel line measures almost 15 feet, so the 8 foot bulk roll ain't gonna cut it. 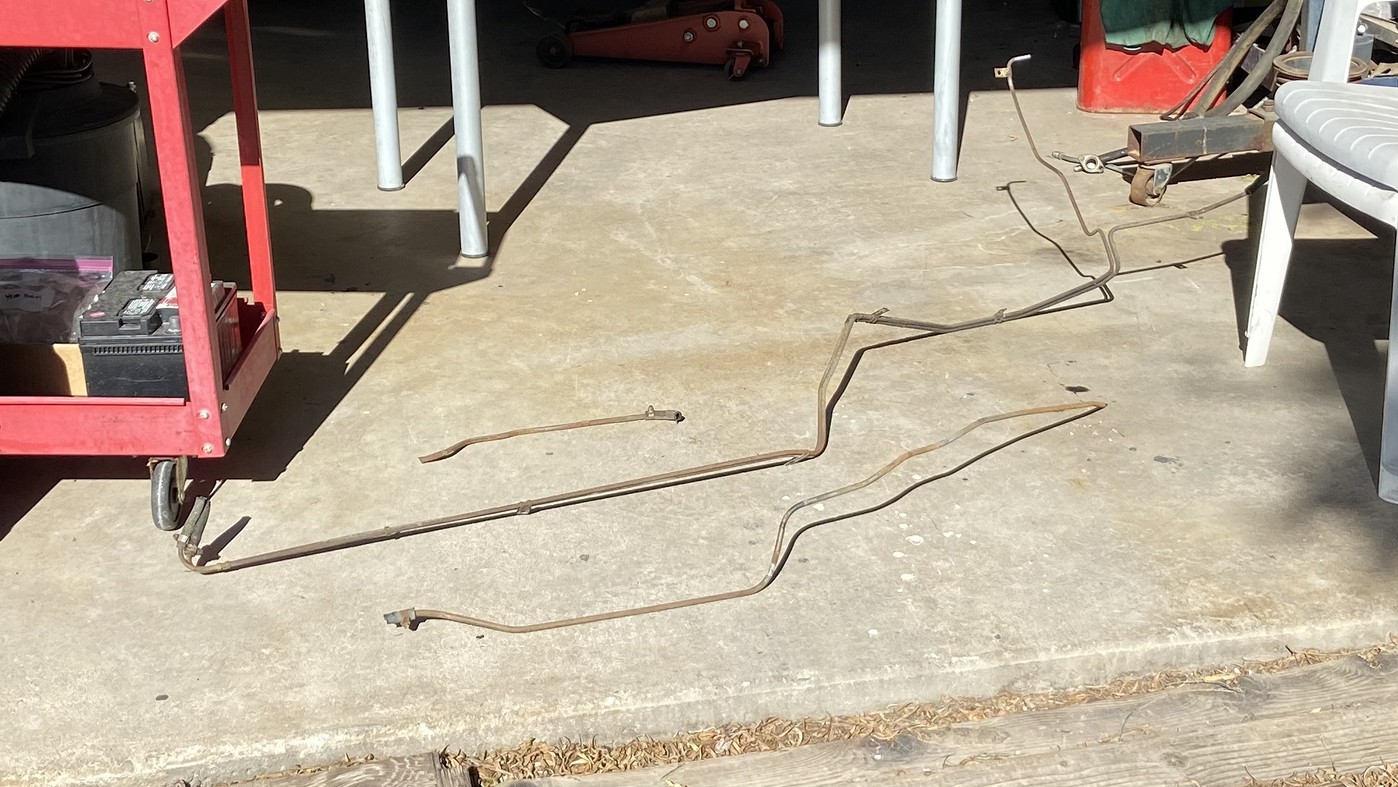 |
|
|
|
Post by AZBlues on Jan 23, 2023 19:42:52 GMT -5
Get in the Zone, AutoZone.
They had the new coil of PVF coated 3/8 fuel tube at the main depot store. Bends nicely with a Rigid bending tool. I made the rear fuel line, so now the tank and line can go in, probably tomorrow. Then the front line can be built and routed next to the sub frame rail. To make the new line a duplicate of the old one, I made the first bend at the front of the line, clamped both together with a hose clamp, and then added a zip tie after each new bend to keep them together in the same orientation. This method makes it go easy. Rear line:  Big difference between the 5/16 and the 3/8 lines.  |
|
|
|
Post by AZBlues on Jan 26, 2023 18:05:00 GMT -5
 Making headway. You have to insert the filler tube into the grommet before the tank can be seated and bolted up, and it's a good idea to install the rubber vent tube hose before the tank is installed, or it is very hard to reach. |
|
|
|
Post by Steam McQueen on Jan 27, 2023 11:07:20 GMT -5
^ That looks beautiful, AZ !  |
|