|
|
Post by blusmbl on Mar 2, 2012 20:35:50 GMT -5
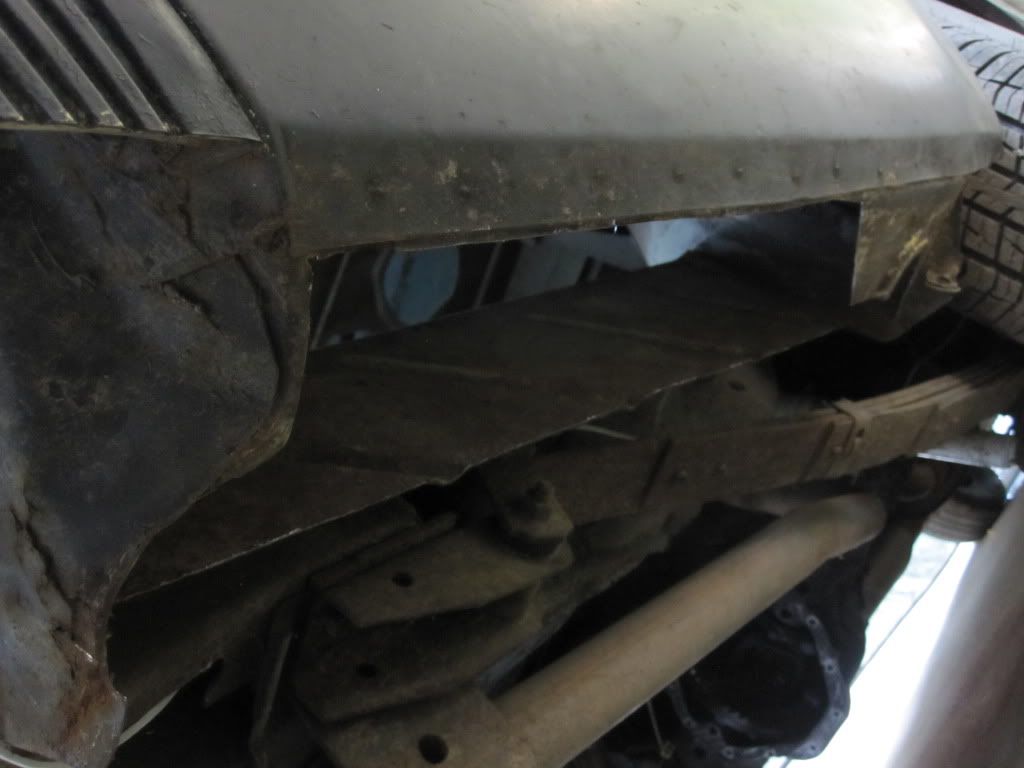
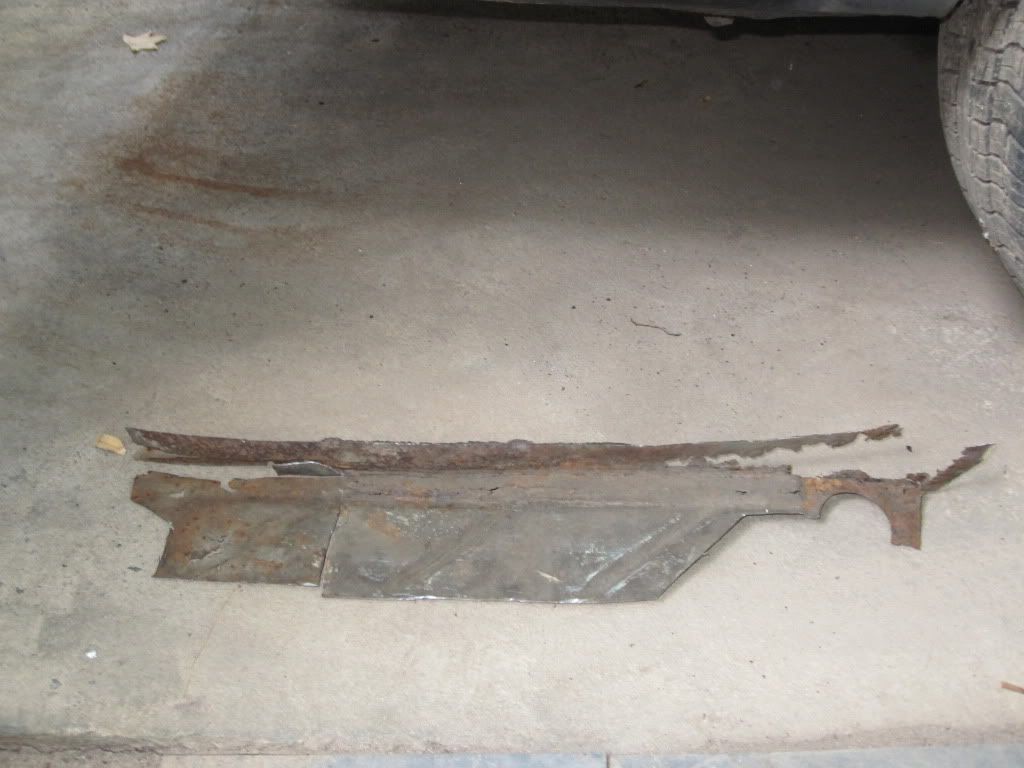
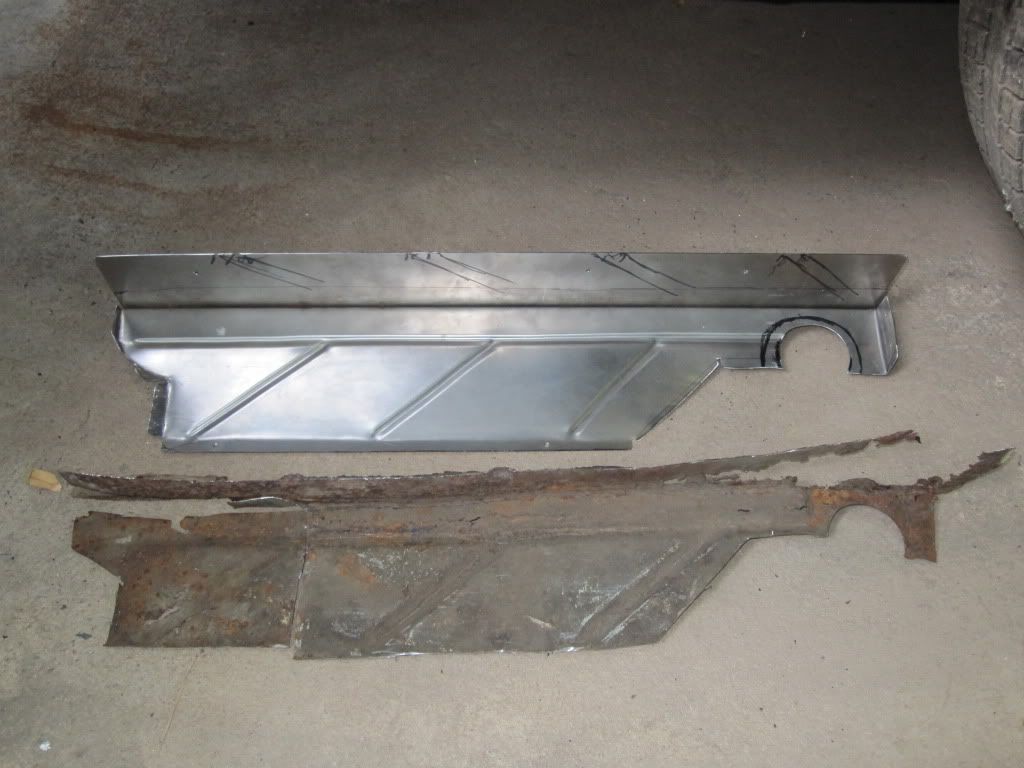
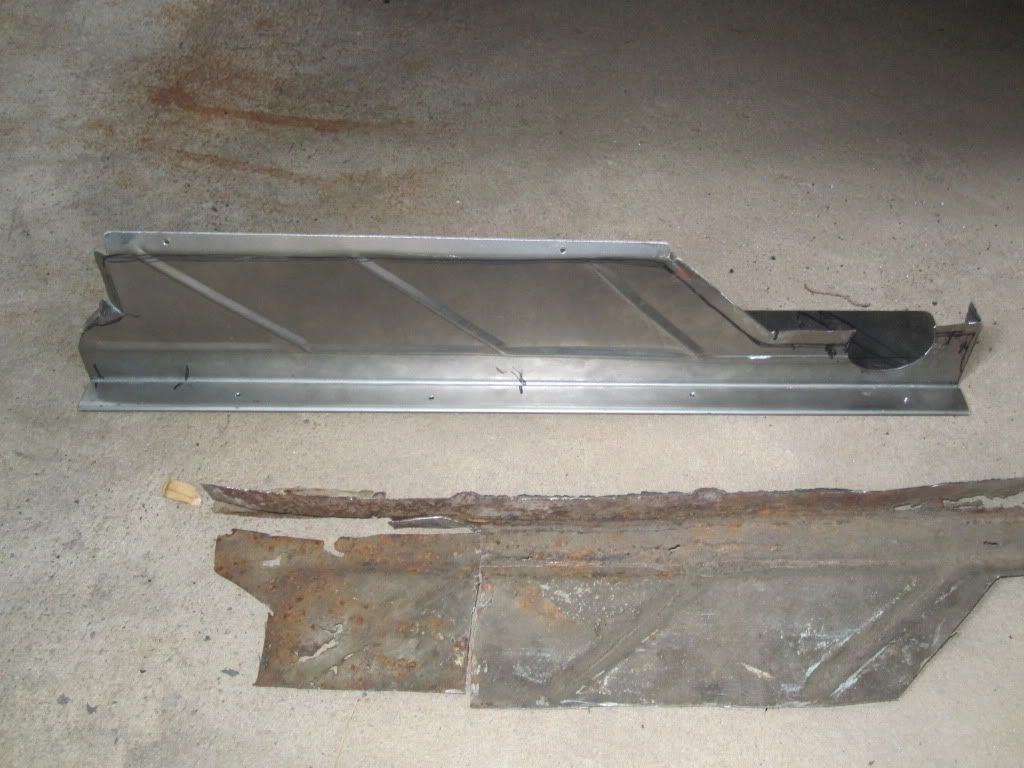
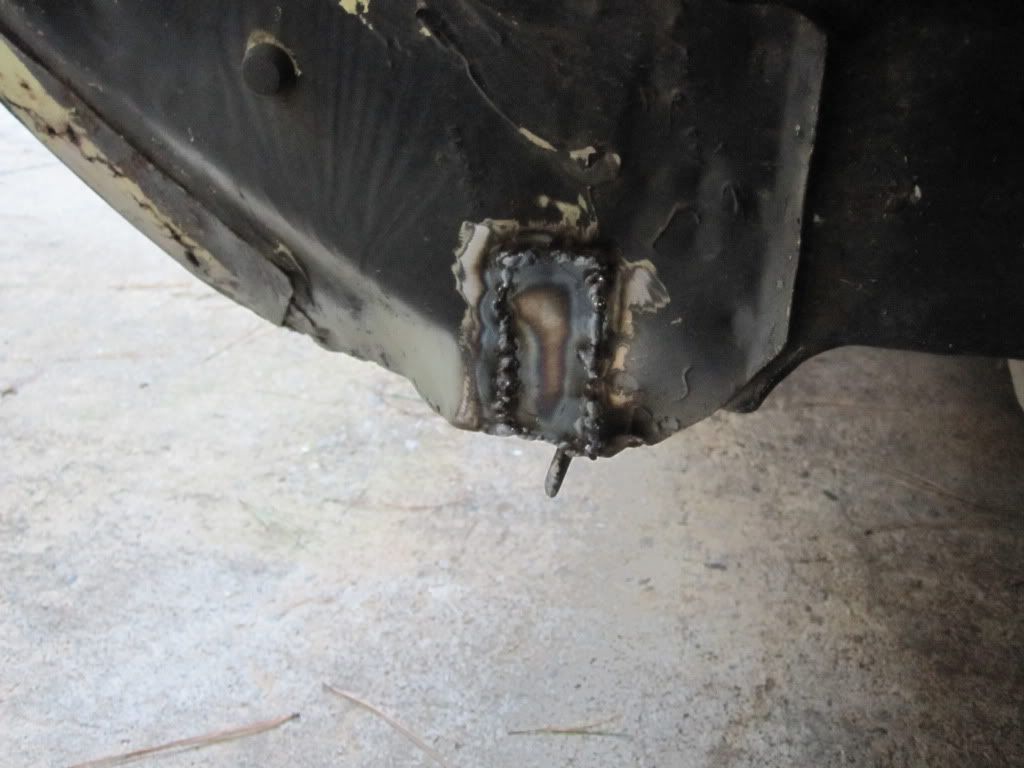
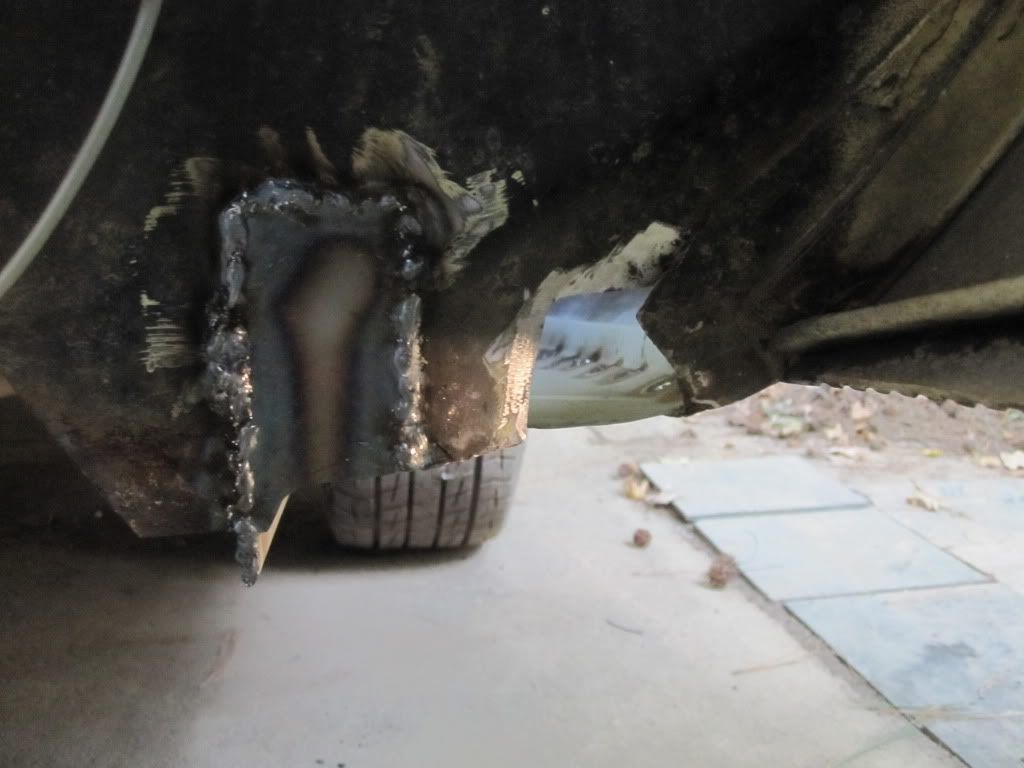
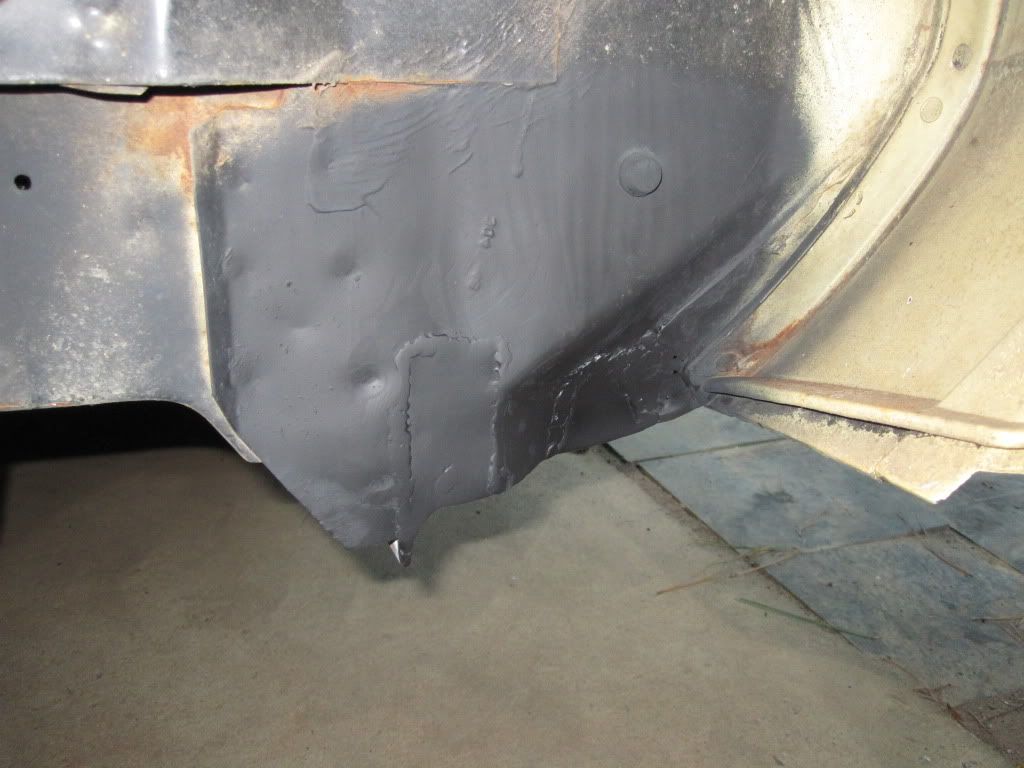
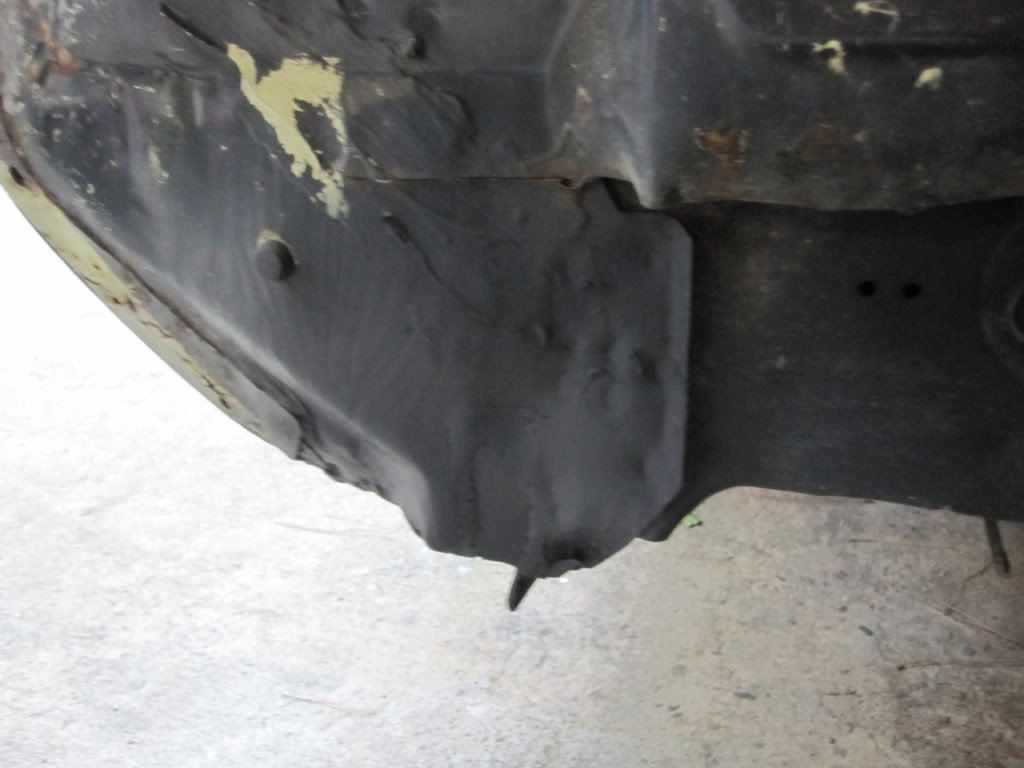
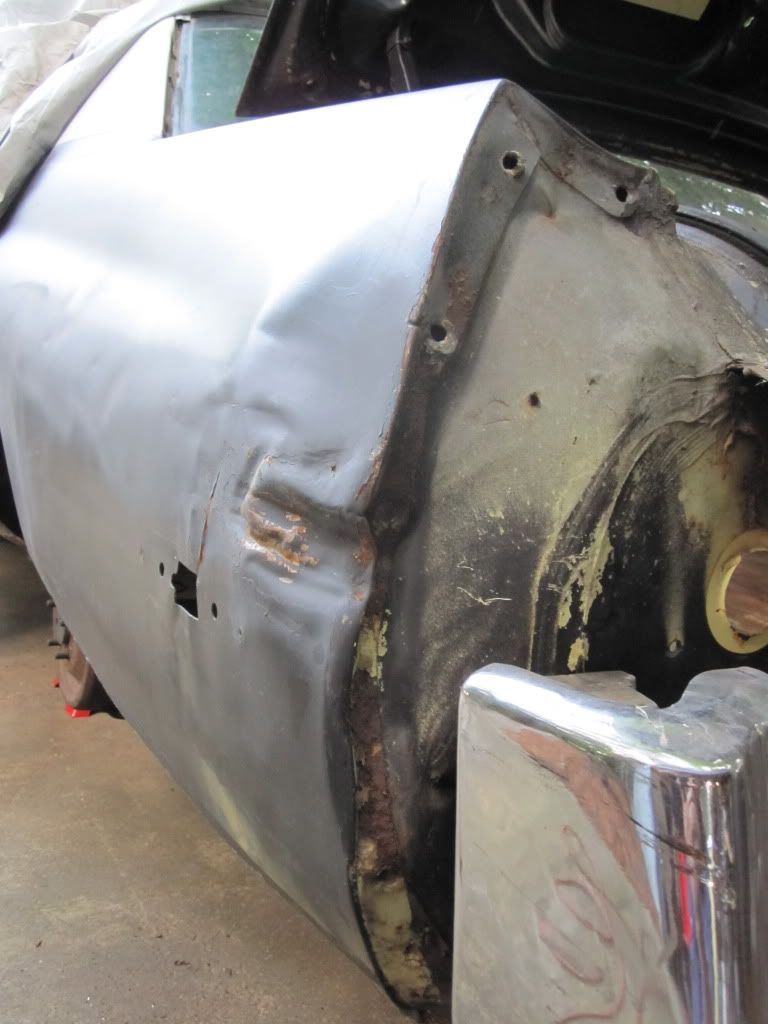
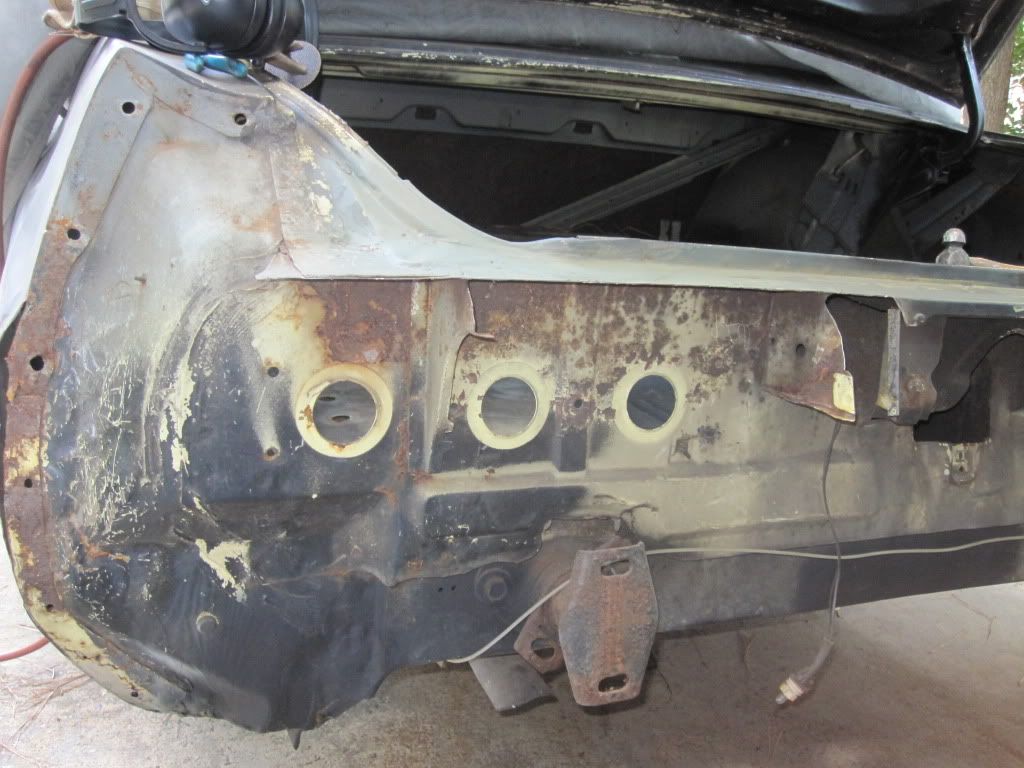
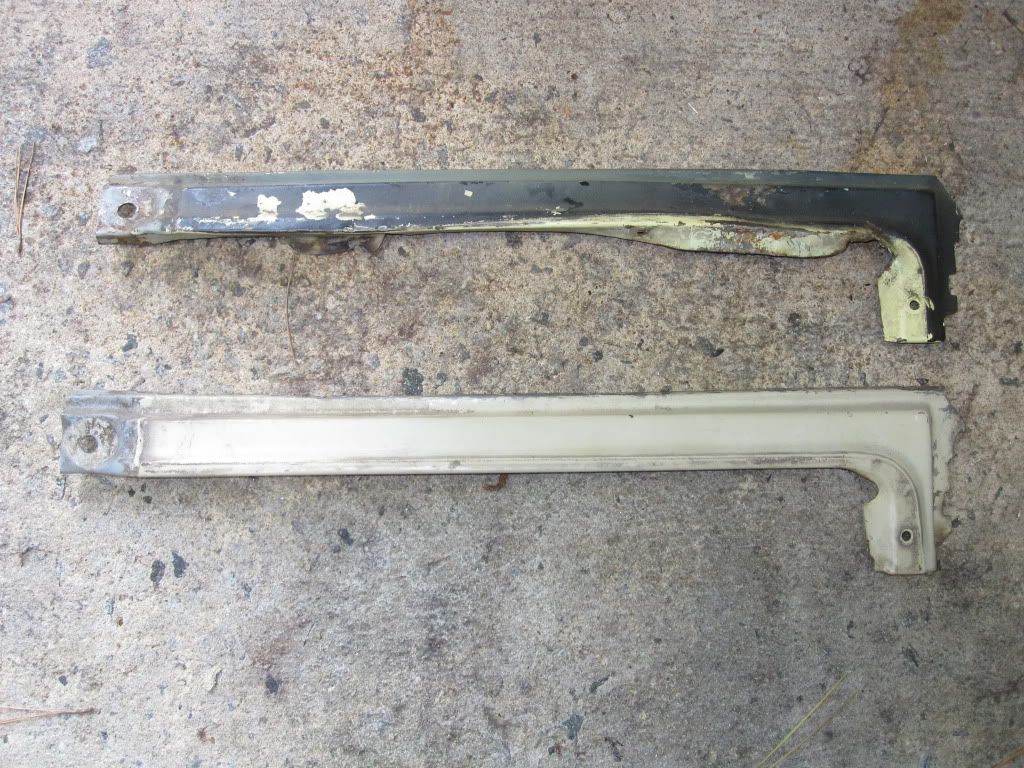
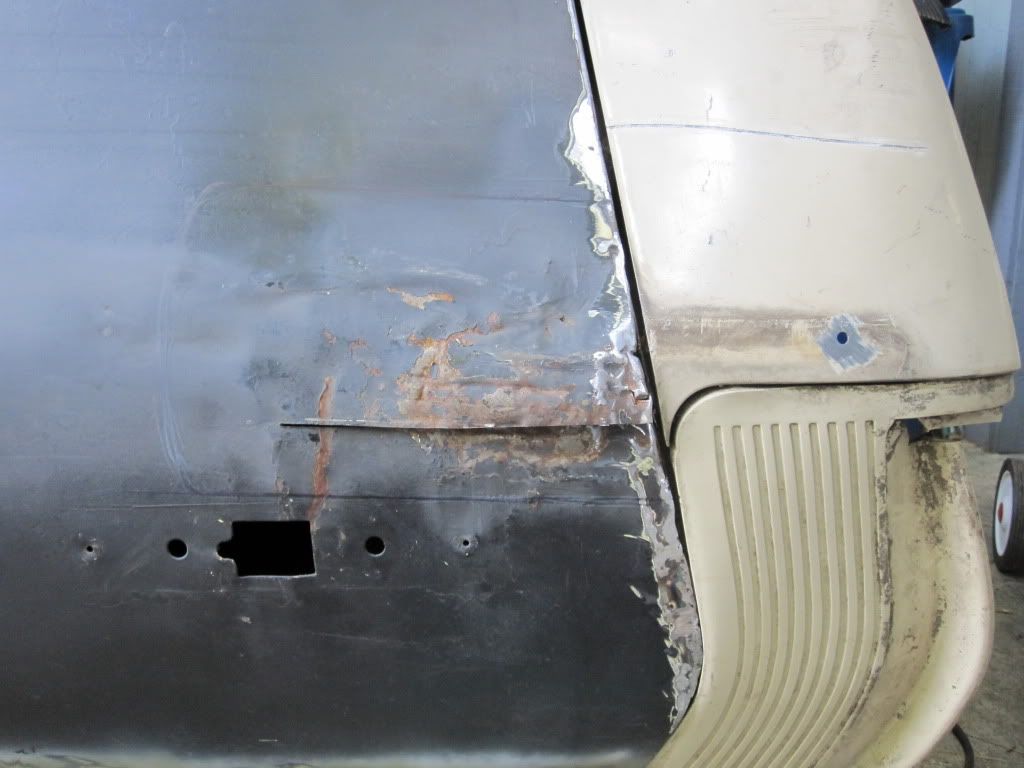
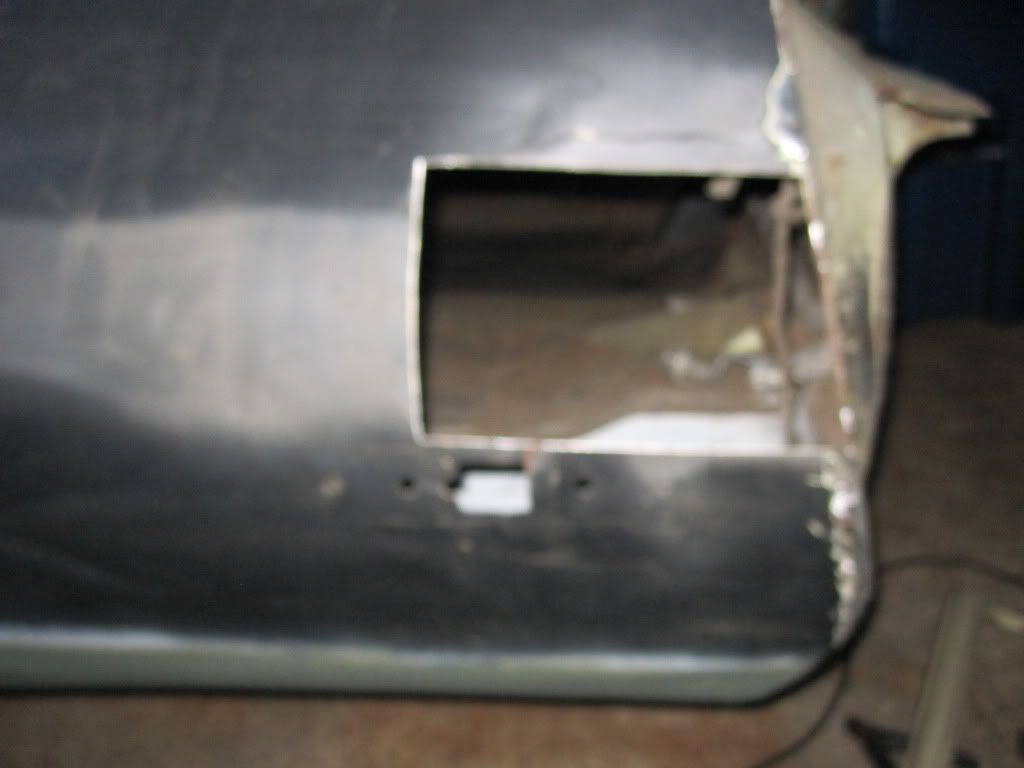
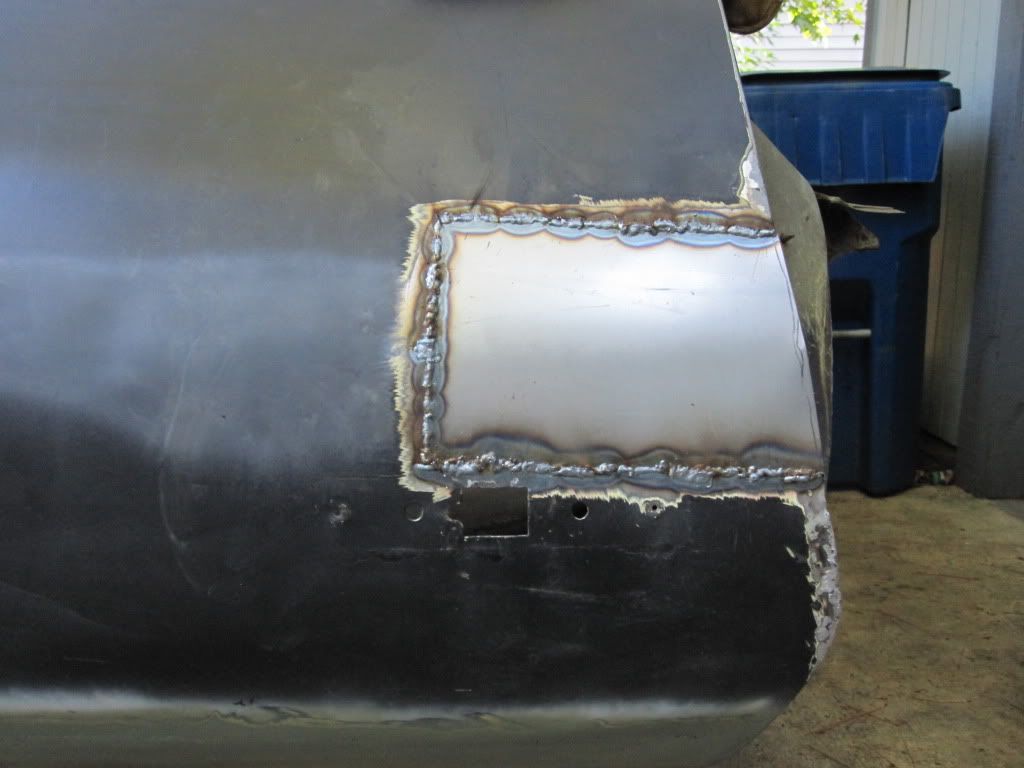
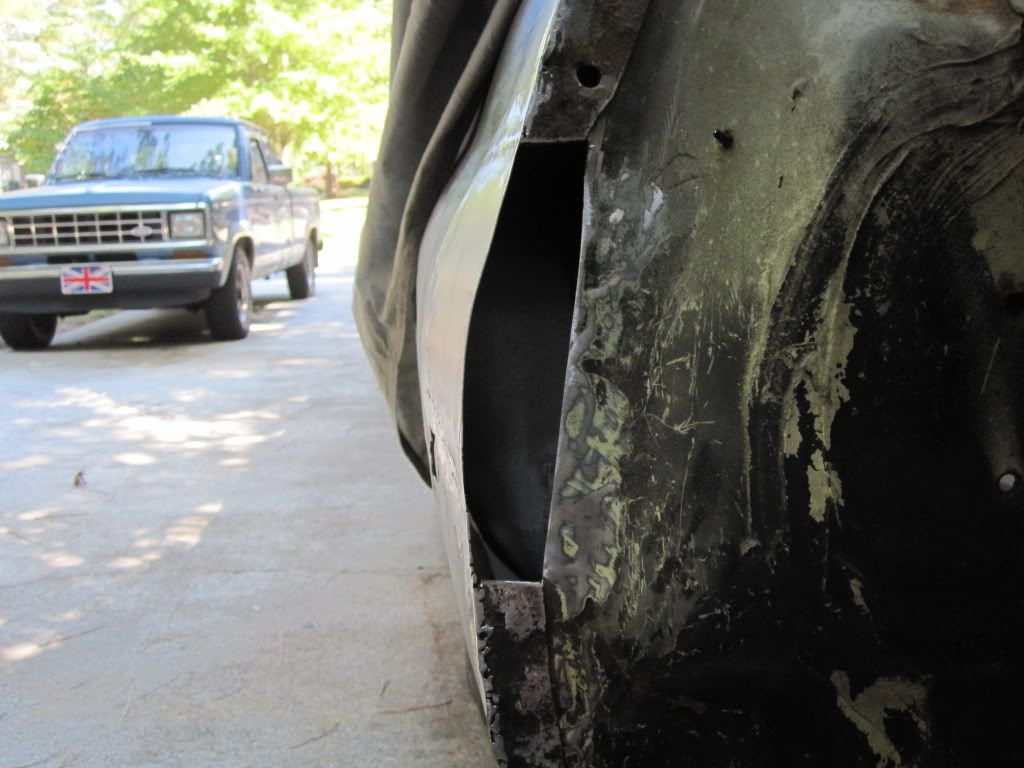
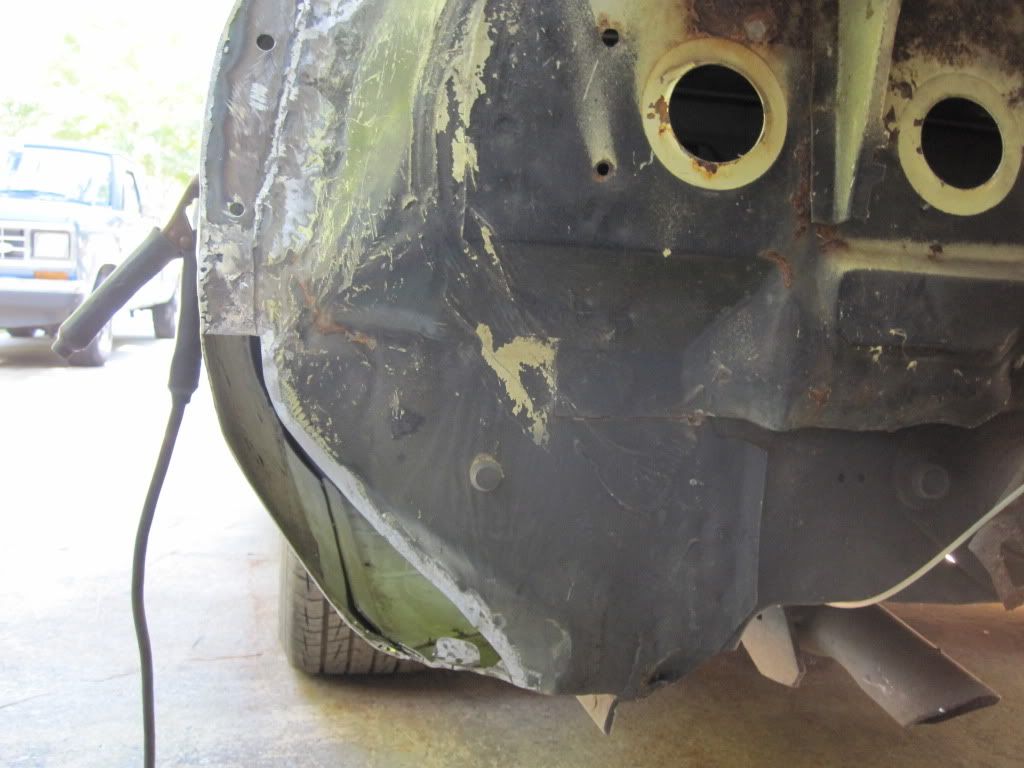
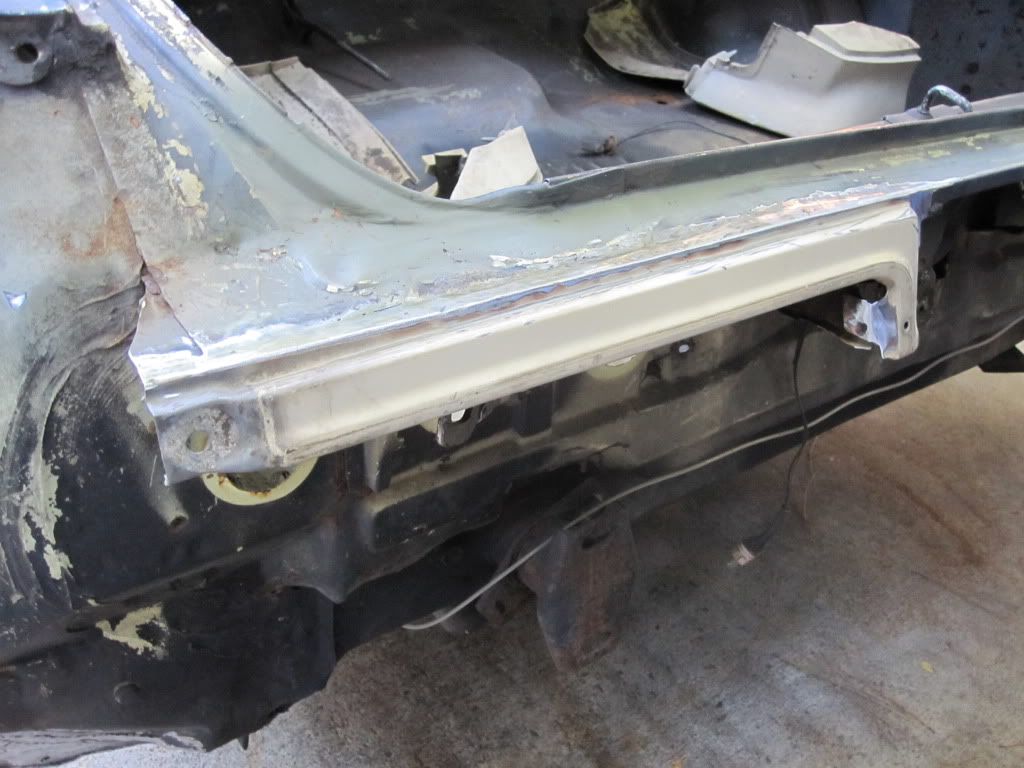
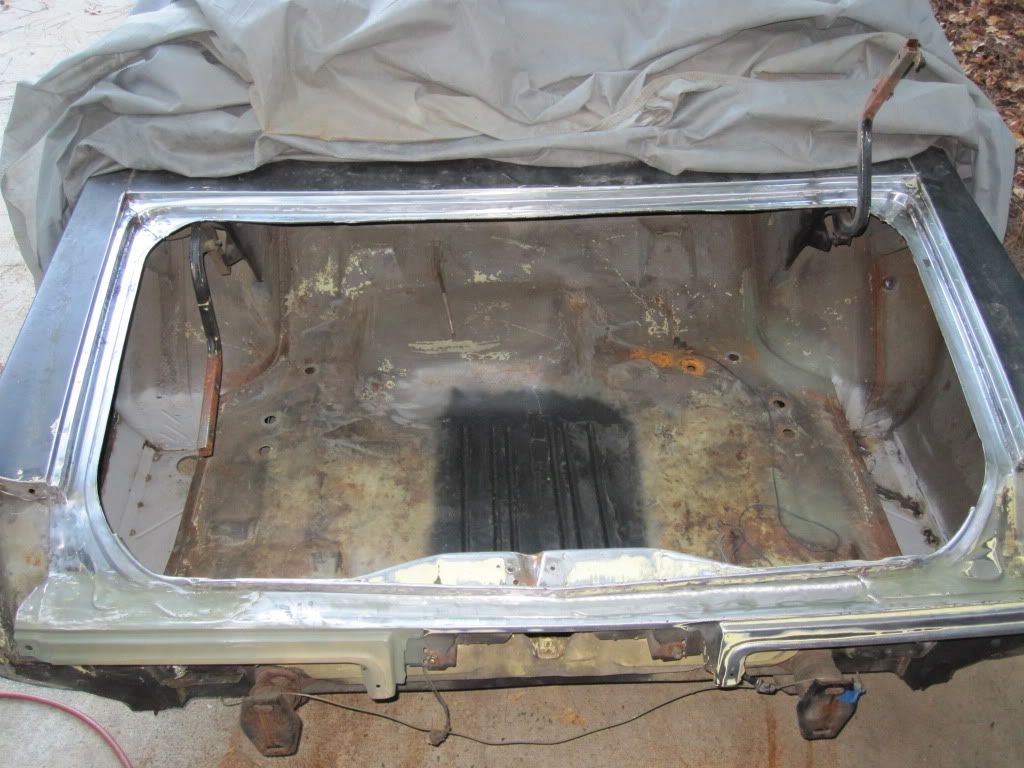
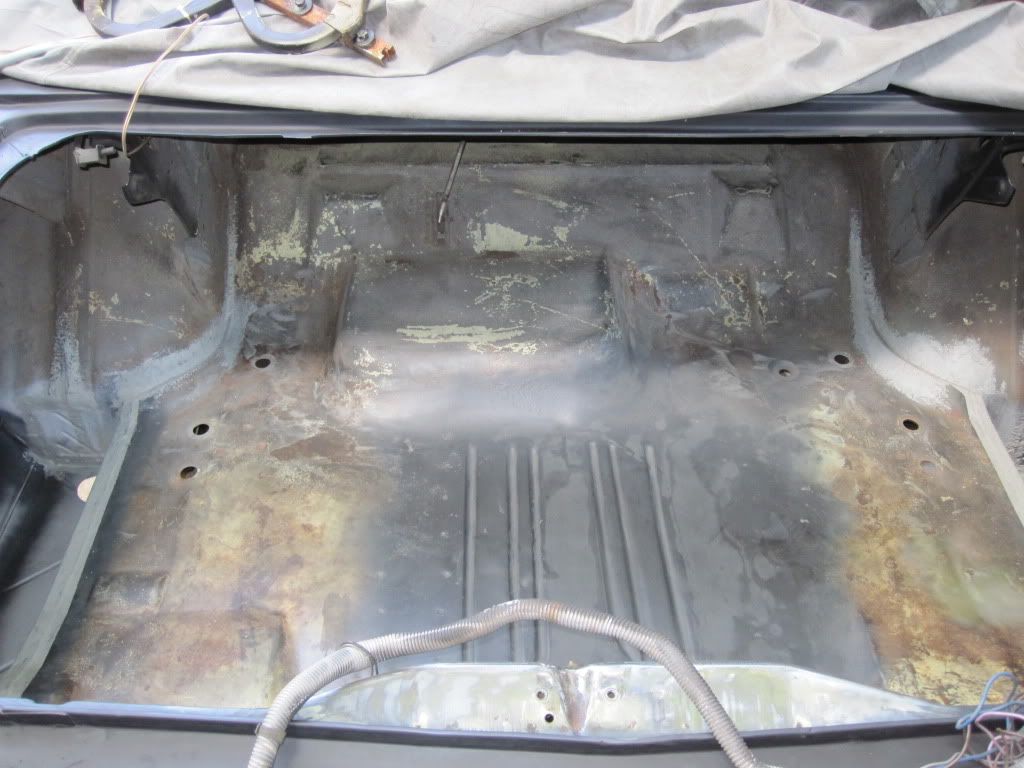
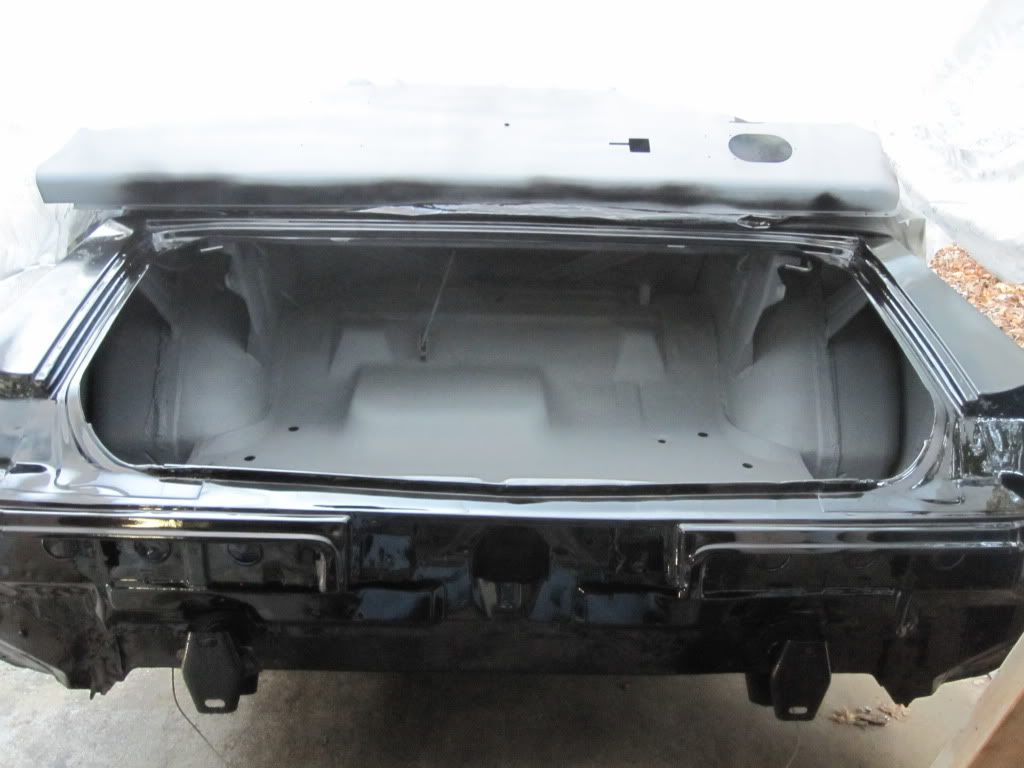
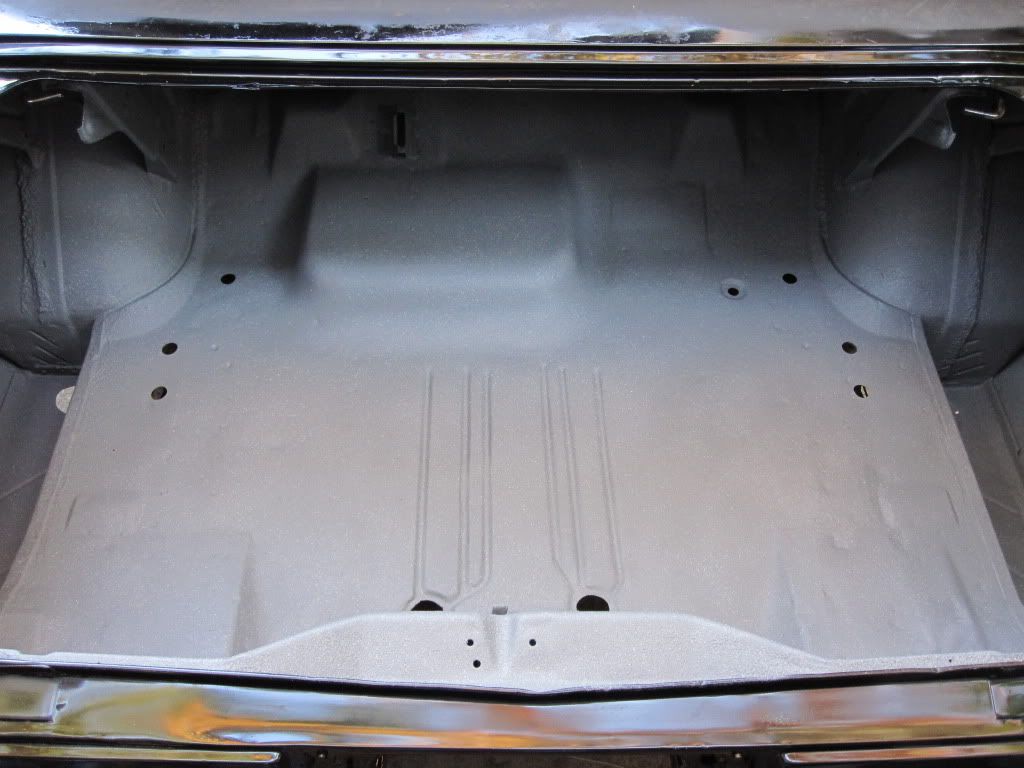
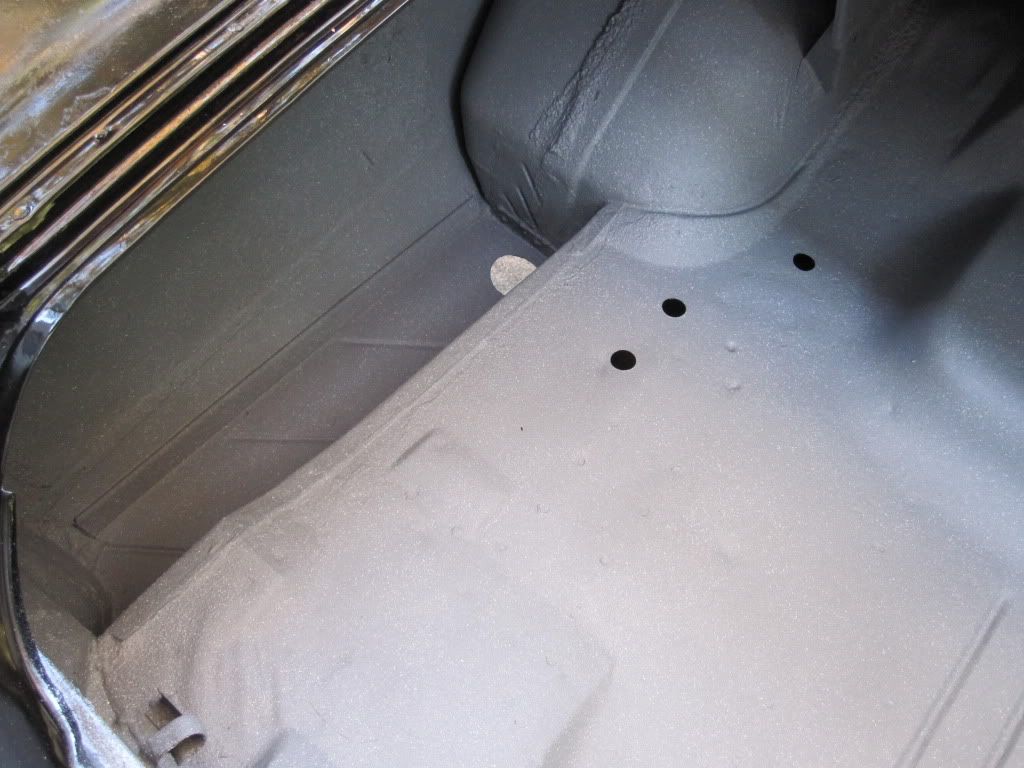
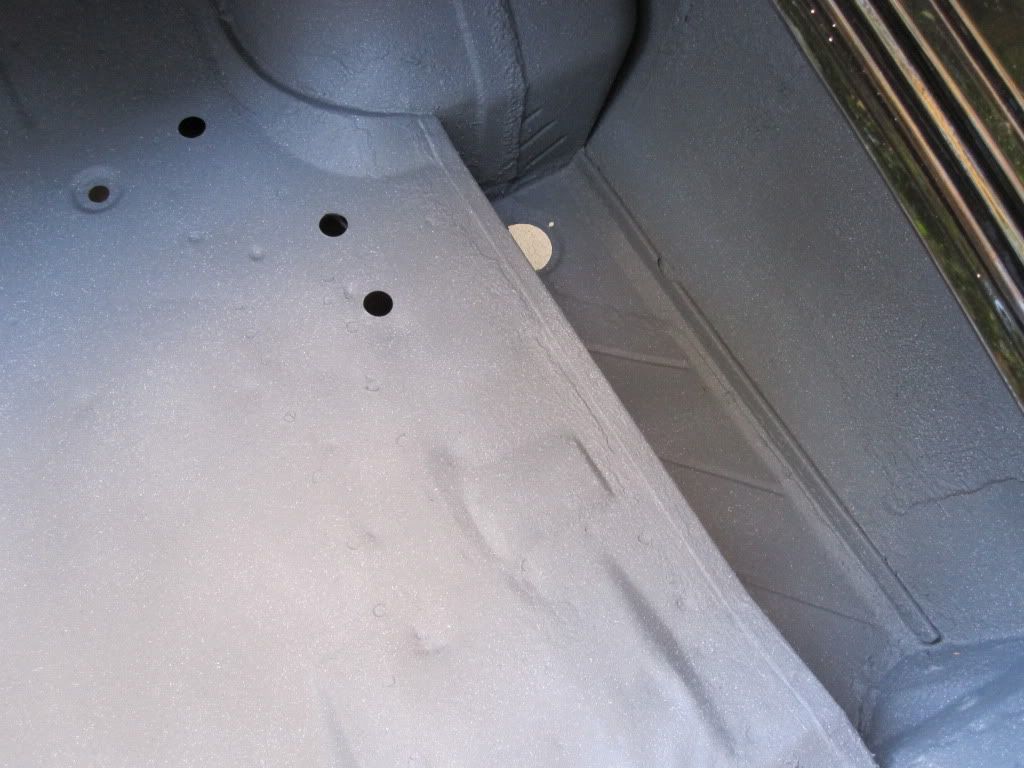
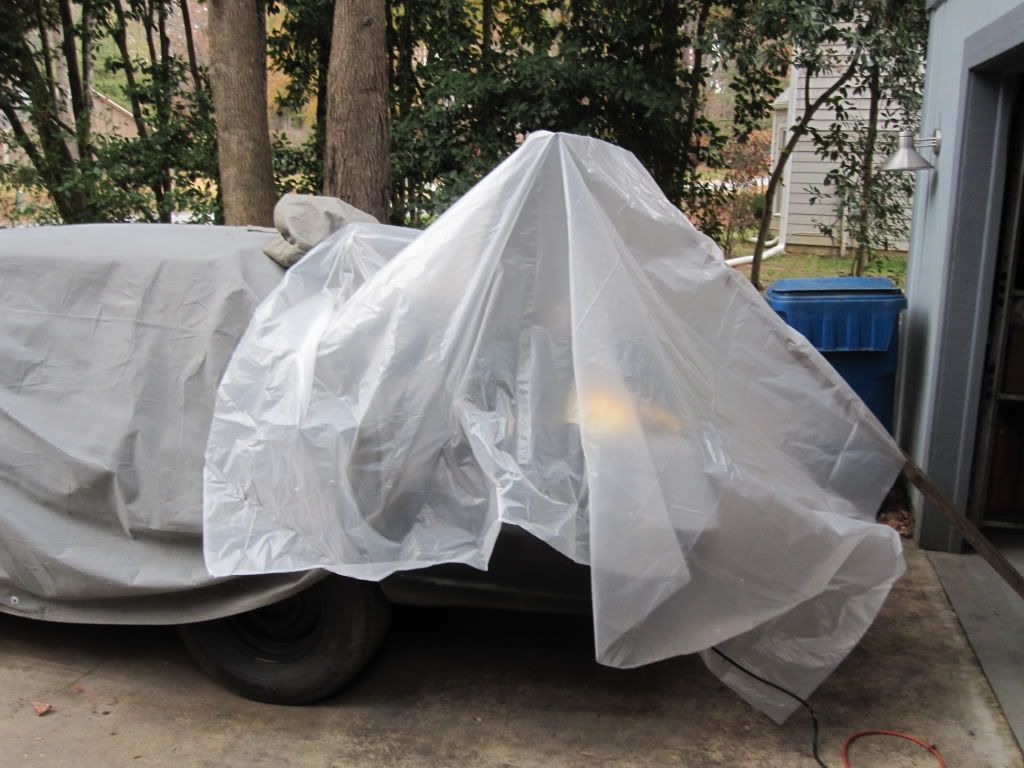
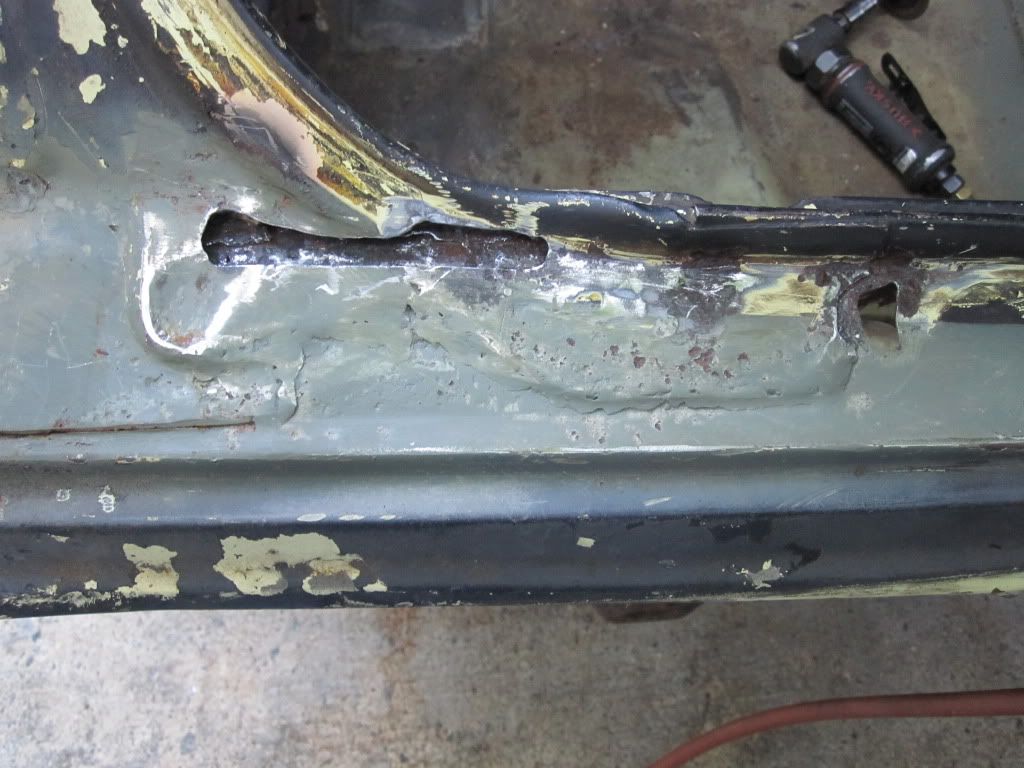
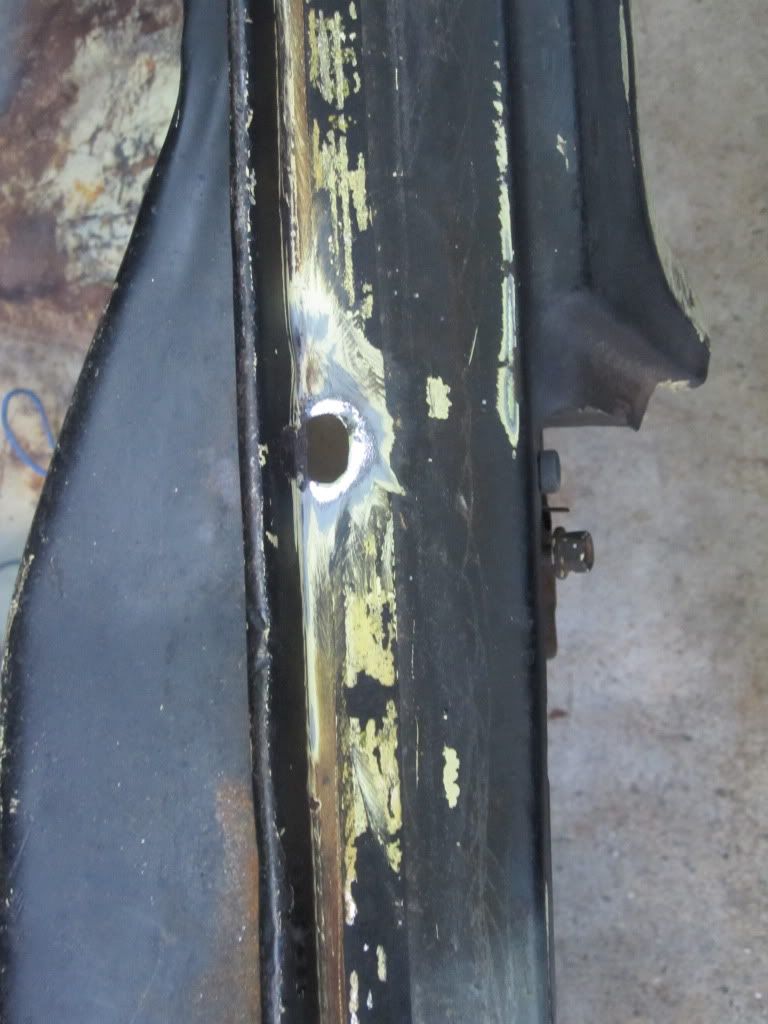
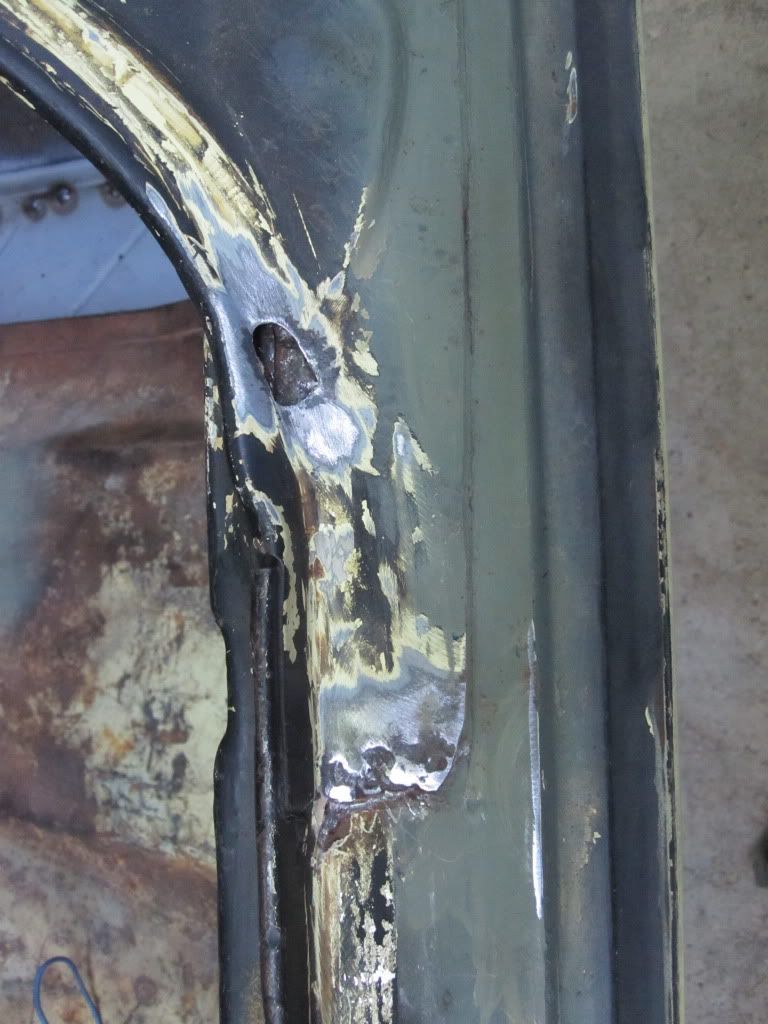
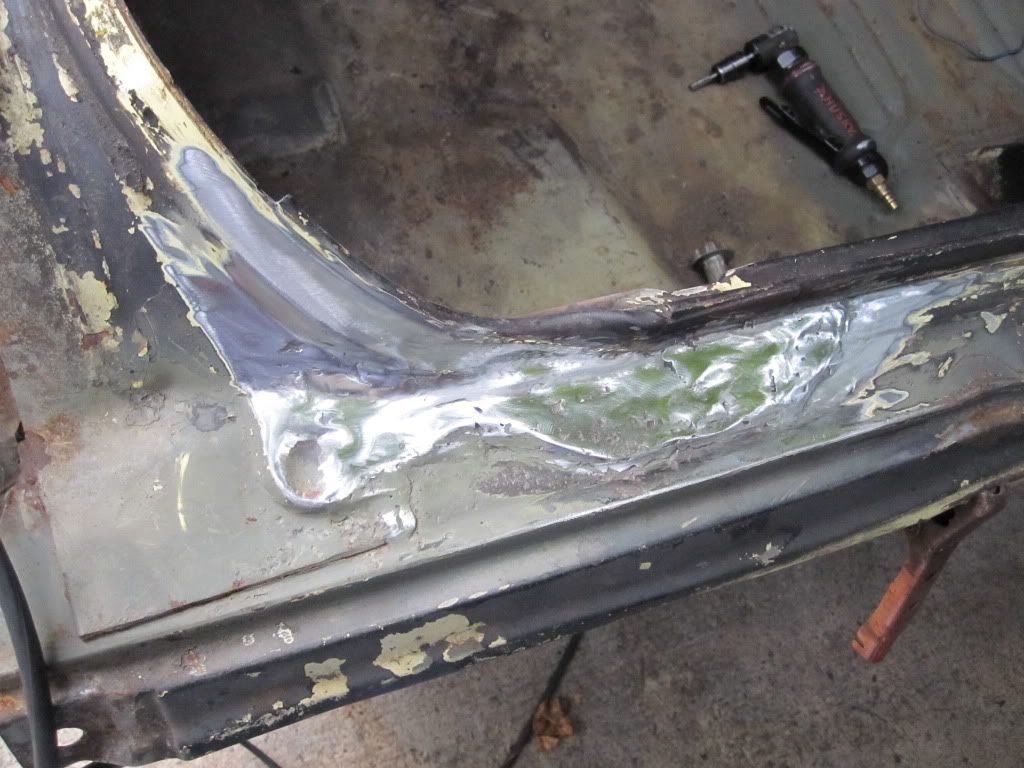
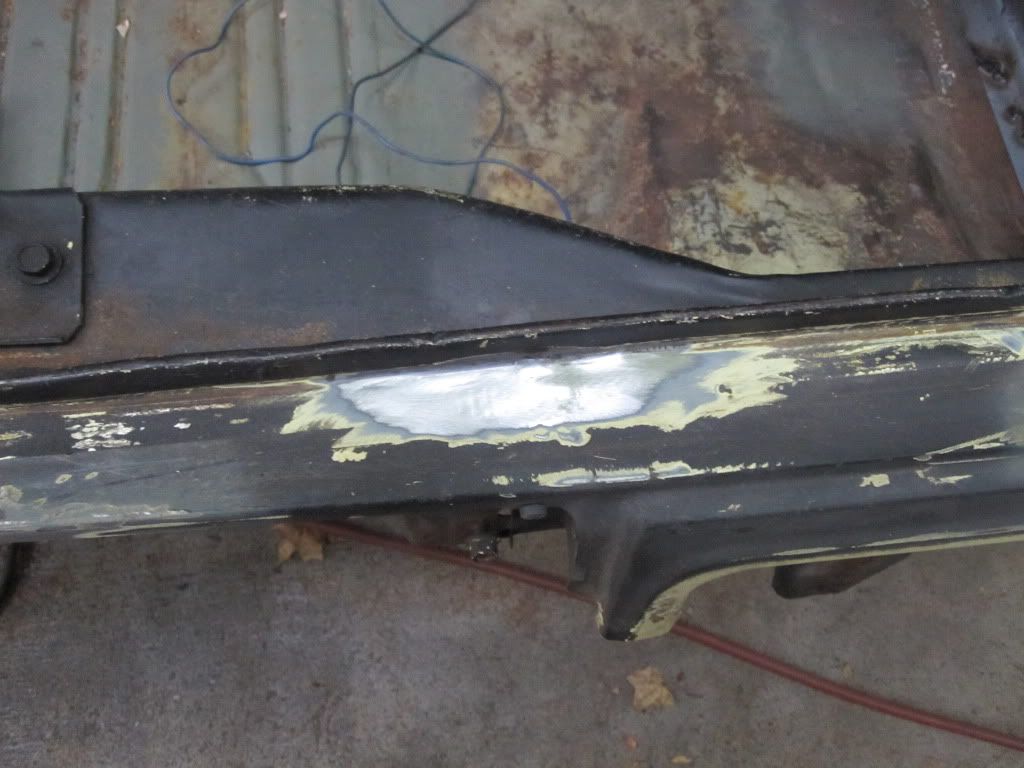
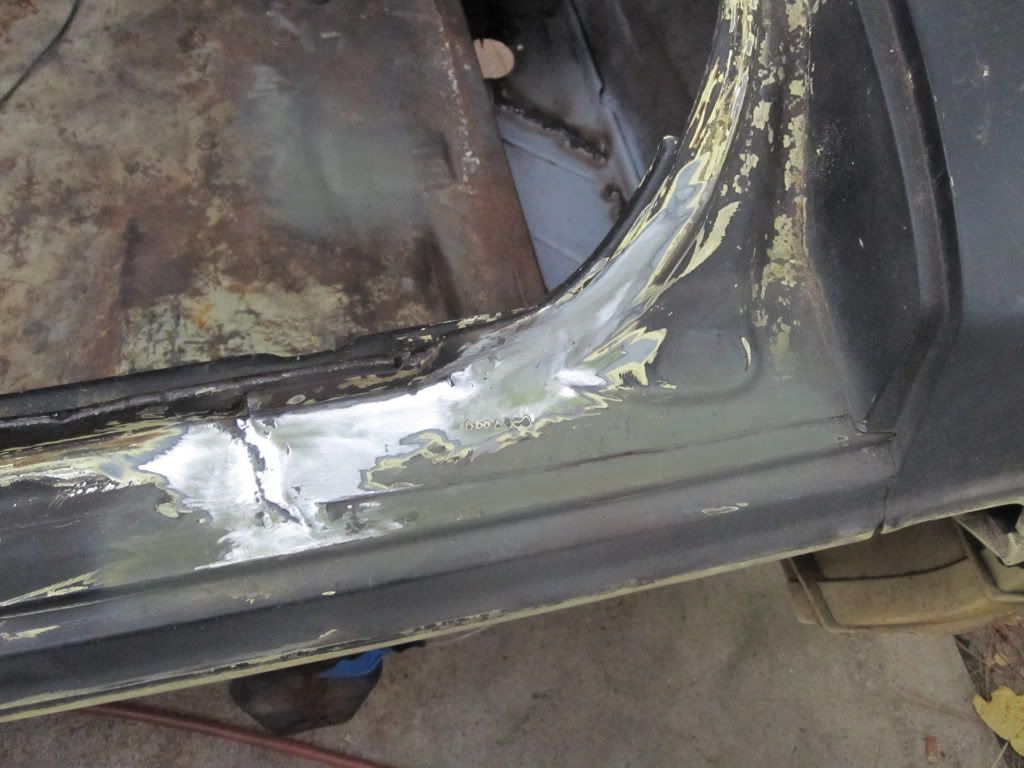
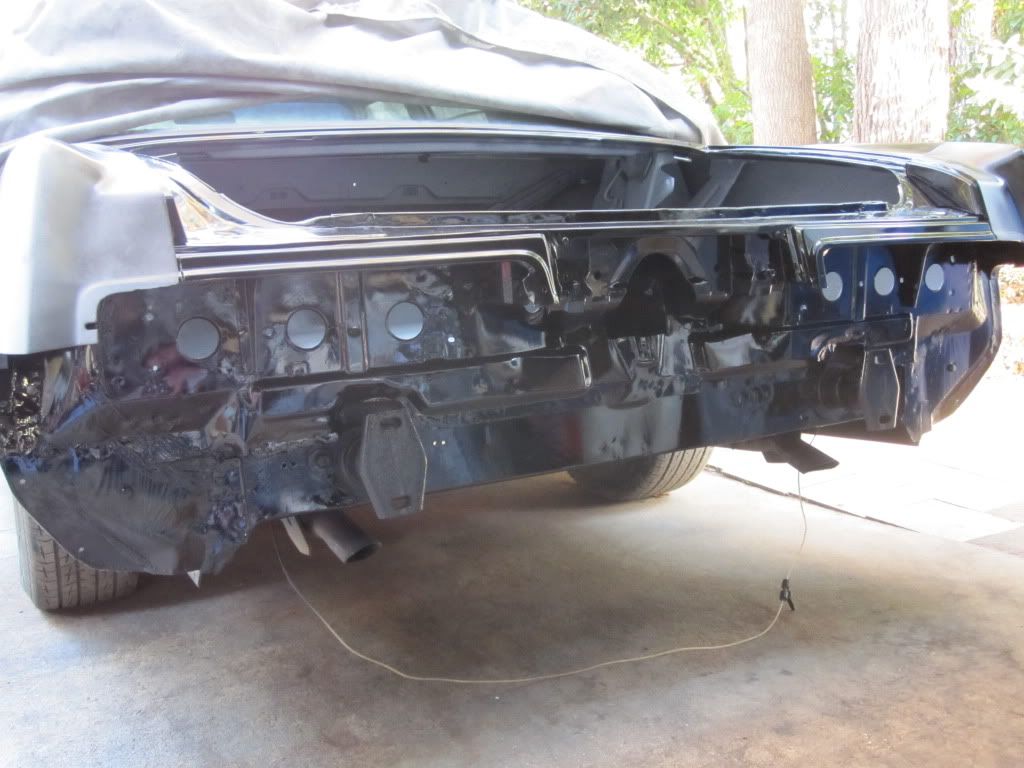
The two bolts on the passenger side was how I took it off of the 400. I just cleaned them up and reinstalled them on the 440. I would be a little suspect of the single bolt in the Fury, usually you don't want the bolt threads in bearing, you would want the shank to go through the casting and the threads to protrude just past the mount. Does the parts manual show anything about mount bolt set ups? It would be interesting if Mopar had issued a service letter or assembly change at some point. The engine came from Advanced as a short block. You get block, pistons, crank, heads, oil pump. You provide intake, water pump, fuel pump, valve covers and oil pan, distributor, carb, alternator. Now that the engine is in, what about the rest of the car, well you might as well as... fix that nasty tire blow out and trunk first. The car had also been hit in the back drivers side. It pushed the trunk in some and pushed the rear fender in and out in areas. 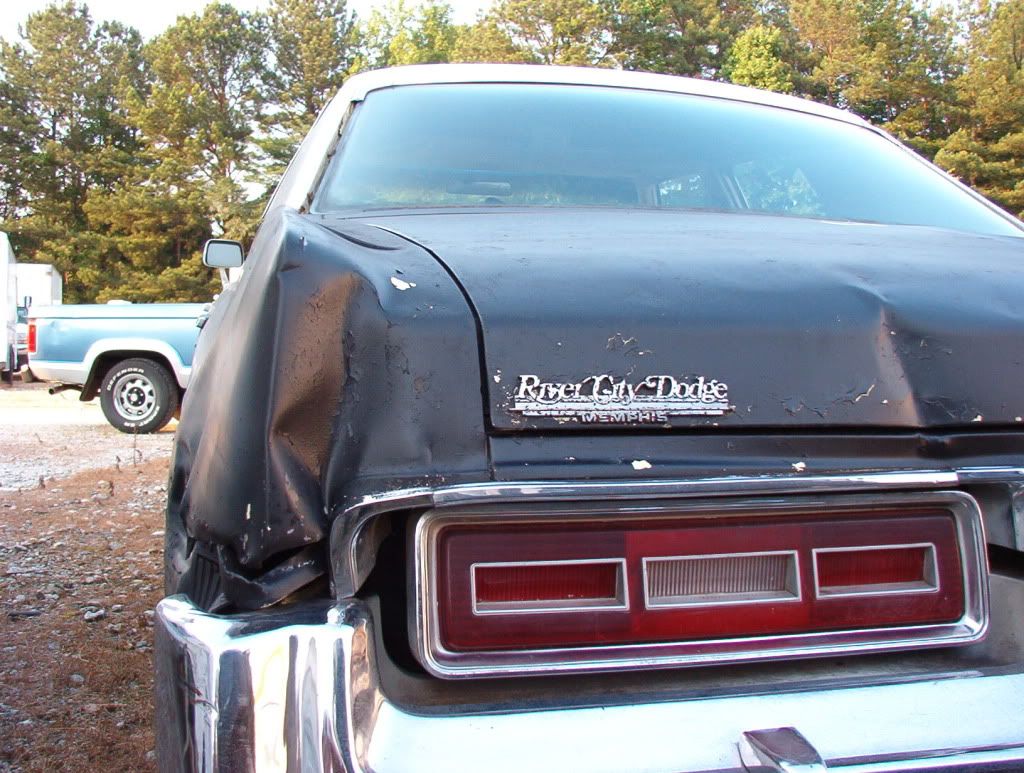 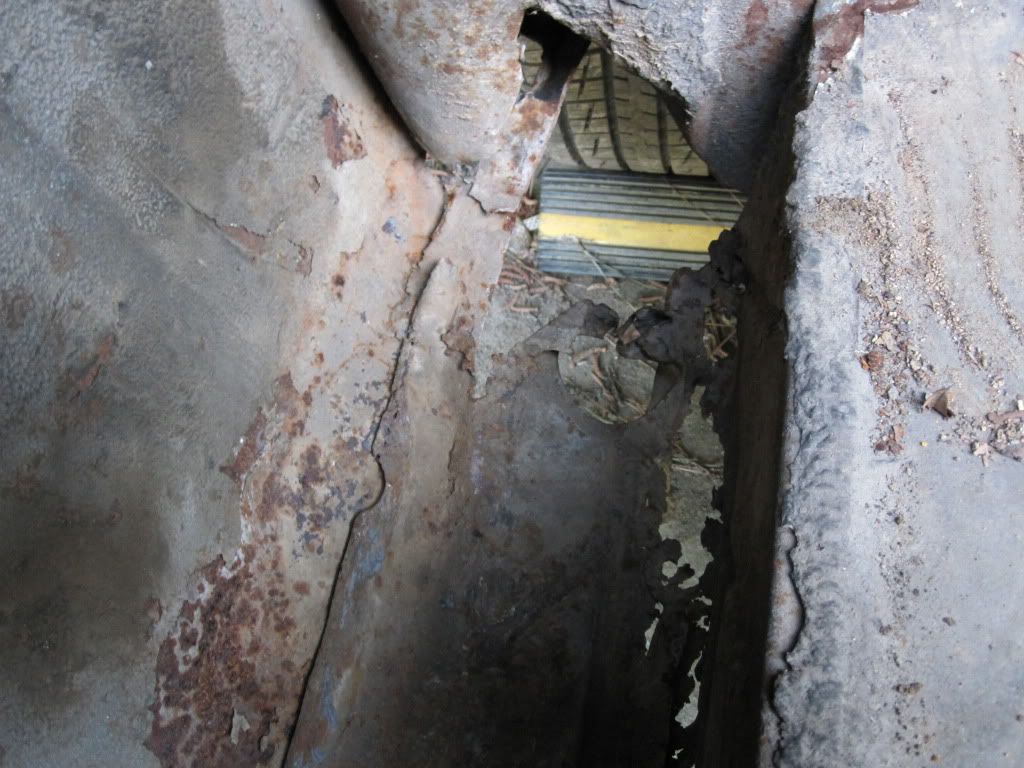 I don't think you should see the rear tire from the trunk. 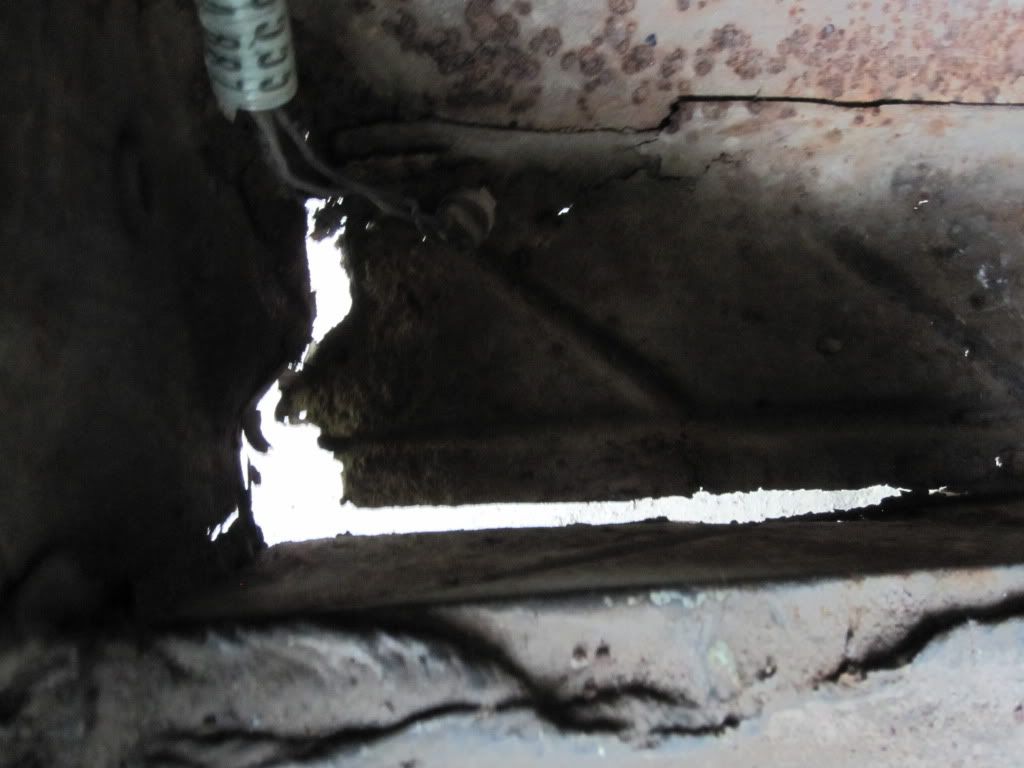 The rear of the drivers side lower trunk. 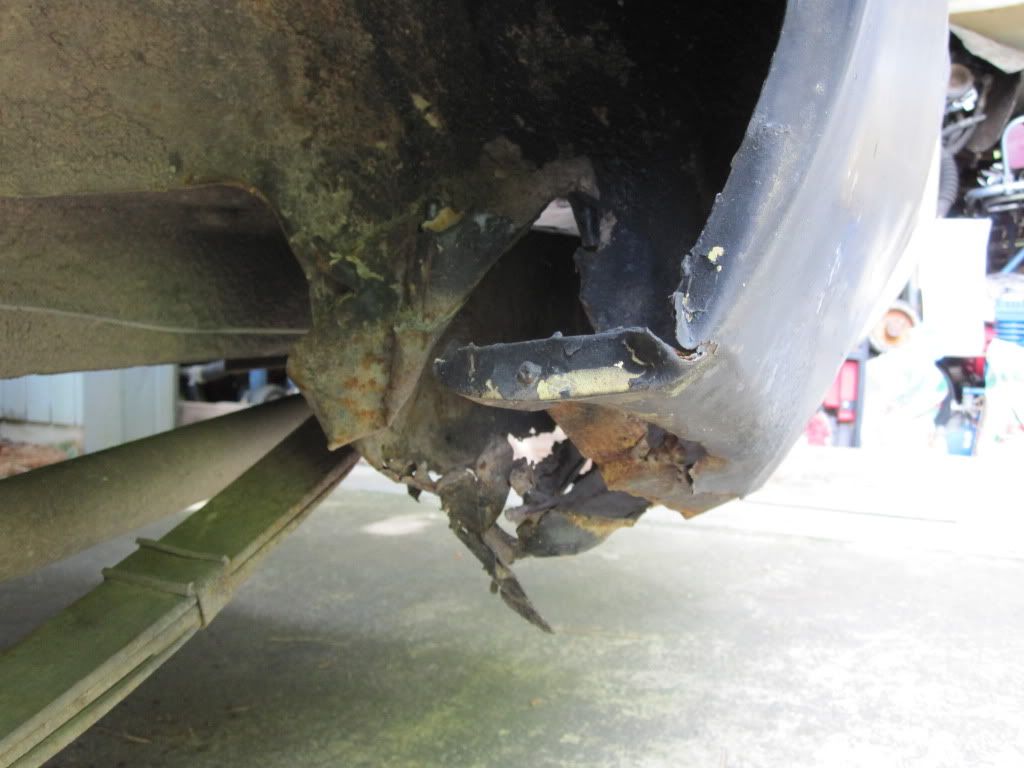 Mangled tire damage MMMMMMM. 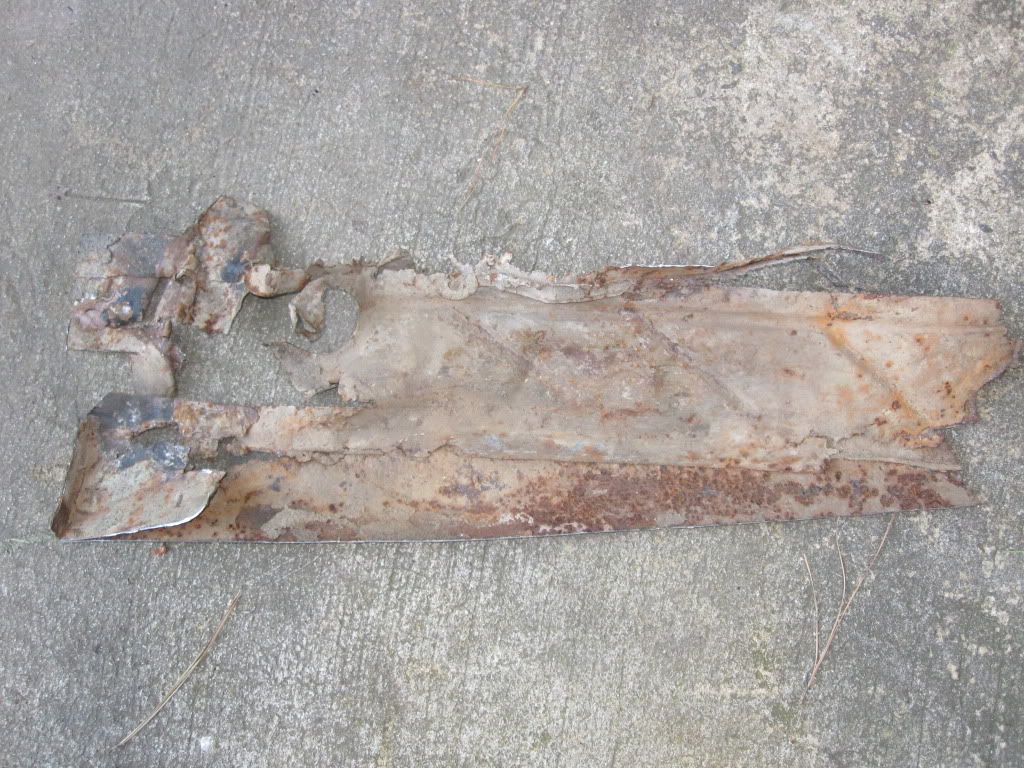 Cut it out. 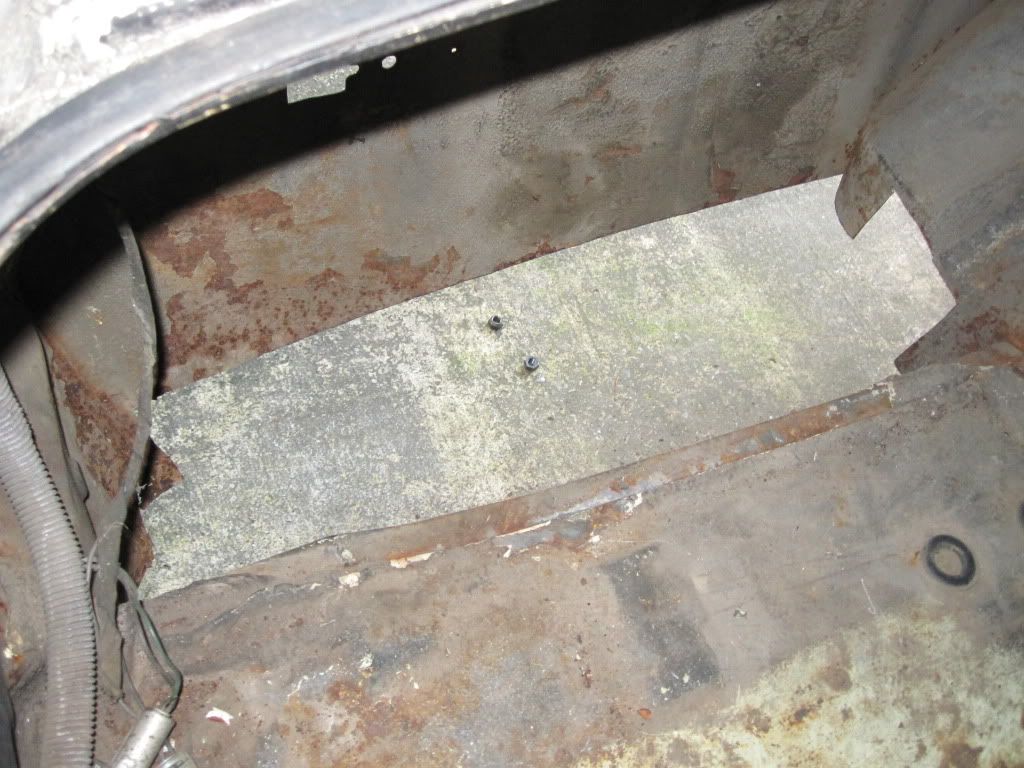 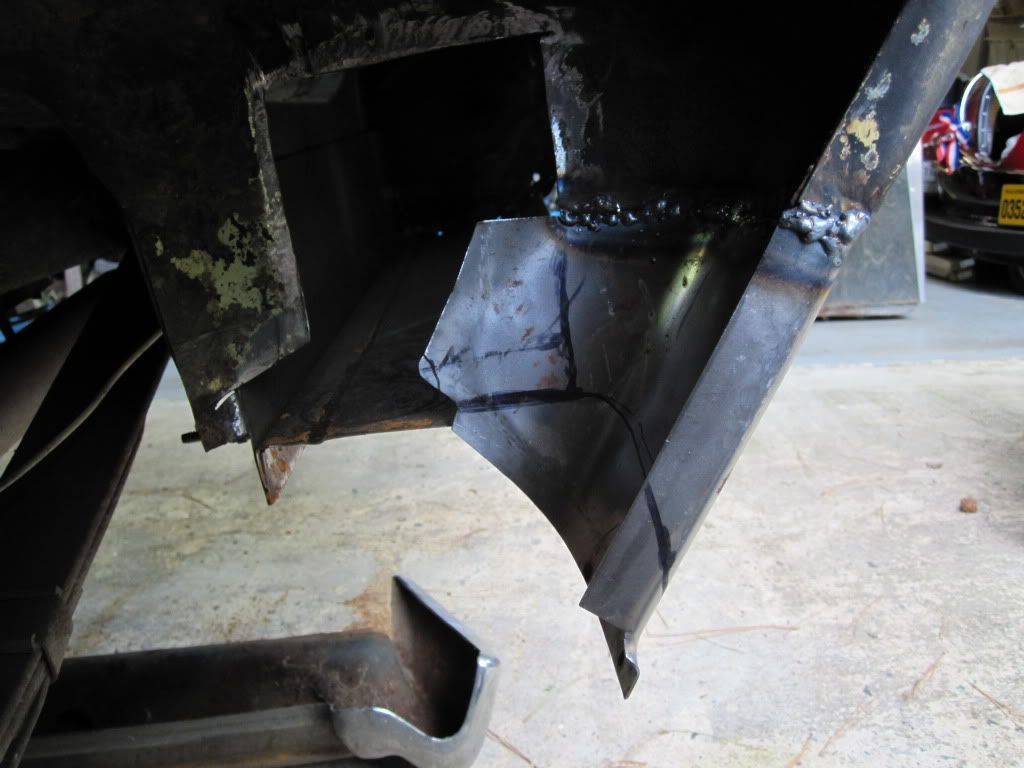 Start making and welding in repair pieces. 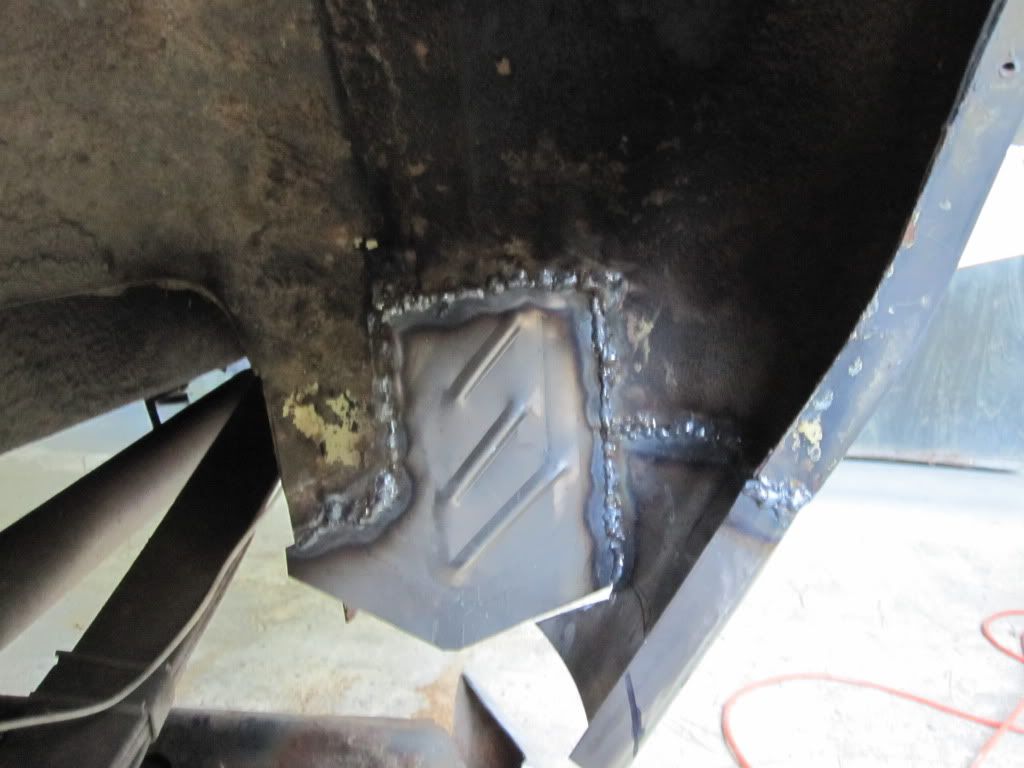 The inner fender that is straight now will be pie cut when the outer lower quarter panel is fit up to it and curved in. 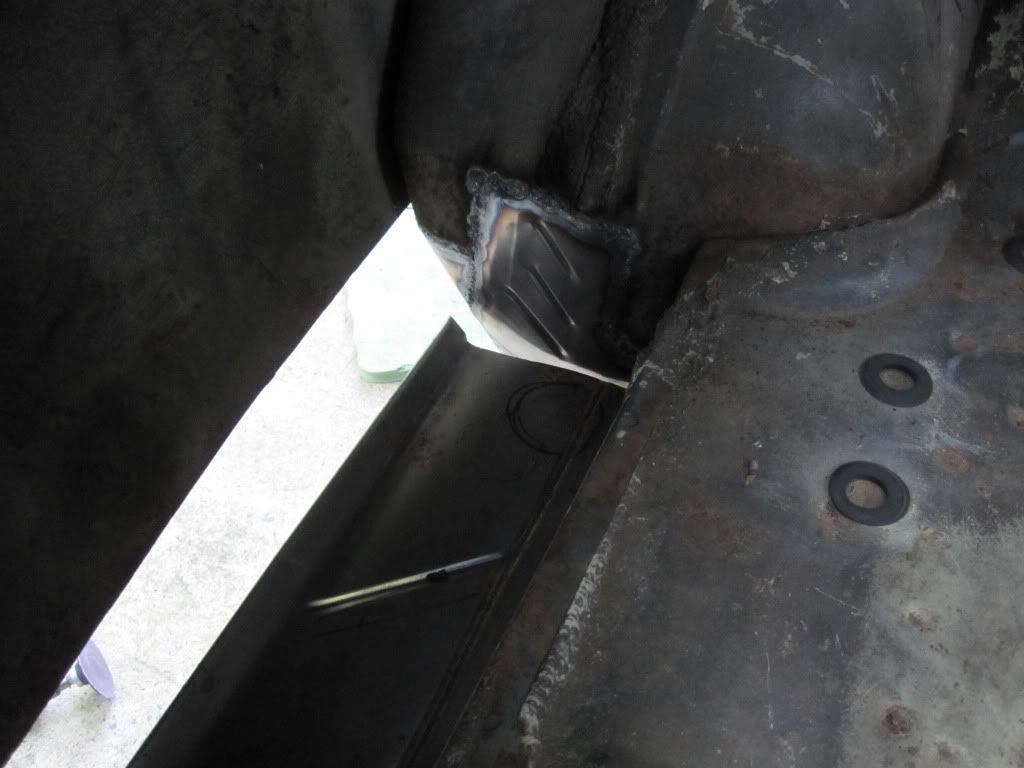 Fabricated new bottom closeout panel and lower quarter panel. 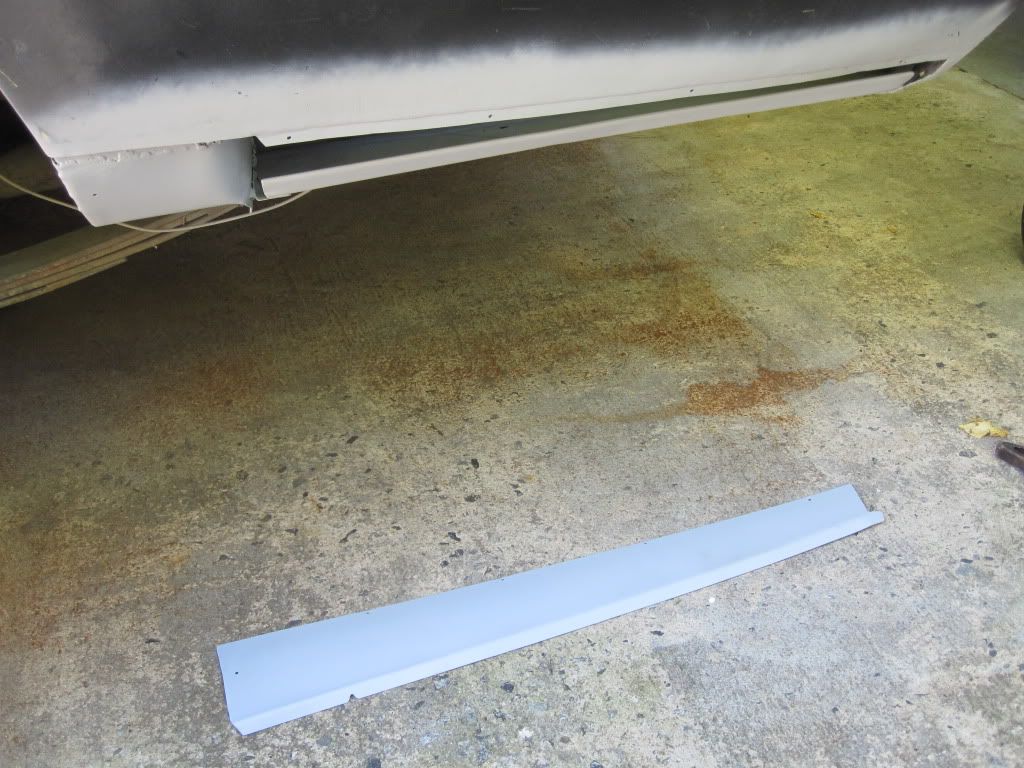 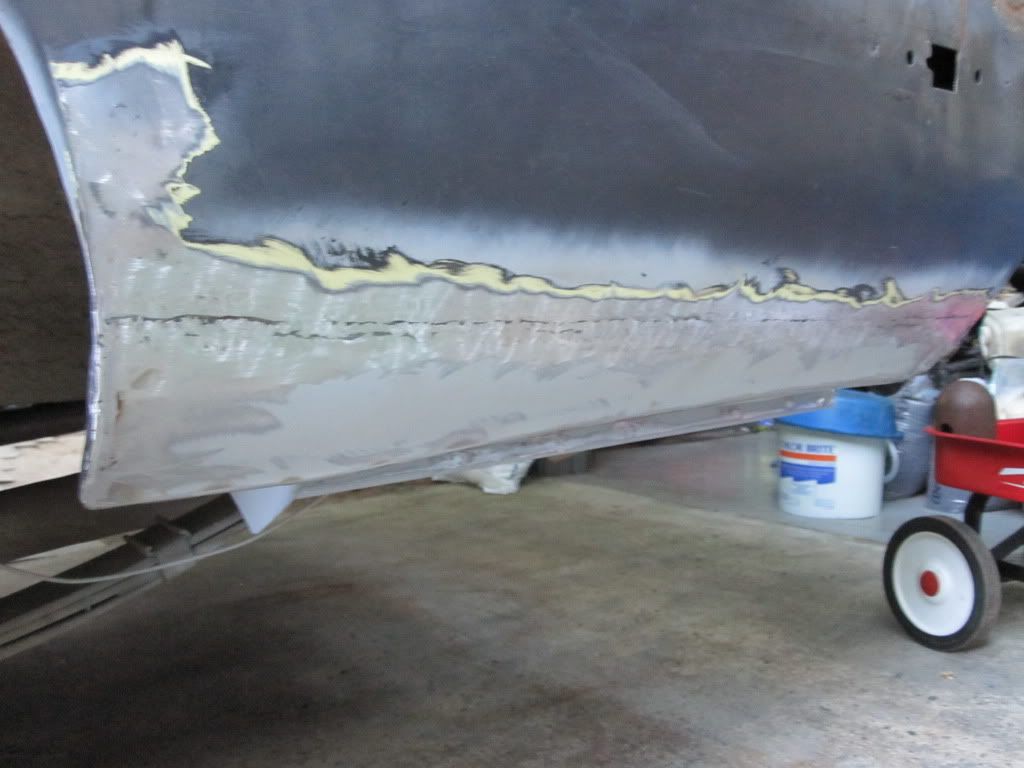 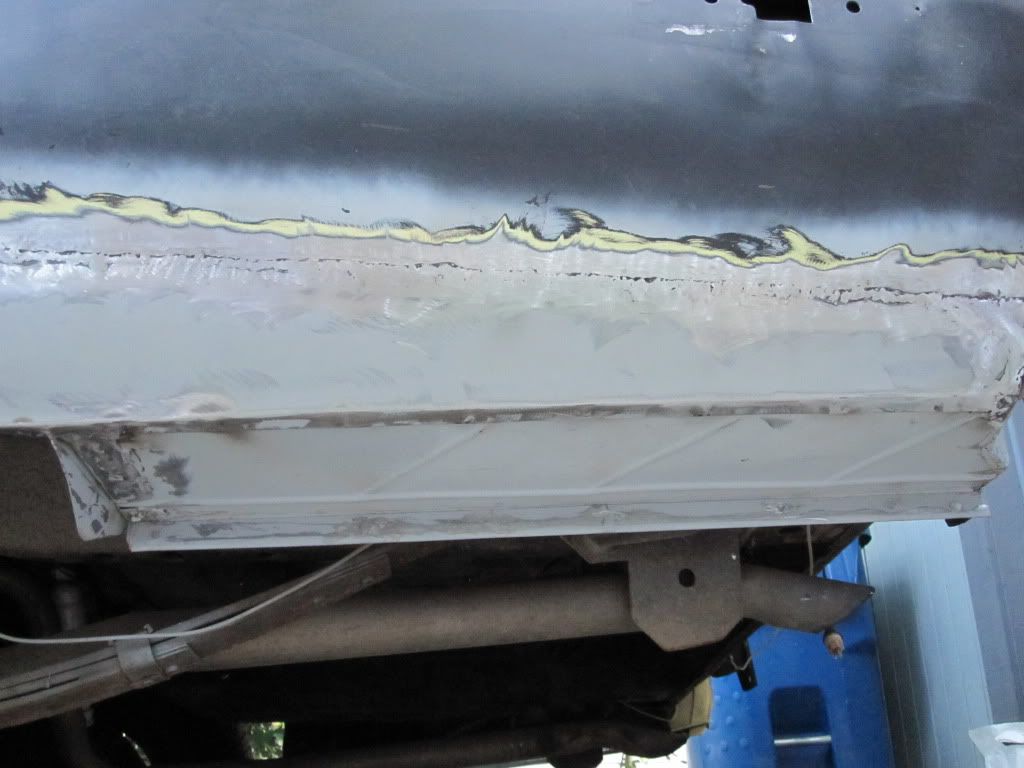  The rear part of this trunk floor will get welded in after some rust is dealt with at the aft end. |
|
|
|
Post by blusmbl on Mar 2, 2012 20:55:26 GMT -5
|
|
|
|
Post by blusmbl on Mar 3, 2012 18:51:38 GMT -5
|
|
|
|
Post by blusmbl on Mar 4, 2012 21:17:46 GMT -5
|
|
|
|
Post by blusmbl on Mar 5, 2012 20:46:16 GMT -5
|
|
|
|
Post by blusmbl on Mar 5, 2012 21:04:35 GMT -5
|
|
|
|
Post by spanks79 on Mar 5, 2012 21:24:45 GMT -5
Wow, inspiring work blusmo! This is the kind of modivation I need after getting a bit of a dose of reality as I had a chance to dig into my car today. It's a lot of work, but worth it.
|
|
|
|
Post by Steam McQueen on Mar 6, 2012 18:15:09 GMT -5
Your cuttin', fabbin' and weldin' of that metal are works of art, Jeff. Love the improv work, too. Not just the paint booths but using a booster cable as a clamp? Lol, great stuff.  |
|
|
|
Post by blusmbl on Mar 6, 2012 20:38:57 GMT -5
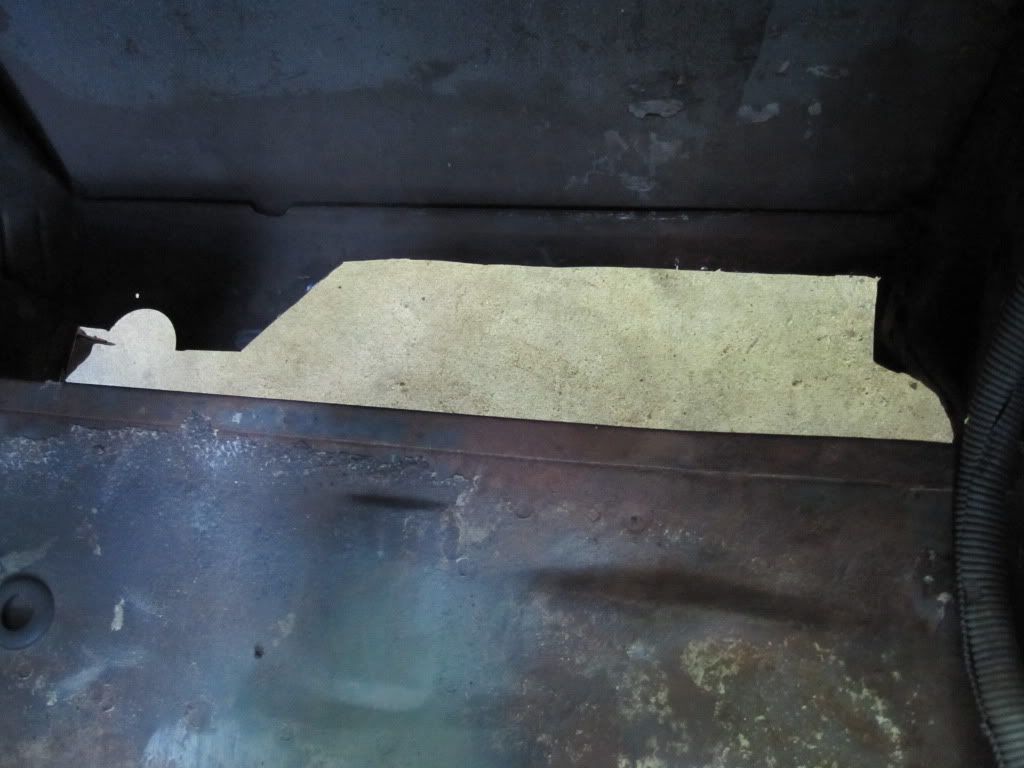
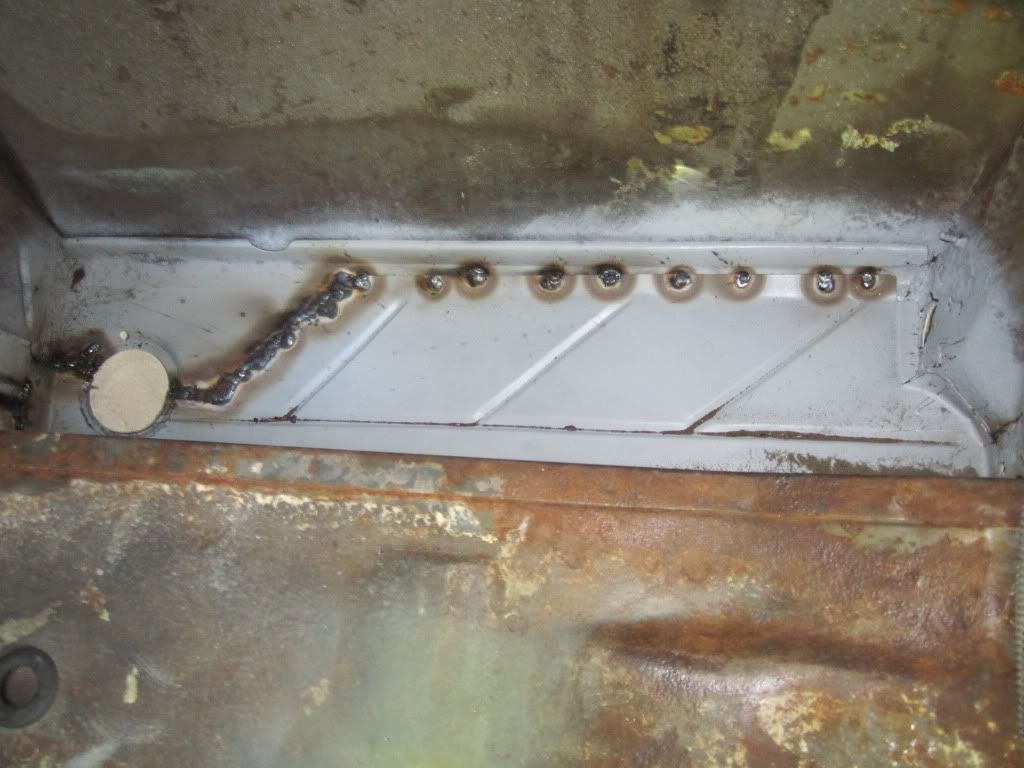
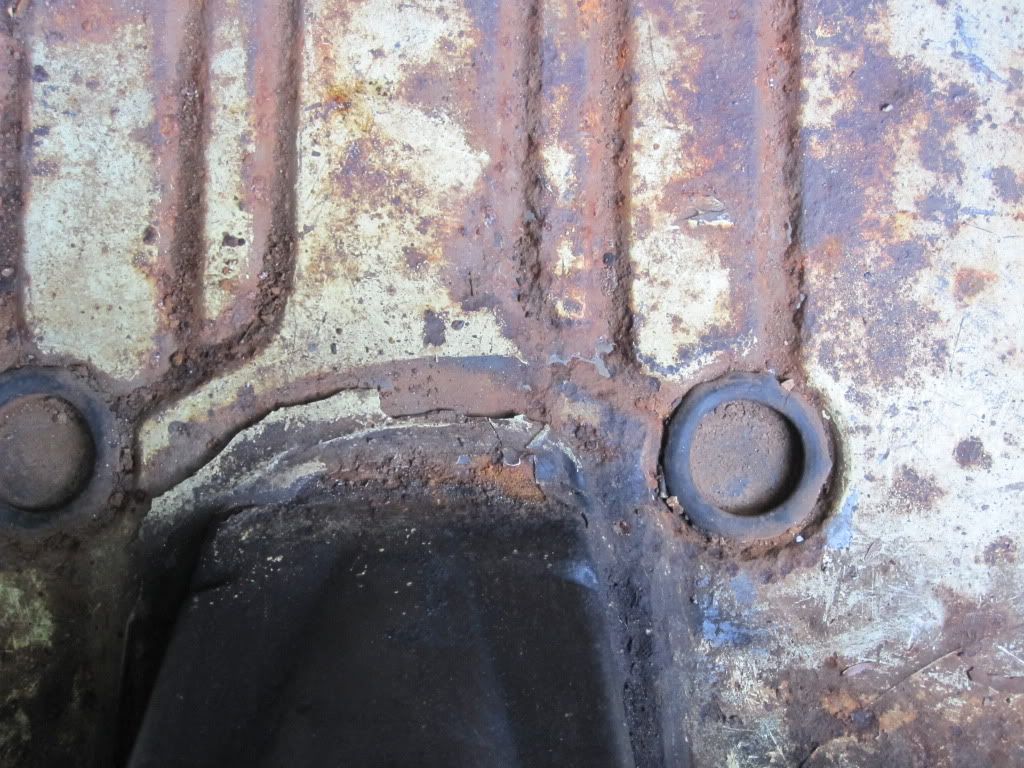
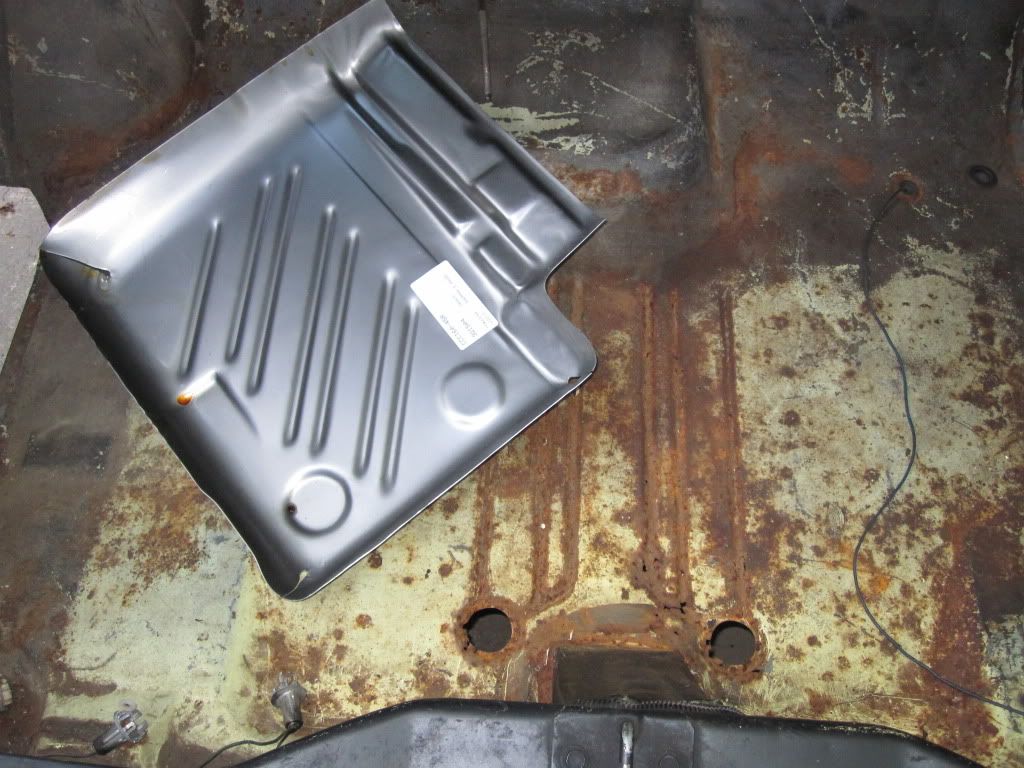
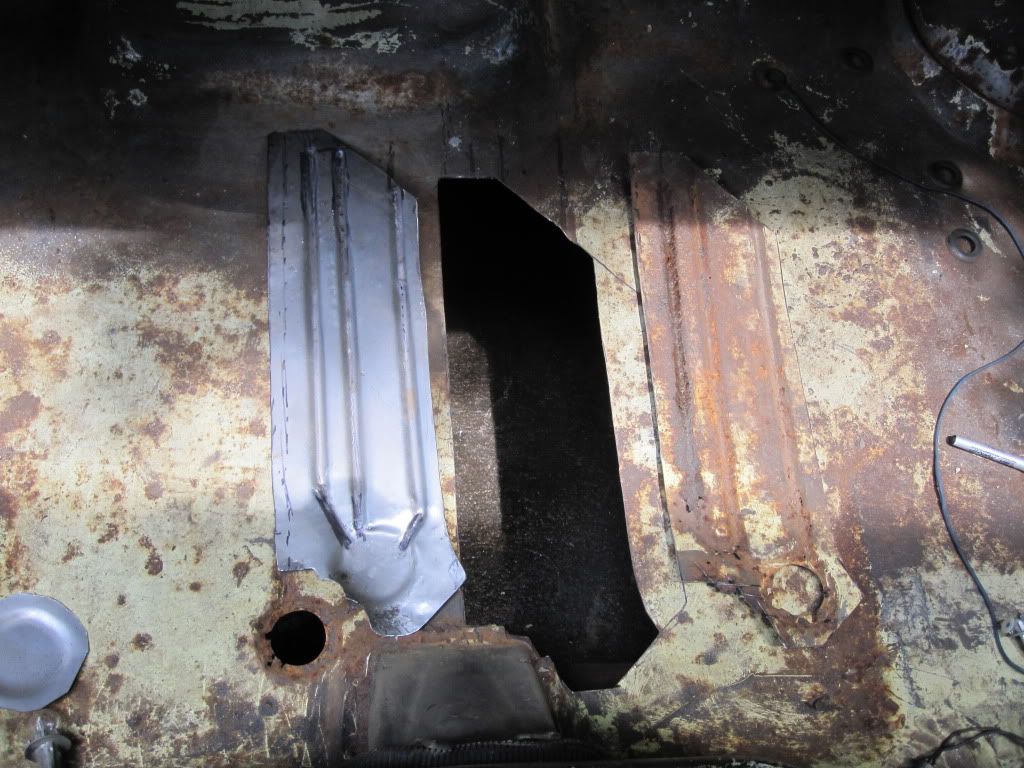
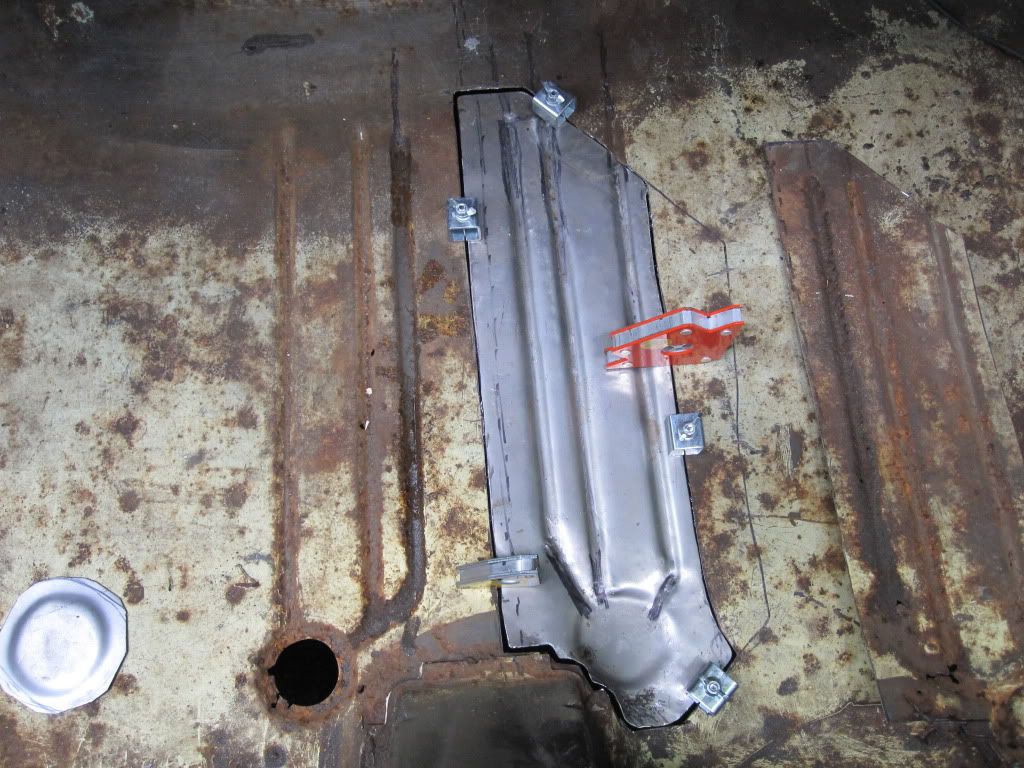
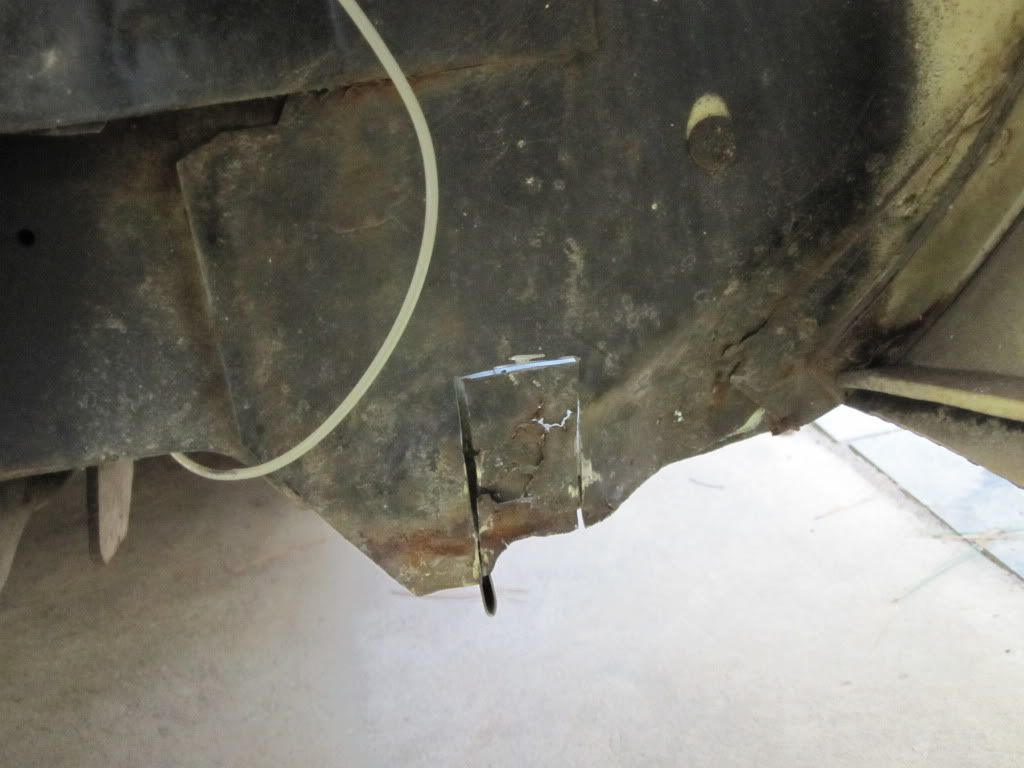
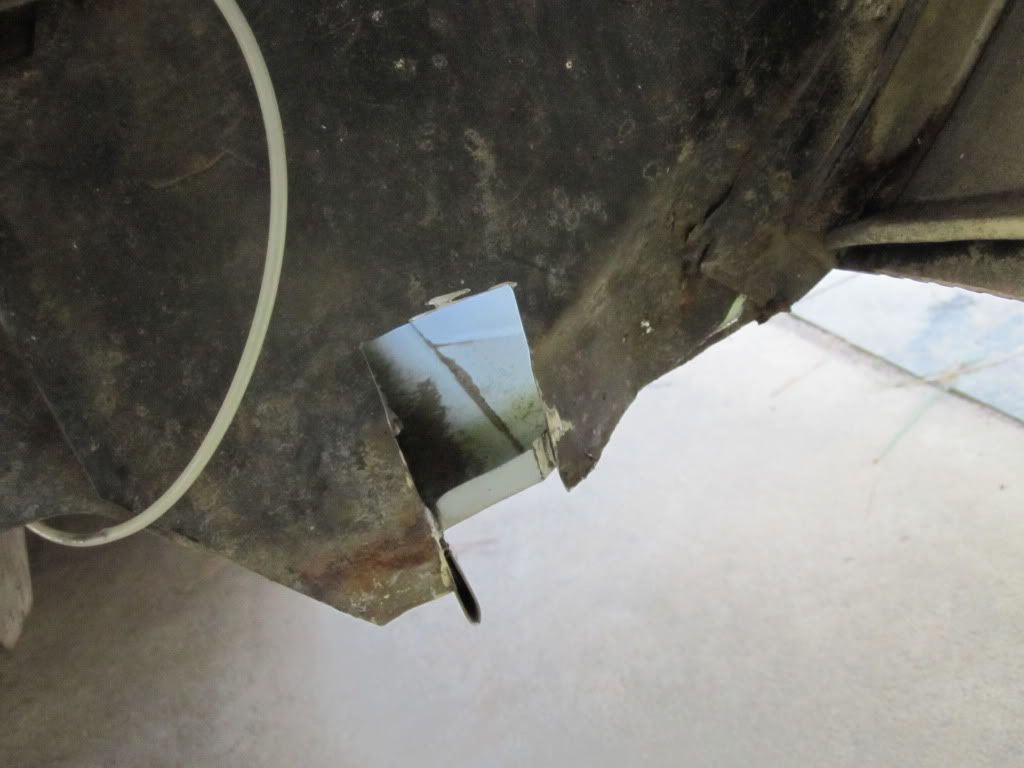
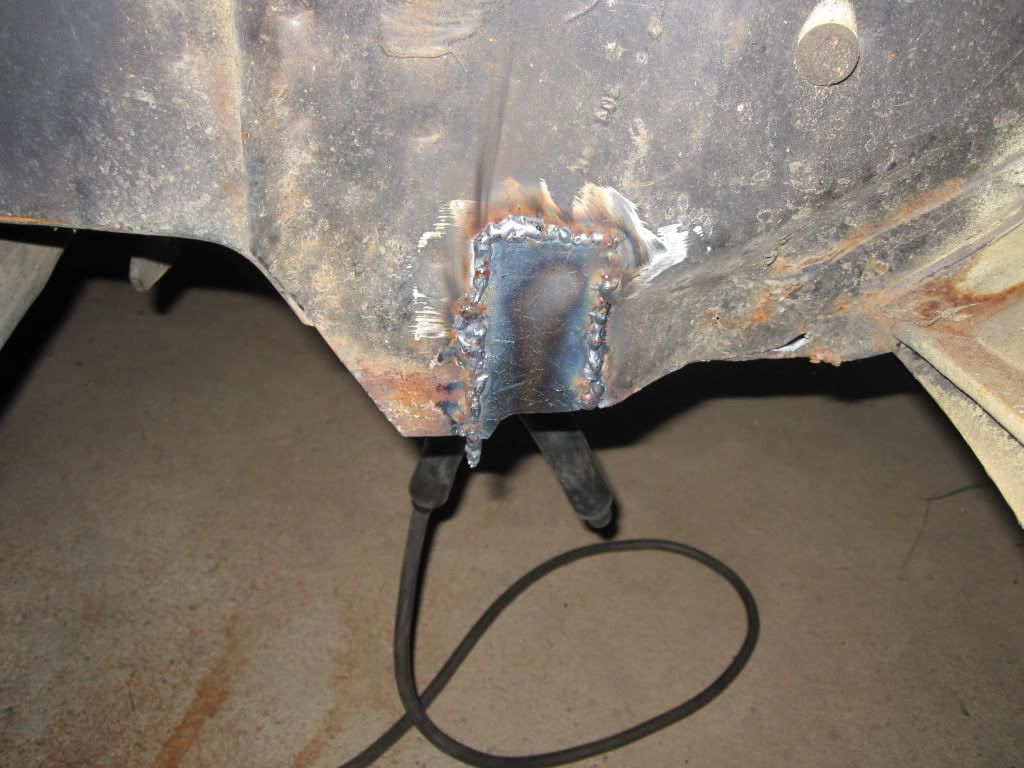
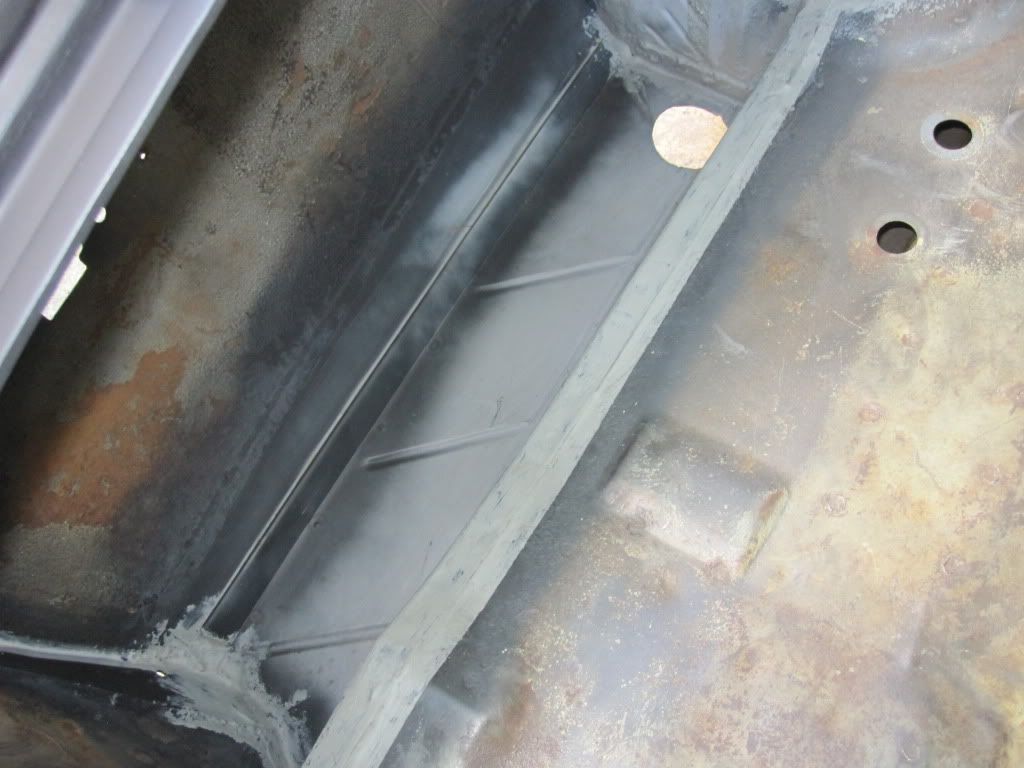
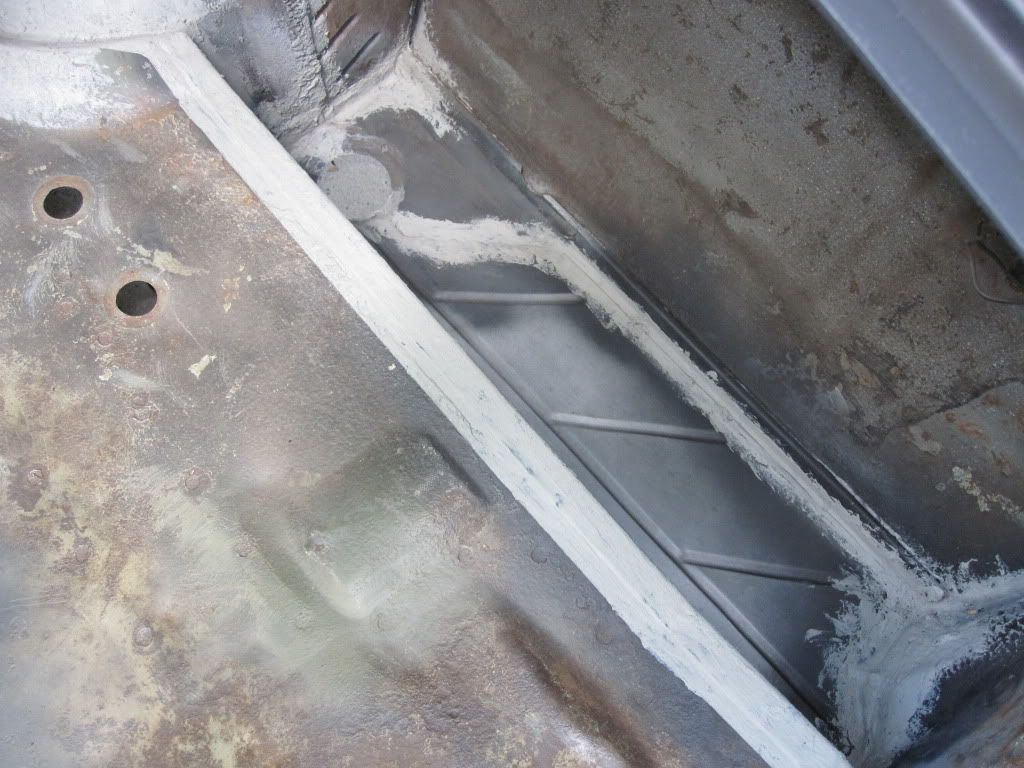
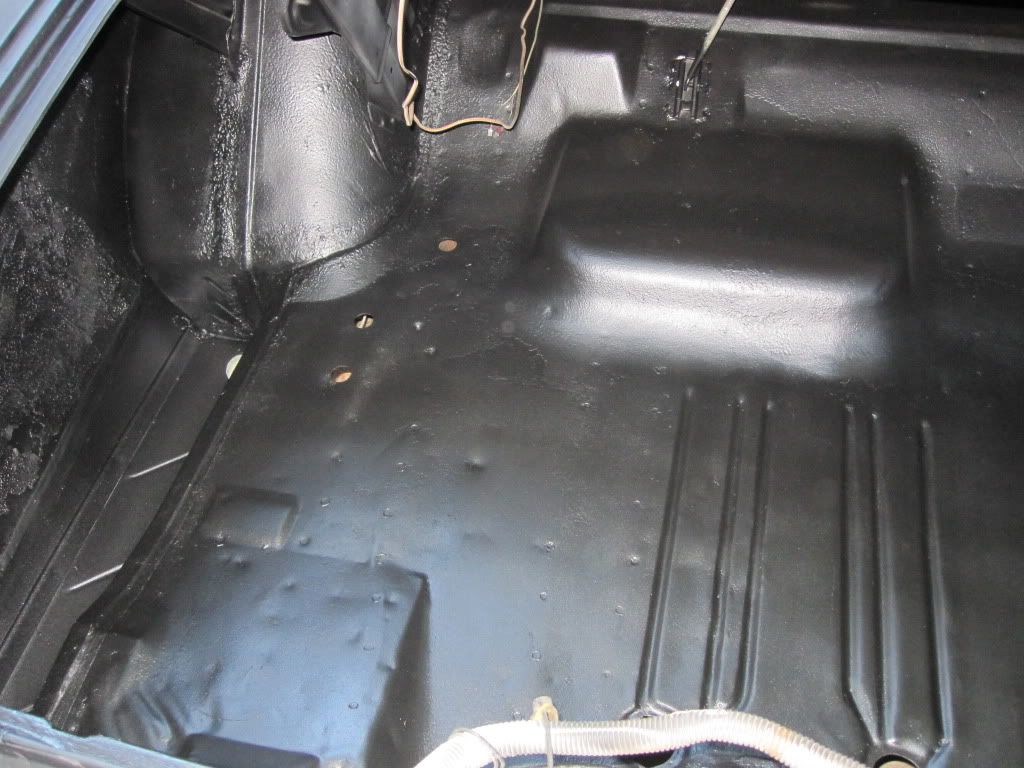
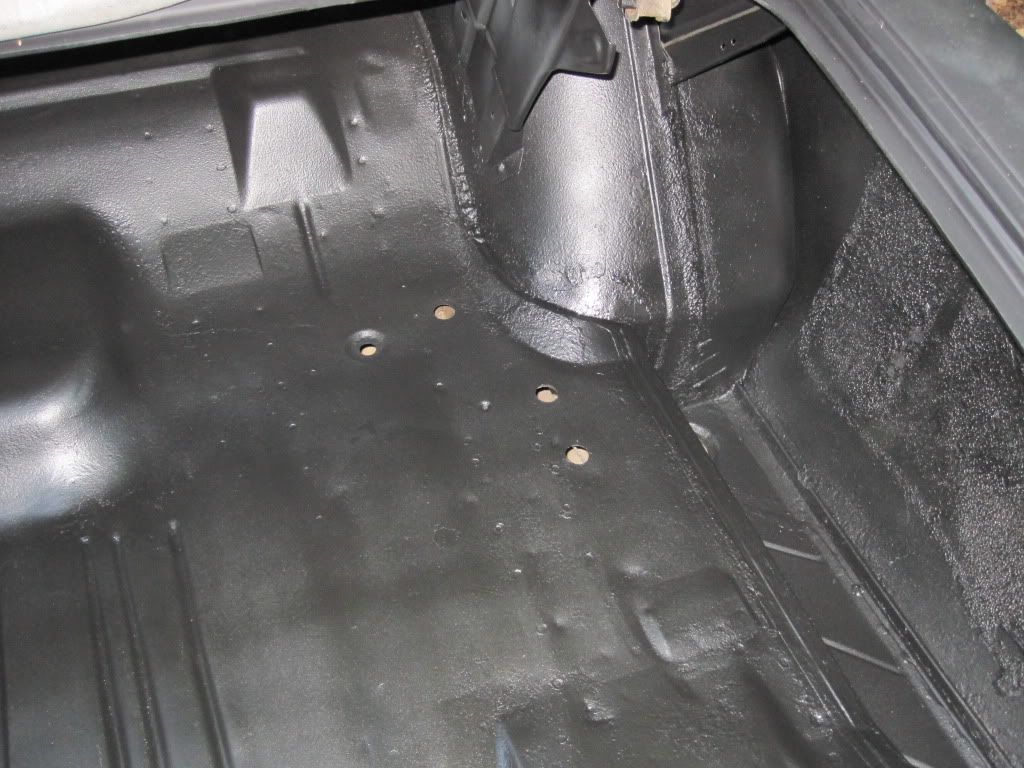
Spanks, don't get to discouraged, the best part is the search for the car is over, now you can start collecting parts and do a rolling restoration if you want. I got carried away once I pulled the engine out of mine and changed the whole plan of just rolling it like it was. Steam, I would like to take credit for the jumper cable clamp but it was just the ground clamp for the welder. Now that you mention it, a jumper cable would give you four clamps in one, it could 'jump start' a whole new strategy in clamping techniques ;D. Lets look at the floors. The rust wasn't to bad. It had enough pits close together to justify cutting out a section at the gas pedal area. The floor drops down in this area and holds water in the drain grooves. The back of the floor had a whole different issue. At sometime in this cars past someone got the bright idea to jack it up with a floor jack underneath the passenger side aft pan fwd corner near the transmission tunnel. Yeah that seems stable enough, what could possibly go wrong lifting a 4000 plus pound car up by a stamped steel floor. The rear floor was touching the bottom of the front seat in this area. You could see the outline of the jack underneath the floor. Kids don't try this at home! 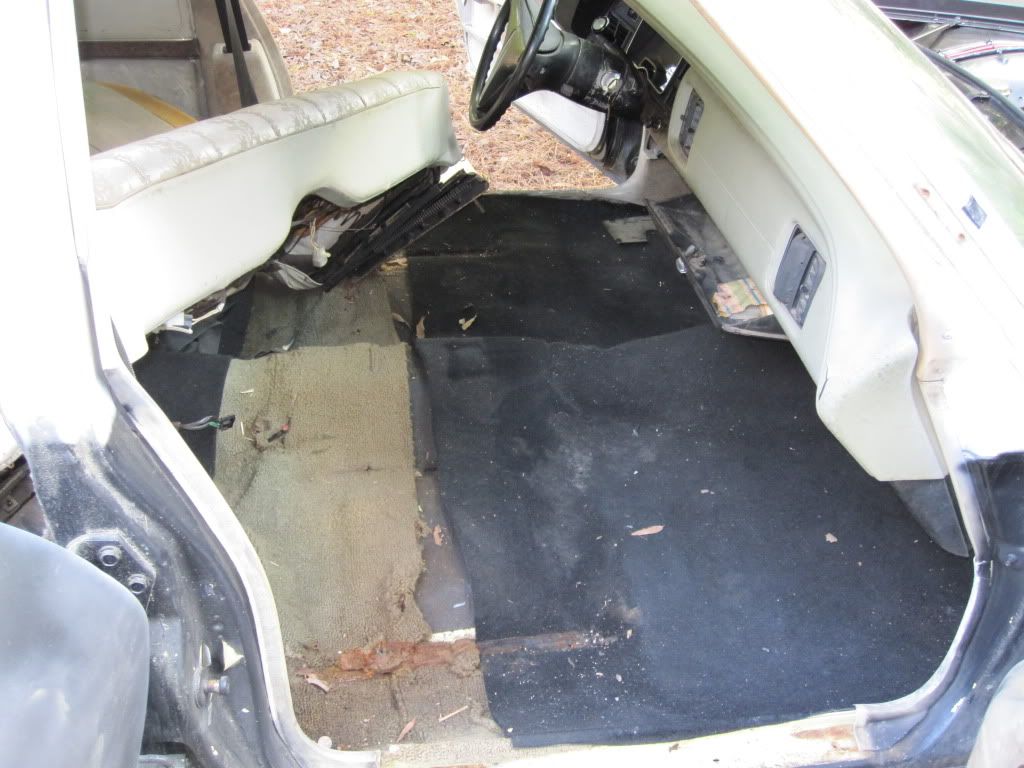 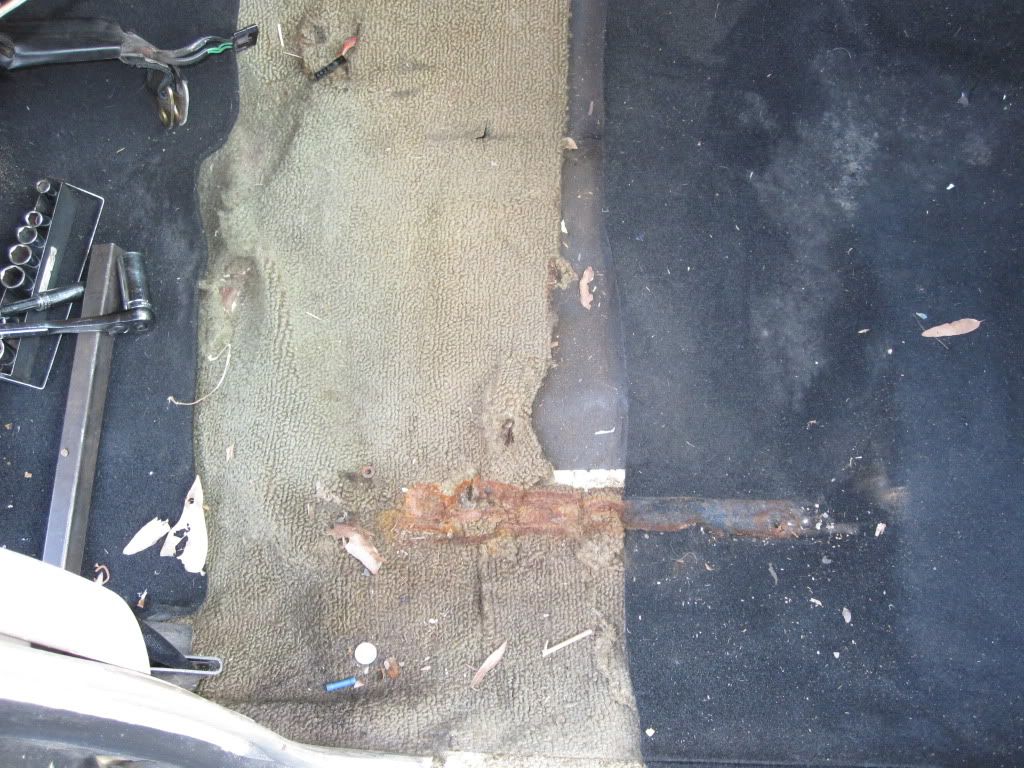 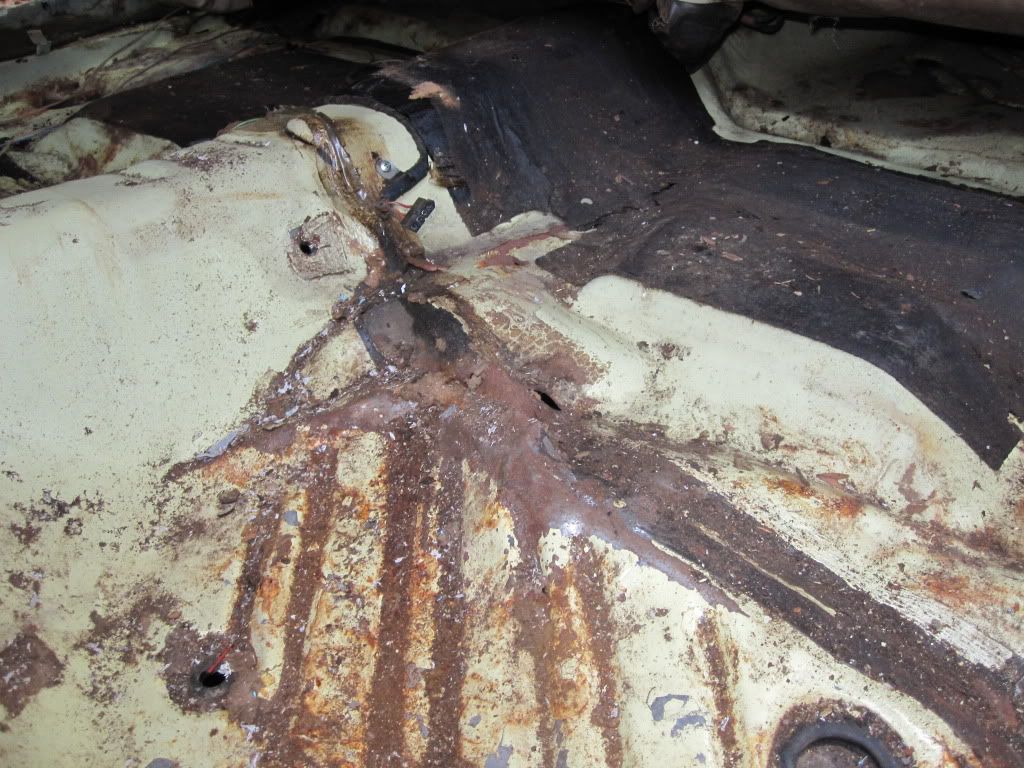 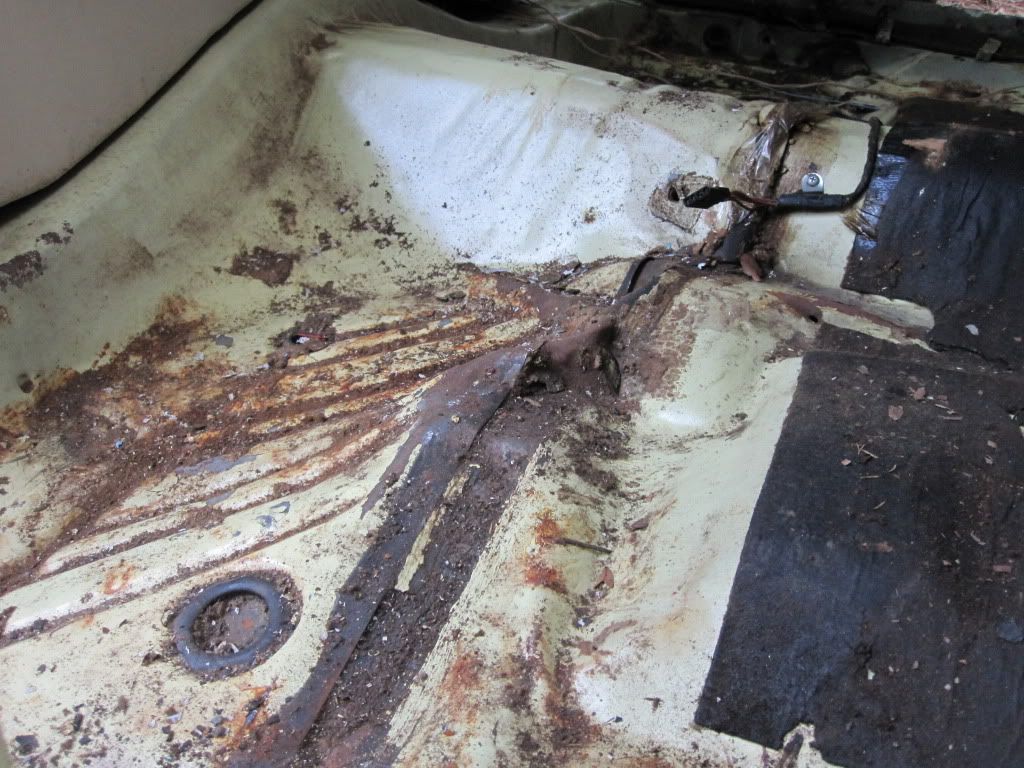 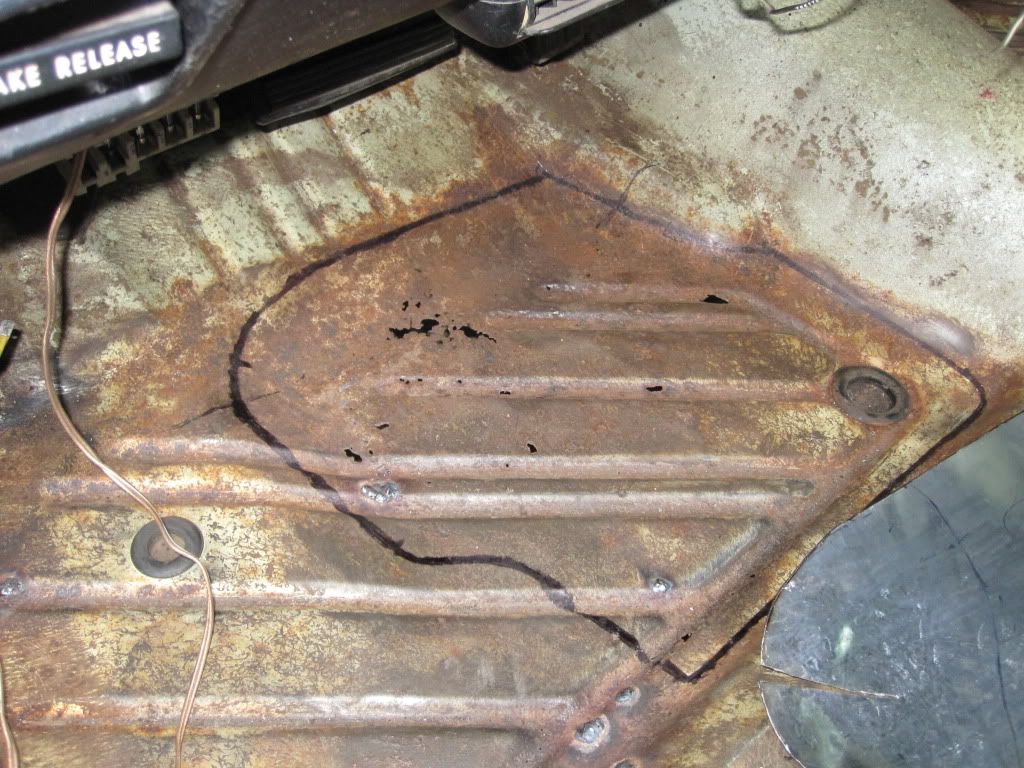 The patch panel I used was another 70-74 E body pan for a Cuda front passenger side I think it was. The stamping had a similar pattern to it. I had to hammer it and english wheel it to get it to drop down as it was bent up for a floor brace for a Cuda. Then it was a matter of matching the existing floor lines and welding it in. 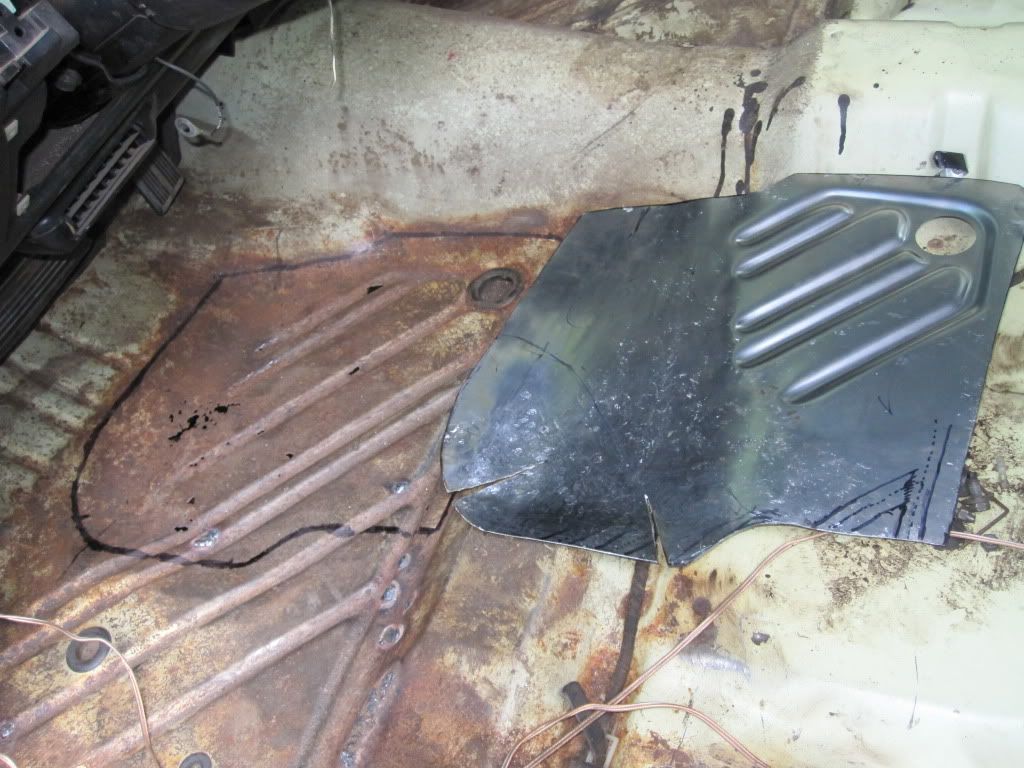  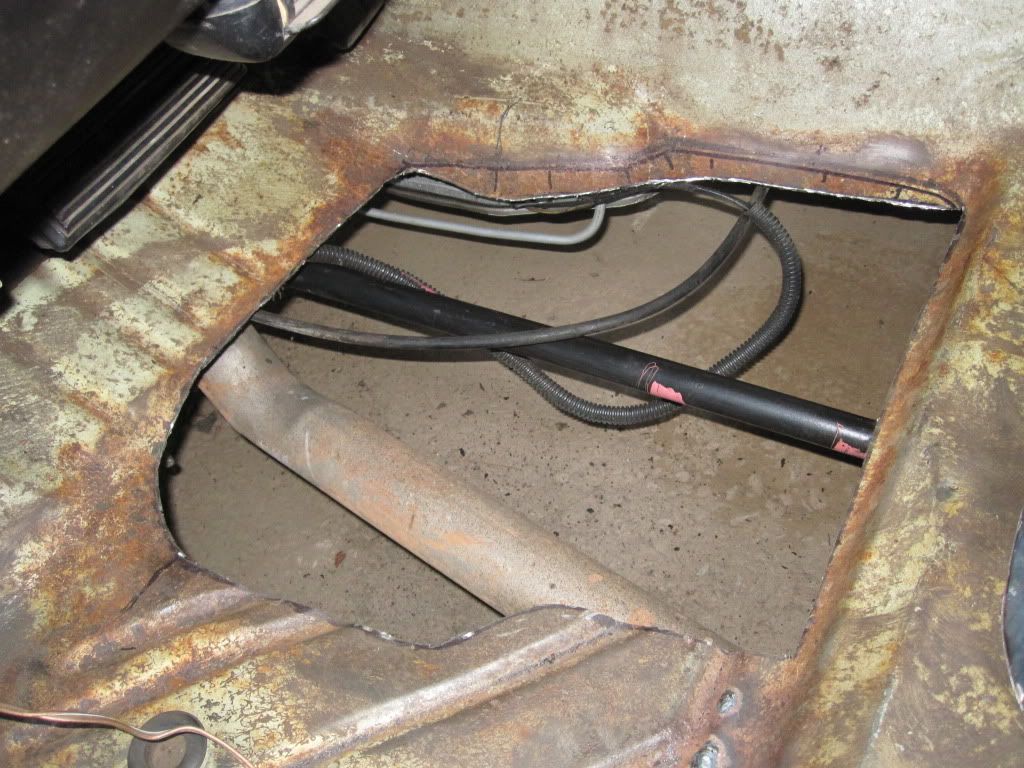 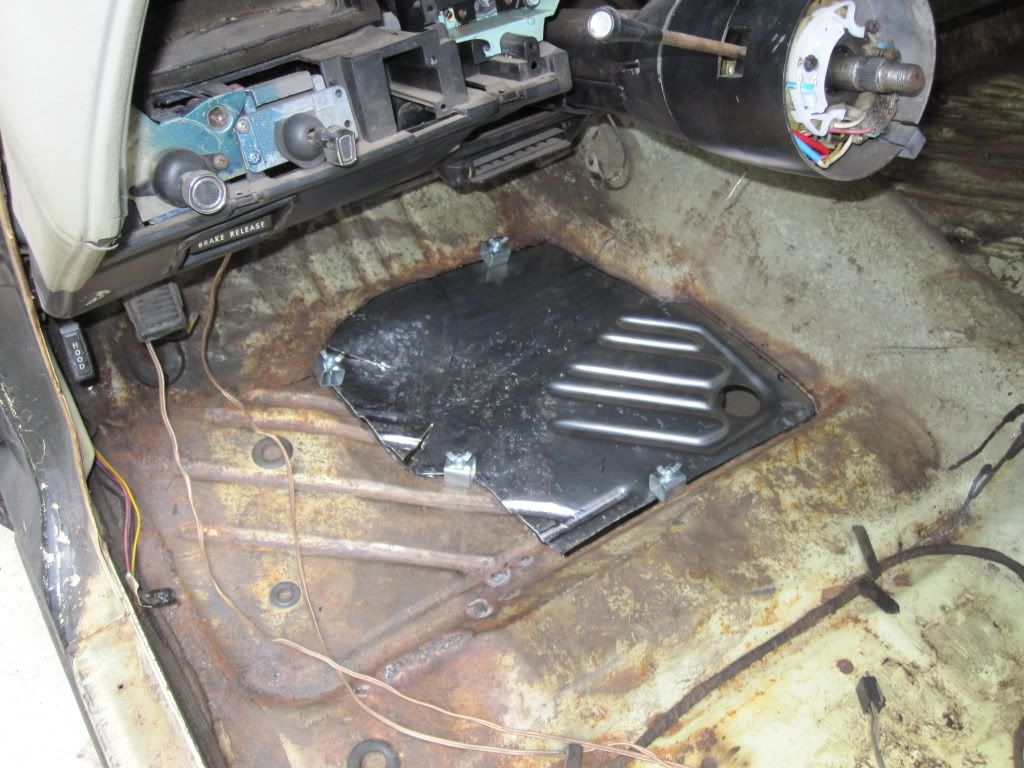 There was just a small rust hole close to the high beam switch area. 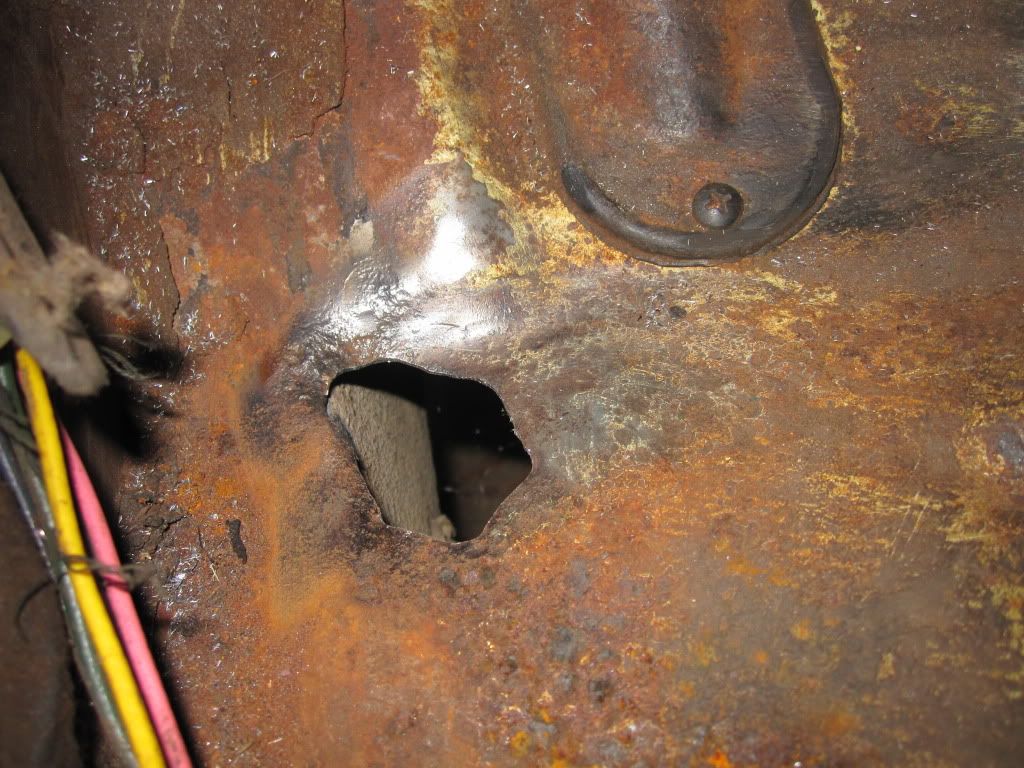  Then the whole floor got wire wheeled etch primed, seam sealed and top coated with Dupli Color Bed Liner, my favorite. Every time I went to the parts store I would buy three cans, they're probably wondering what the heck I was doing with it all. 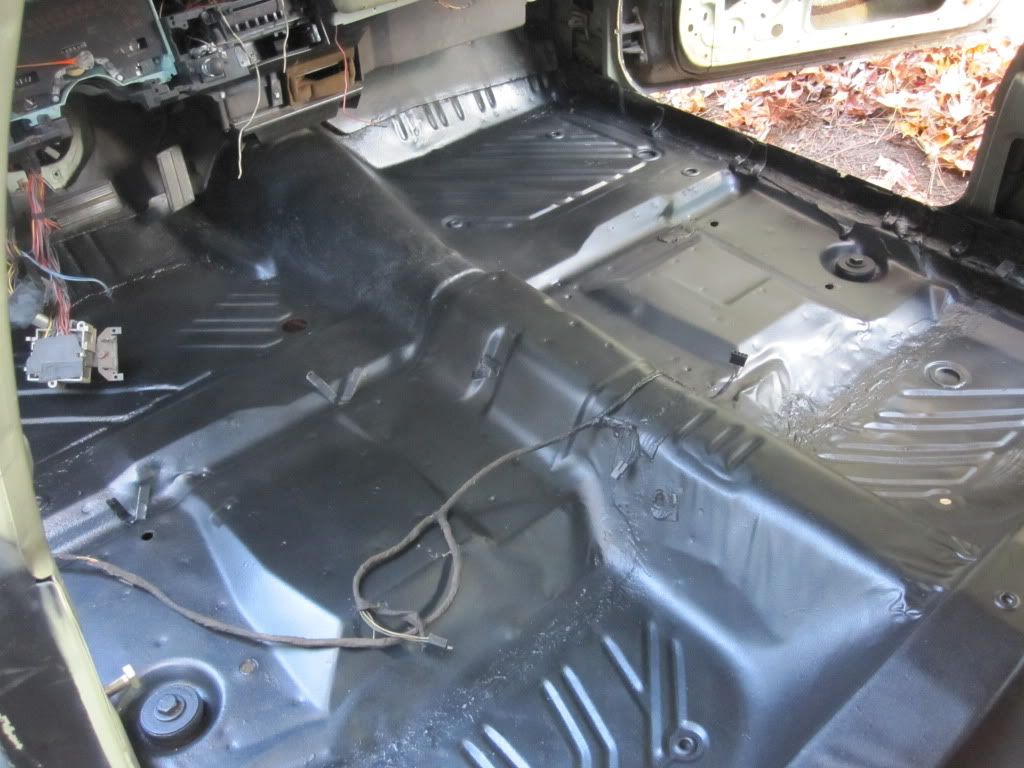 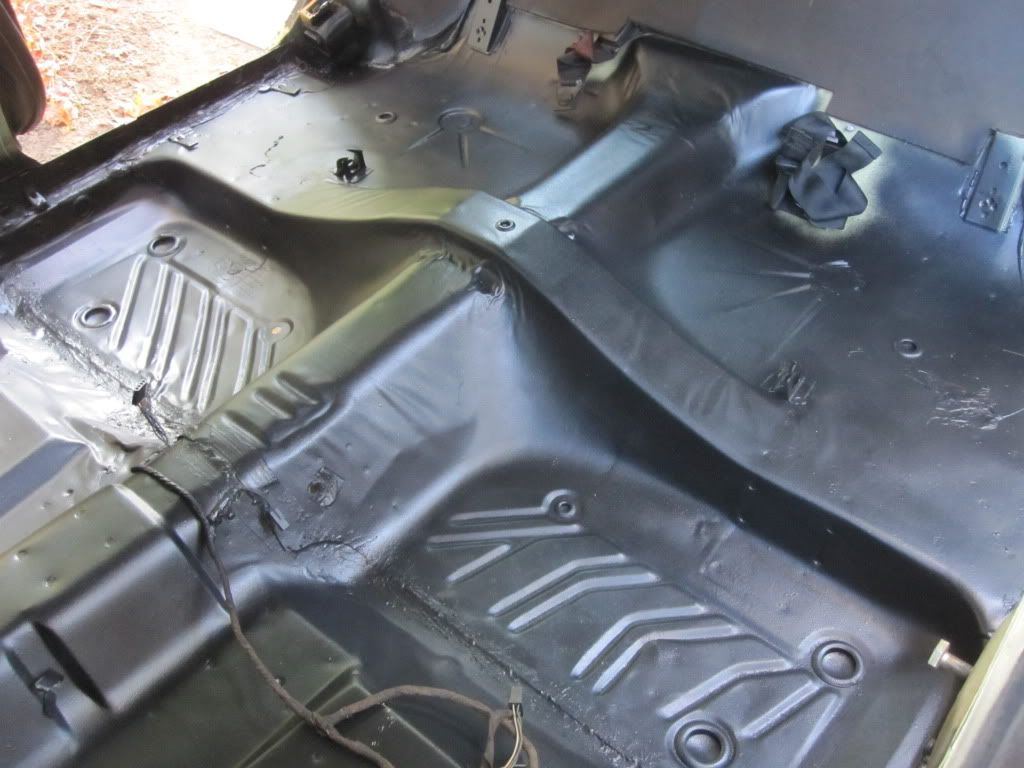 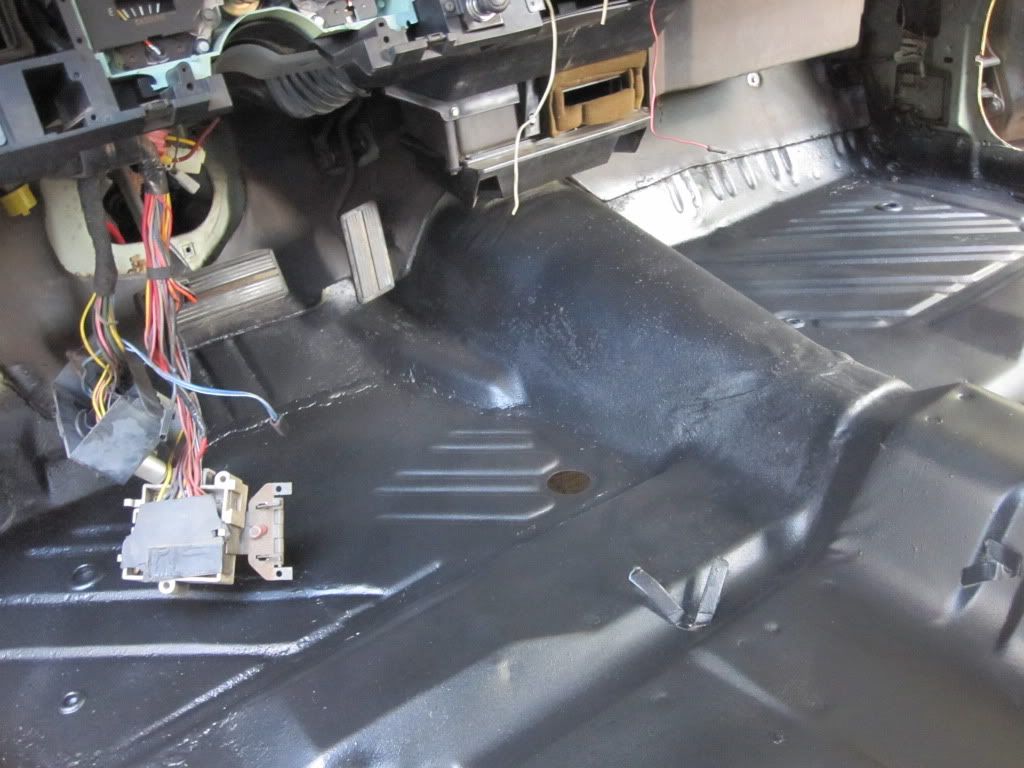 |
|
|
|
Post by sigmfsk on Mar 6, 2012 20:53:58 GMT -5
Nice floor - and if I'm not mistaken, that's a 1974 14o certified speedo! Nice blumoness all the way around, arthur |
|
|
|
Post by blusmbl on Mar 6, 2012 21:07:15 GMT -5
Thanks Arthur, sadly it isn't a 14o it is a 75-77 140 certified speedometer, because I don't have a 200 style one to trade  ;D |
|
|
|
Post by Steam McQueen on Mar 6, 2012 22:41:10 GMT -5
Steam, I would like to take credit for the jumper cable clamp but it was just the ground clamp for the welder. Ahhhhh ok. Well that exposes my welding knowledge ... which is nil, lol ;D. Although for the last few months I've been watching Pisser's videos on youtube from the Hack and Pack Shop. There's something incredibly satisfying about seeing rust/rot cut out and replaced with actual metal. You do great work. |
|
|
|
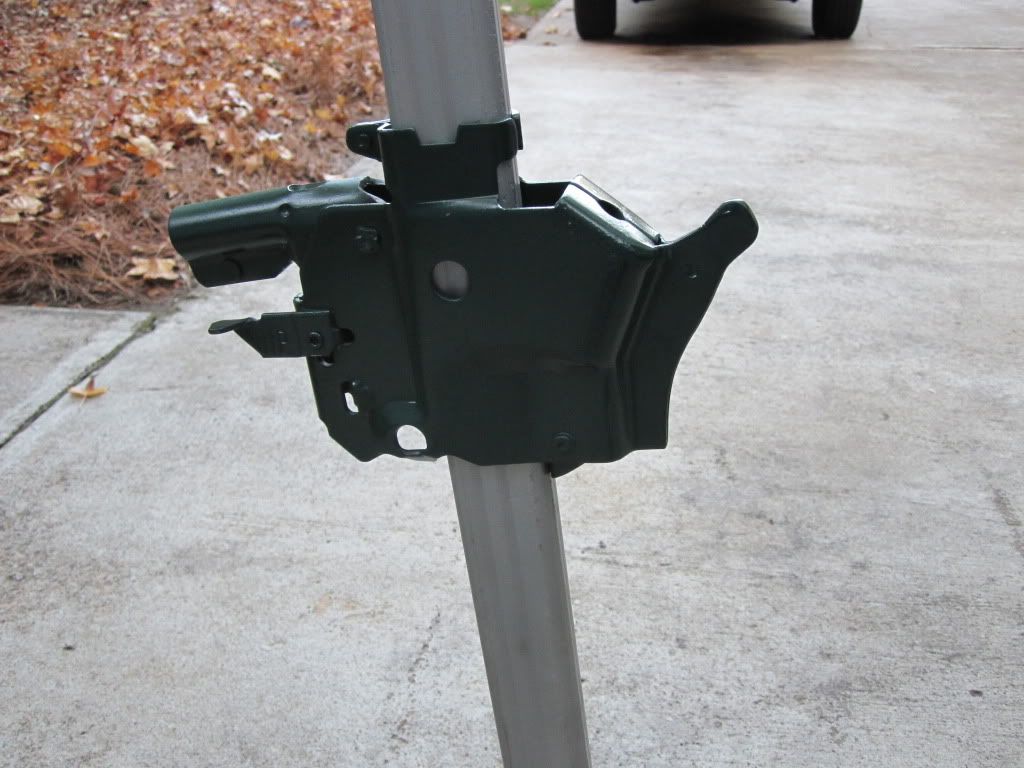
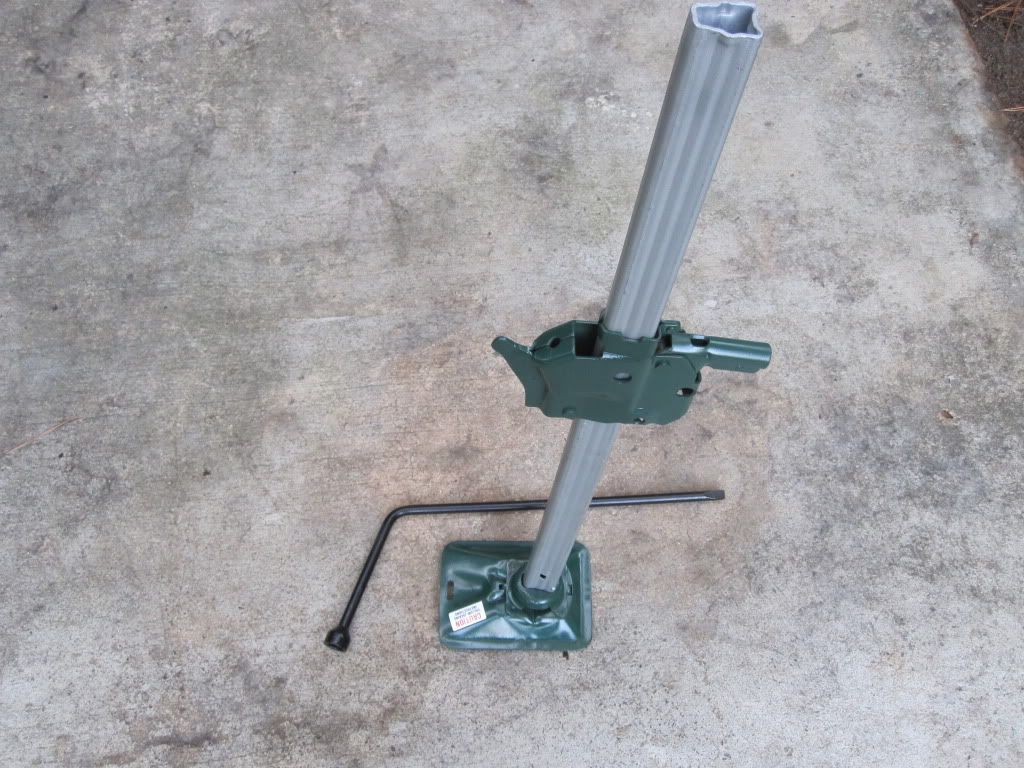
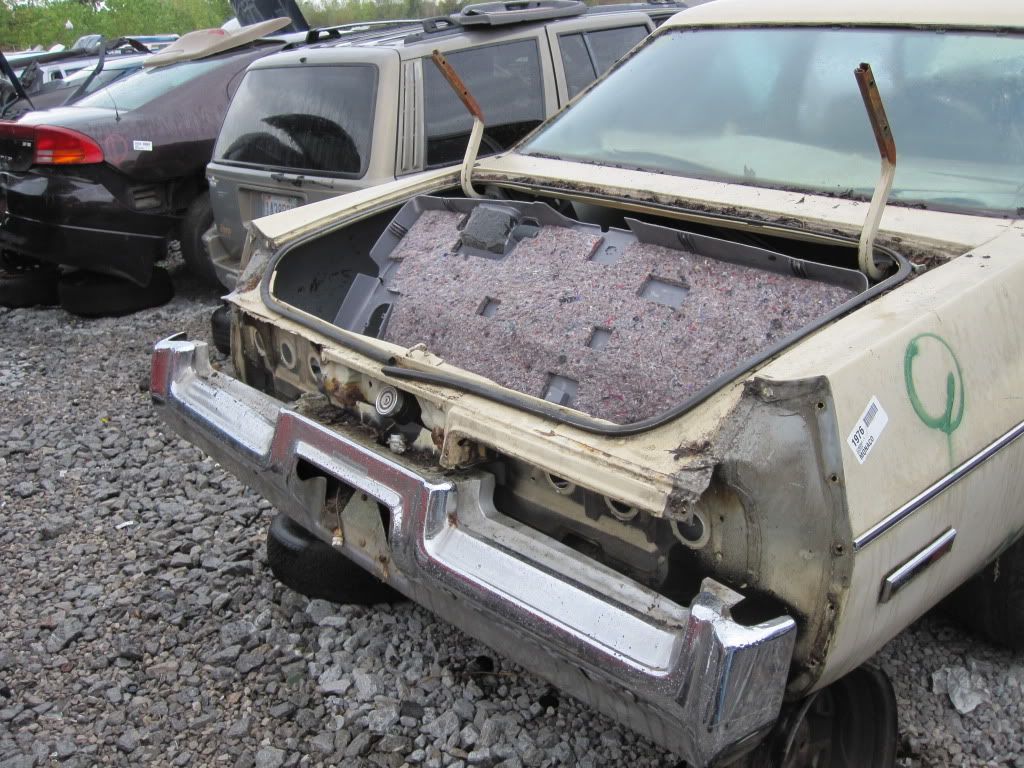
Post by blusmbl on Mar 7, 2012 20:36:48 GMT -5
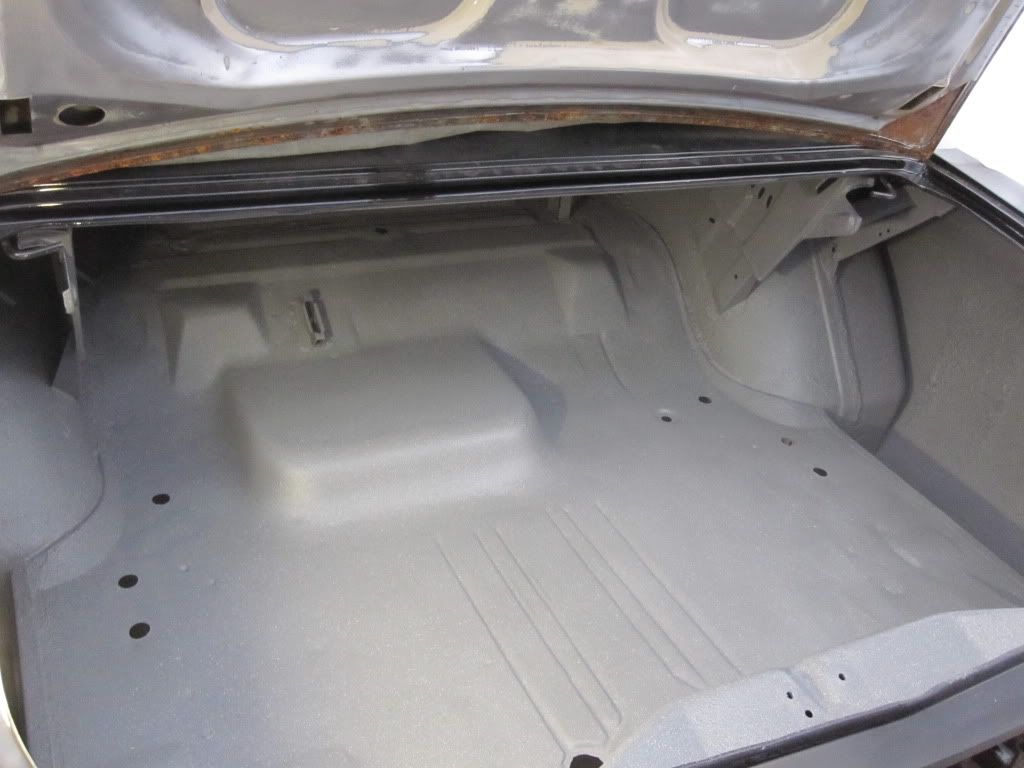
Thanks Steam! I will have to check out those videos, I like that kind of stuff. The trunk on my car was pushed in and I thought replacing it would be easier than trying to fix it. I got one at Pull A Part it was in decent shape but like others I had seen they rip the trunk open with any means available. One was ripped open with a fork lift, this one had it's lock punched in but didn't seem to bad. Well I cut the lock area out of the original one and cut the repair area out of the new one but when I welded it in it buckled and warped because i couldn't get to the backside of it to hammer and dolly it. So this trunk became the stunt trunk stand in. I used it to cover the open trunk area as I was working on the back of the car. I removed the hinges and left this loose so that I could just lift it off and work. That left me searching for a replacement. I used the car-parts cross reference and found a Fury trunk available in Atlanta. Had to pay 100.00 for it, but it wasn't smashed in and had just a small amount of rust in the forward outboard corners. It was painted white but the car was originally green. I repaired the corners with metal from the other trunks, sanded it, primed it and painted the inside with the gloss black acrylic urethane. 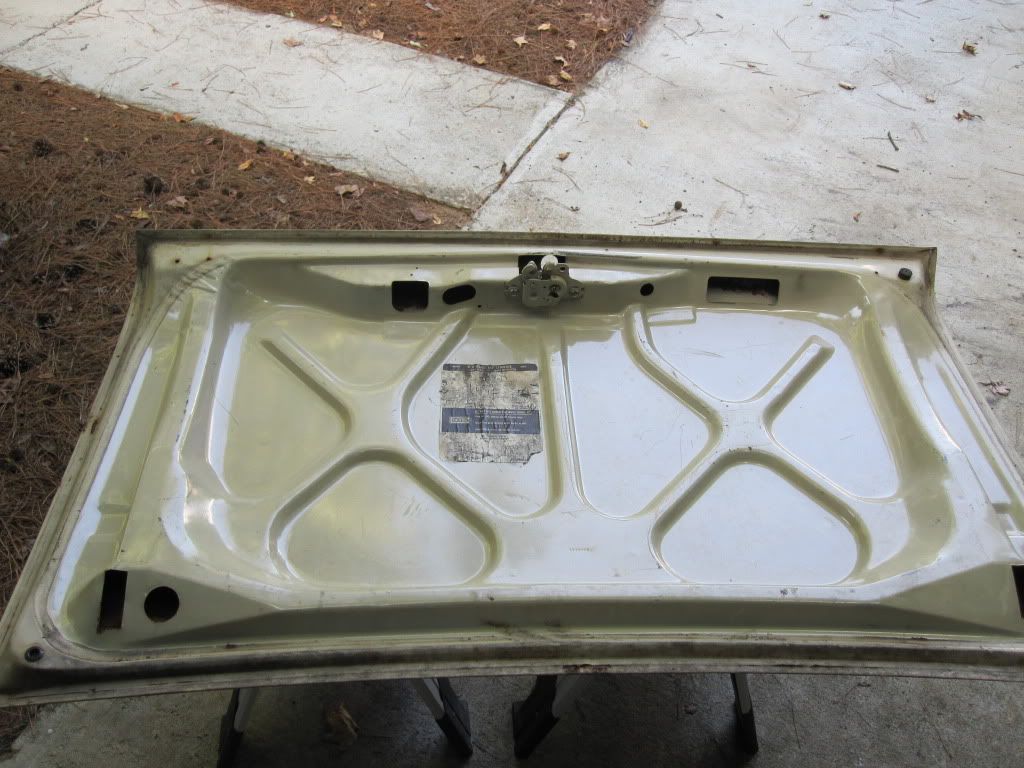 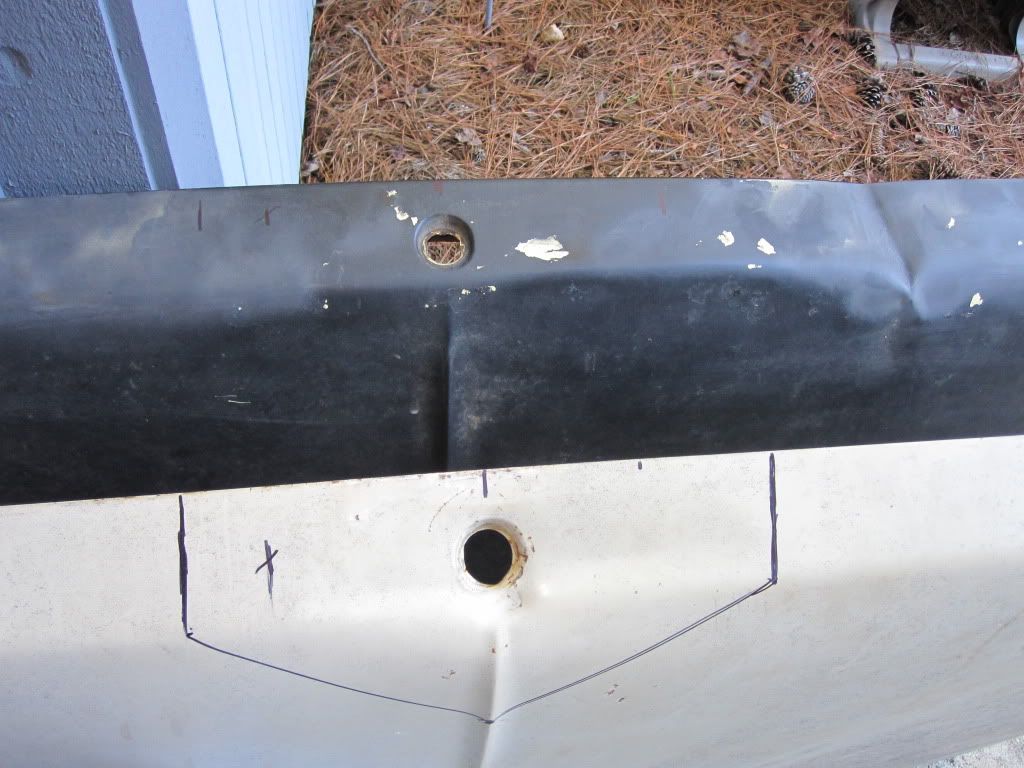 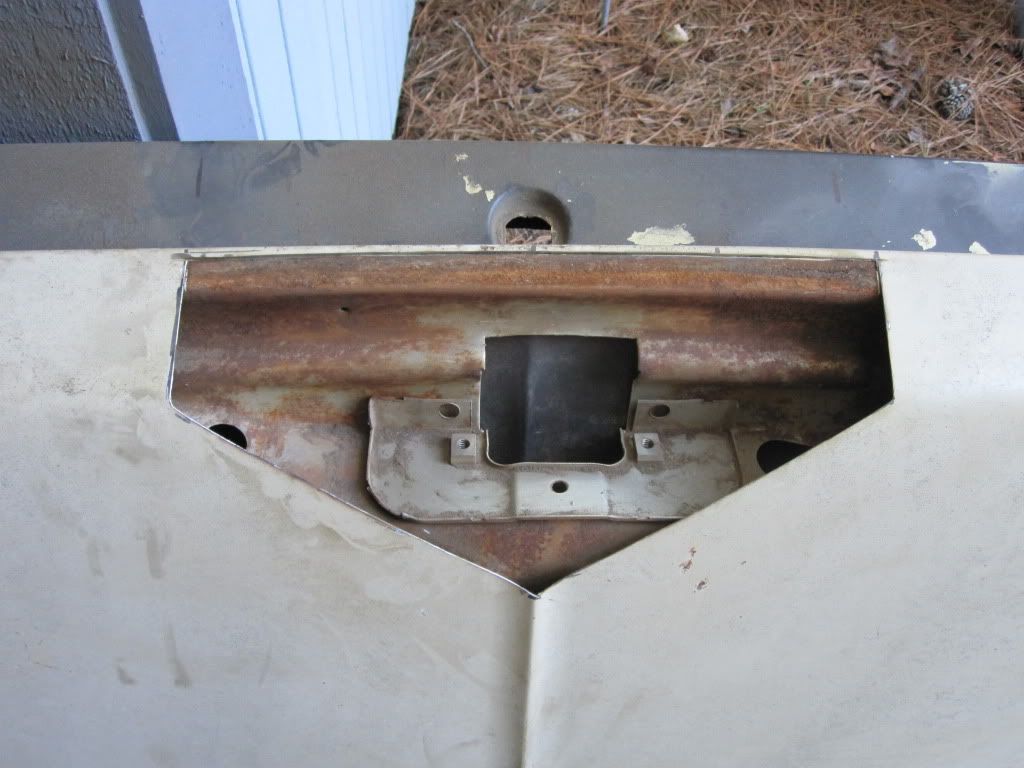 The new trunk, third times the charm. 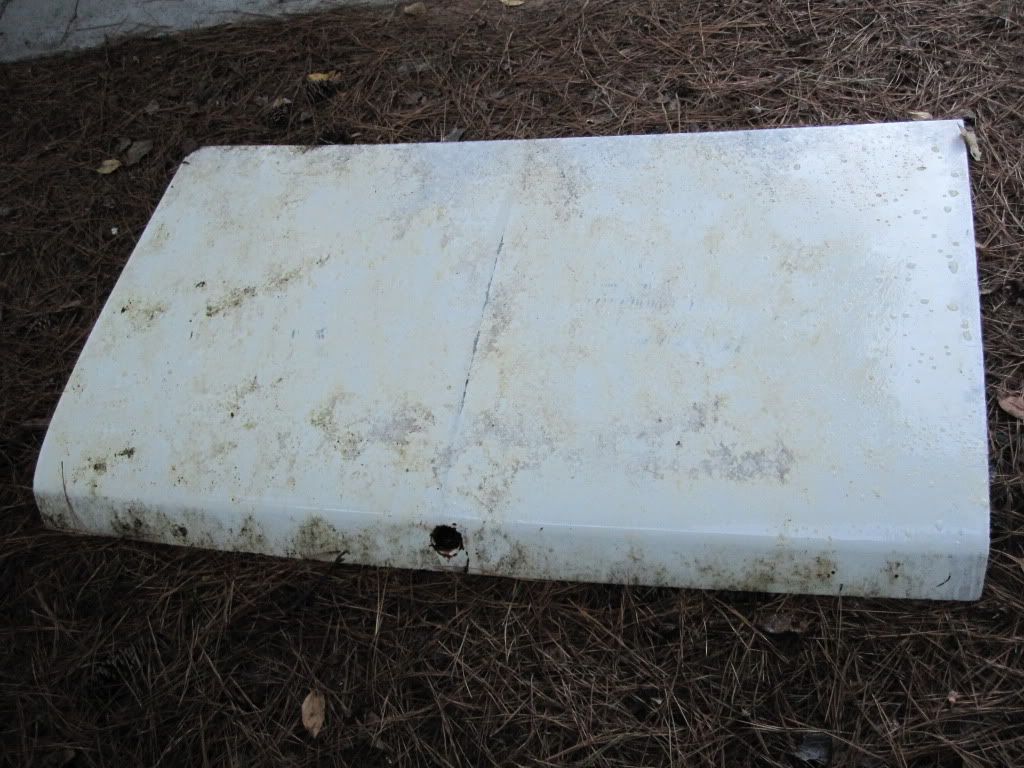 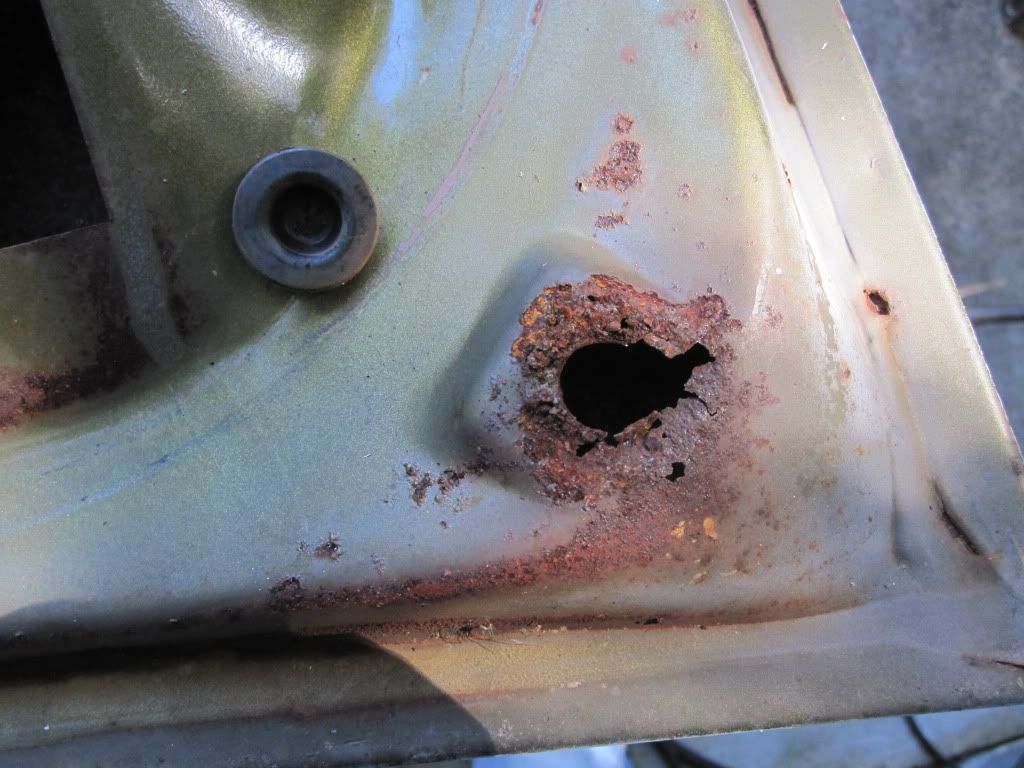 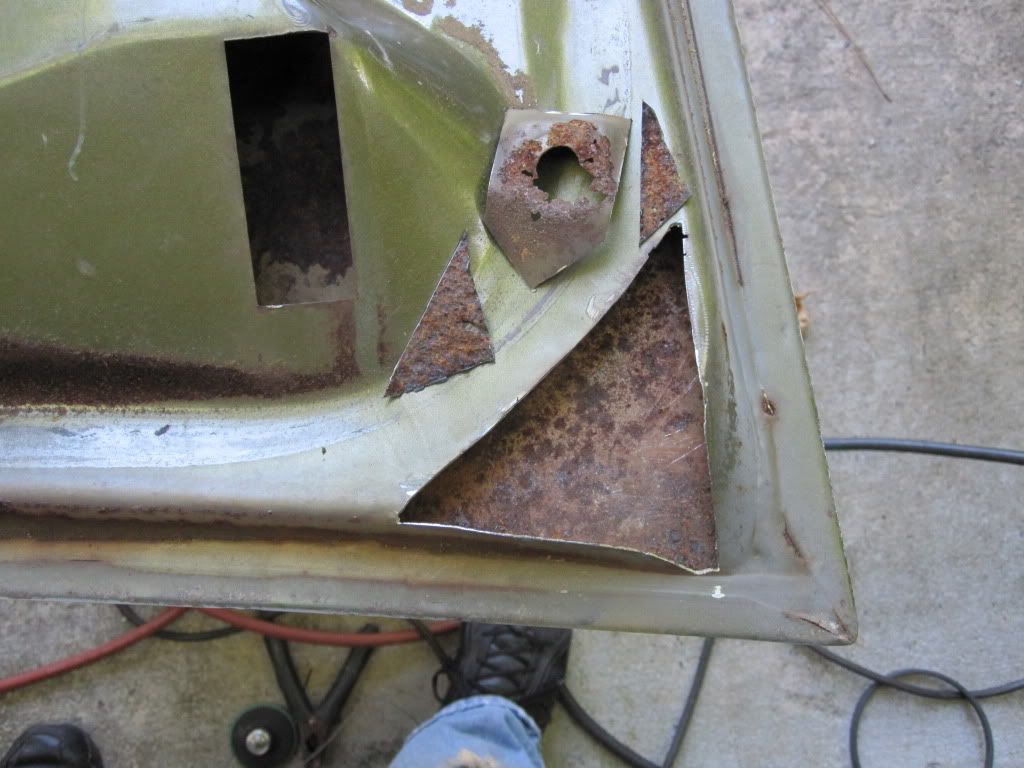  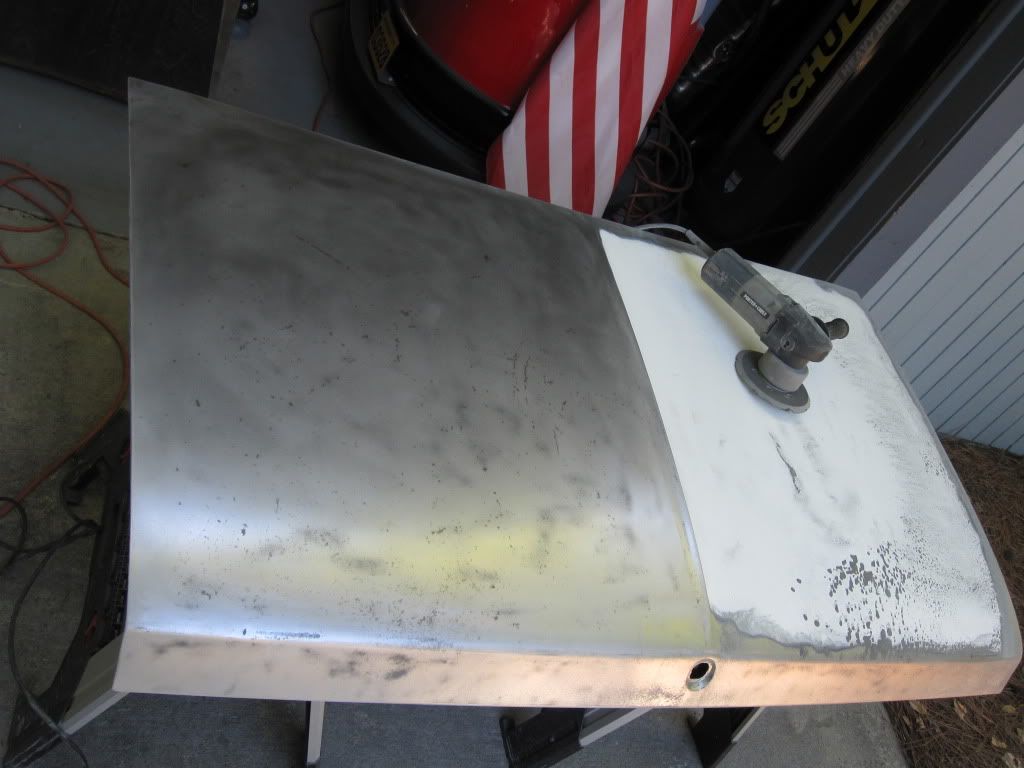 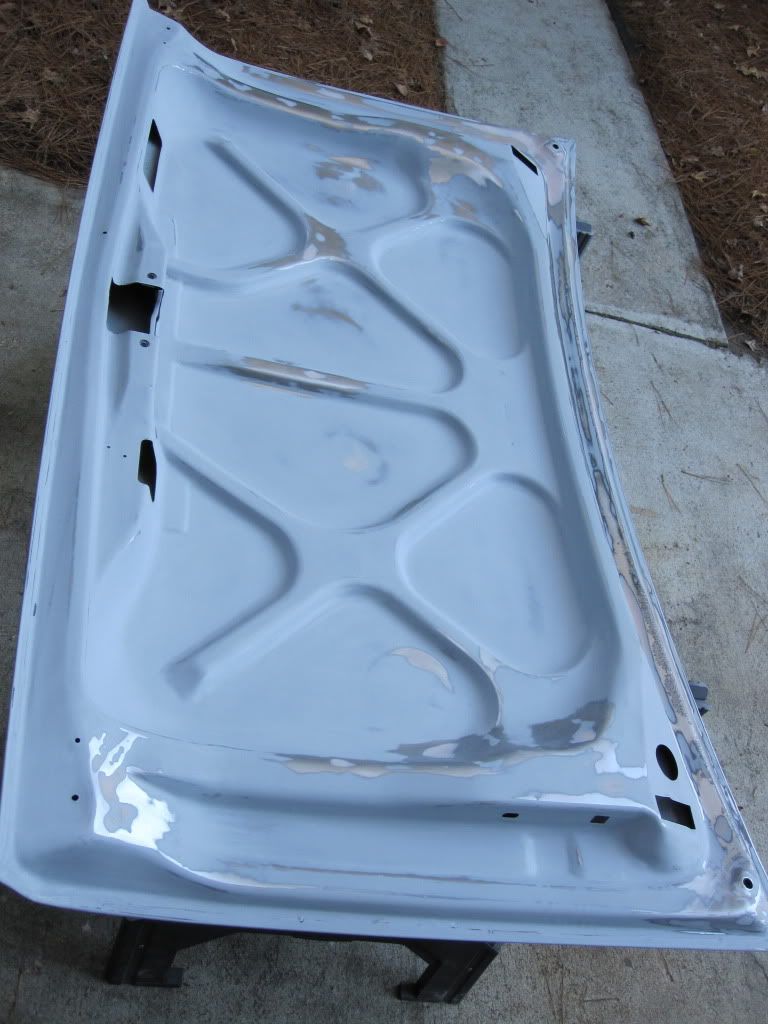 Reengineered paint booth, added the sand bags after the wind came up and knocked the whole thing over! 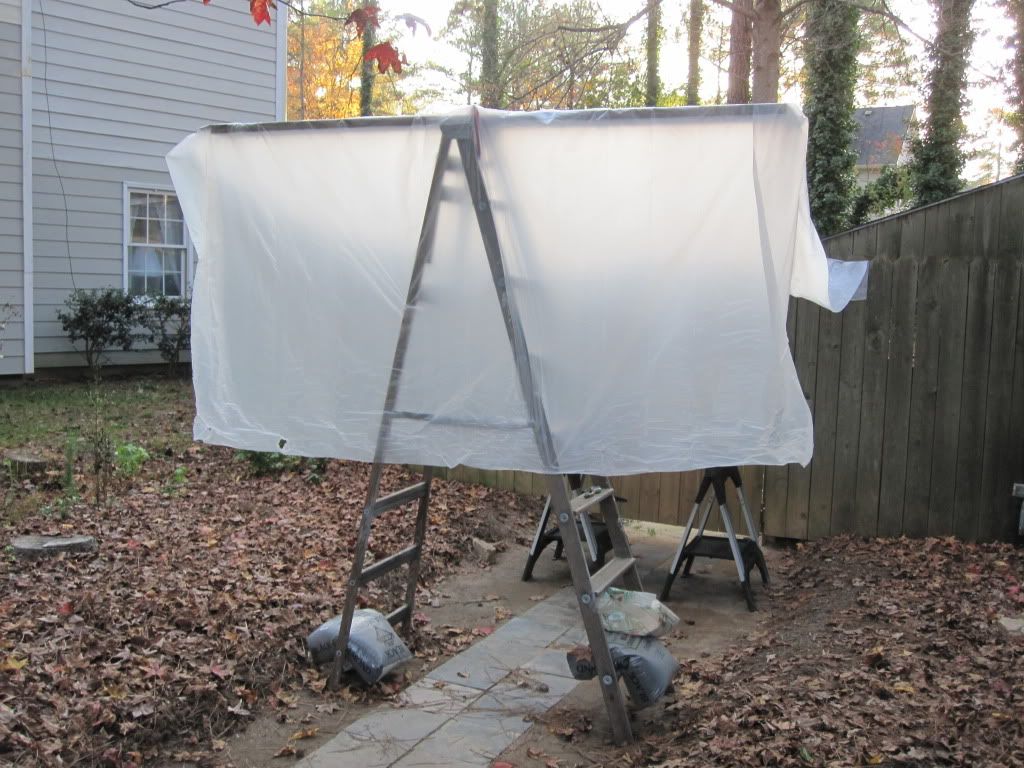 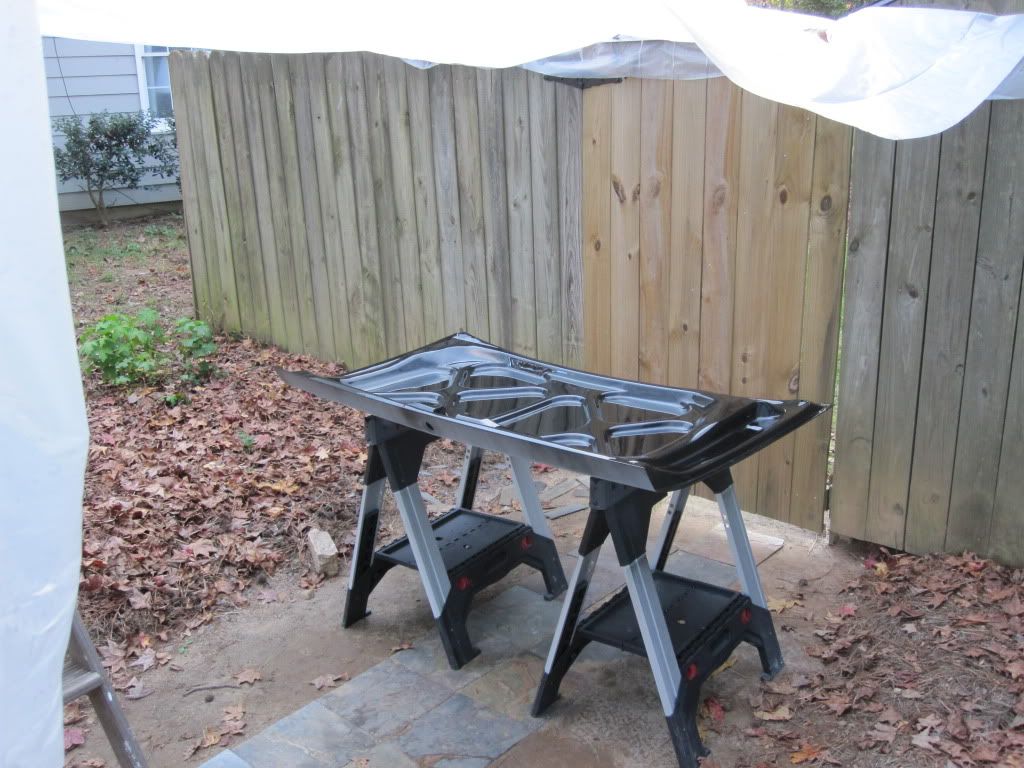 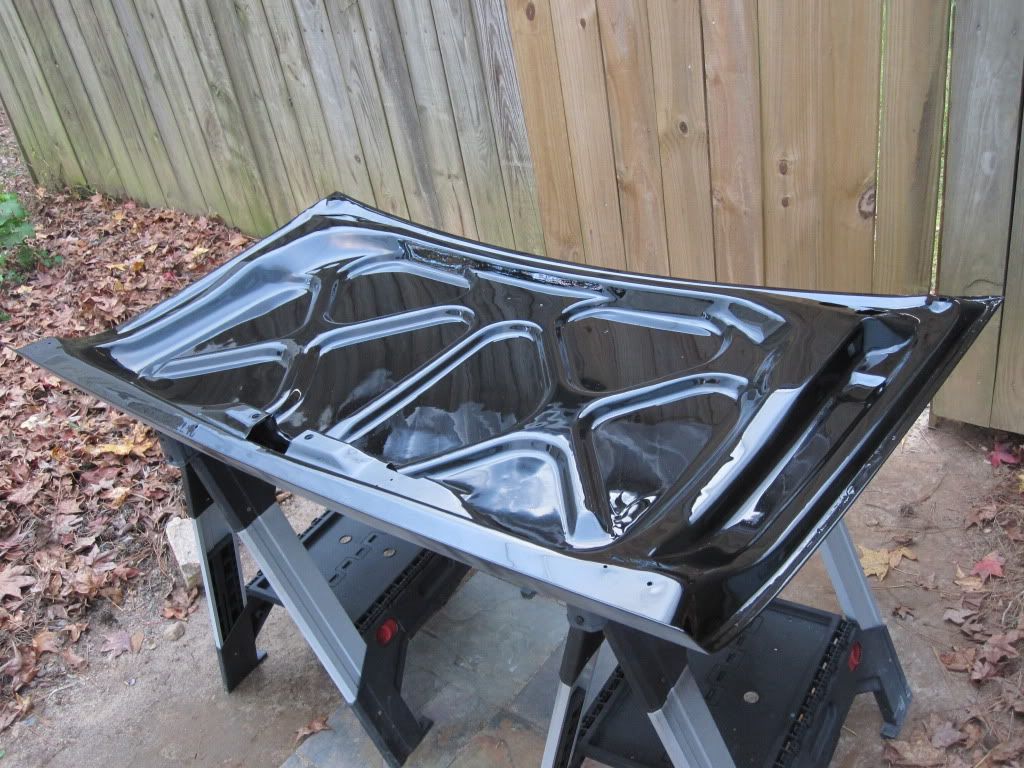 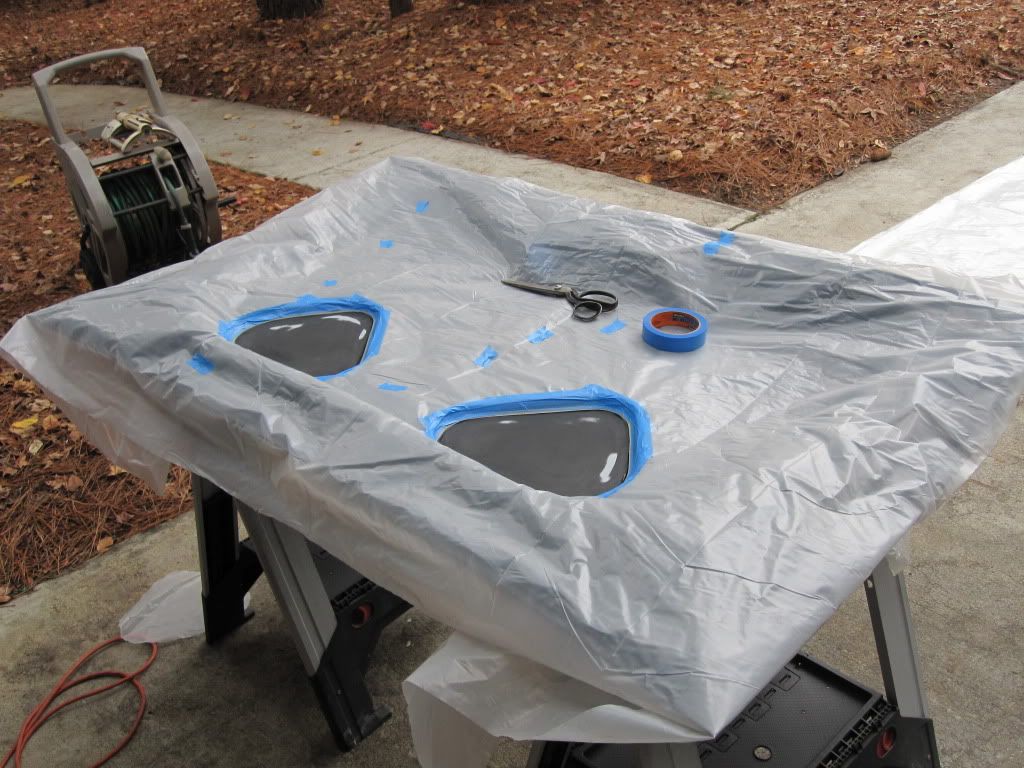 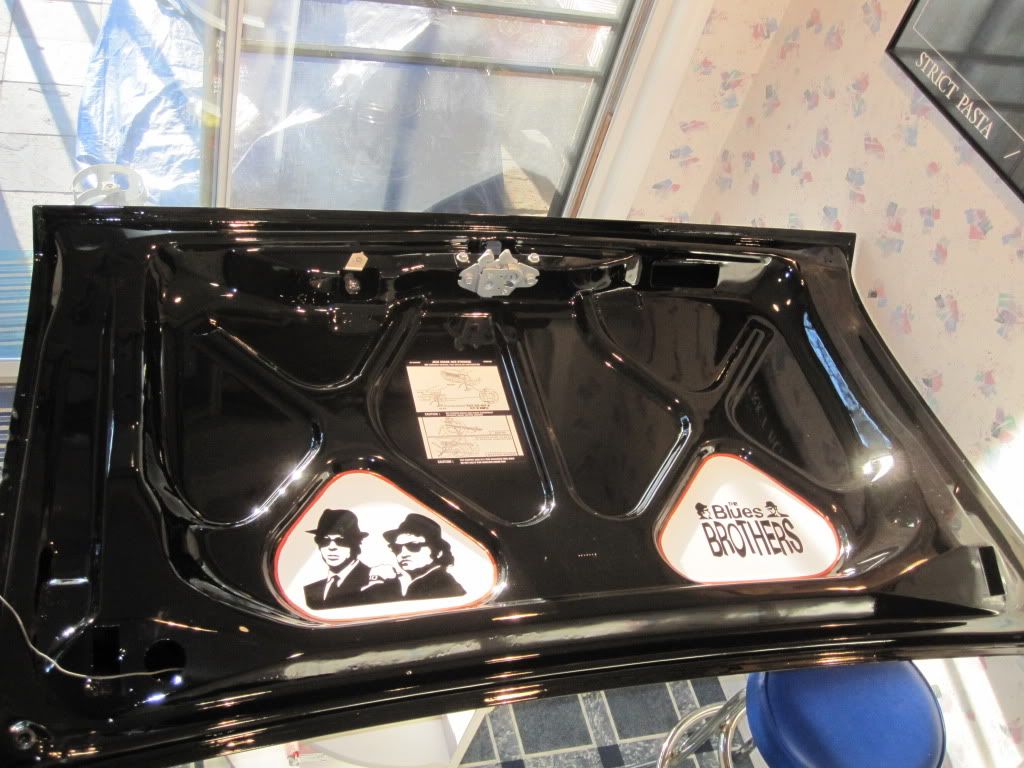 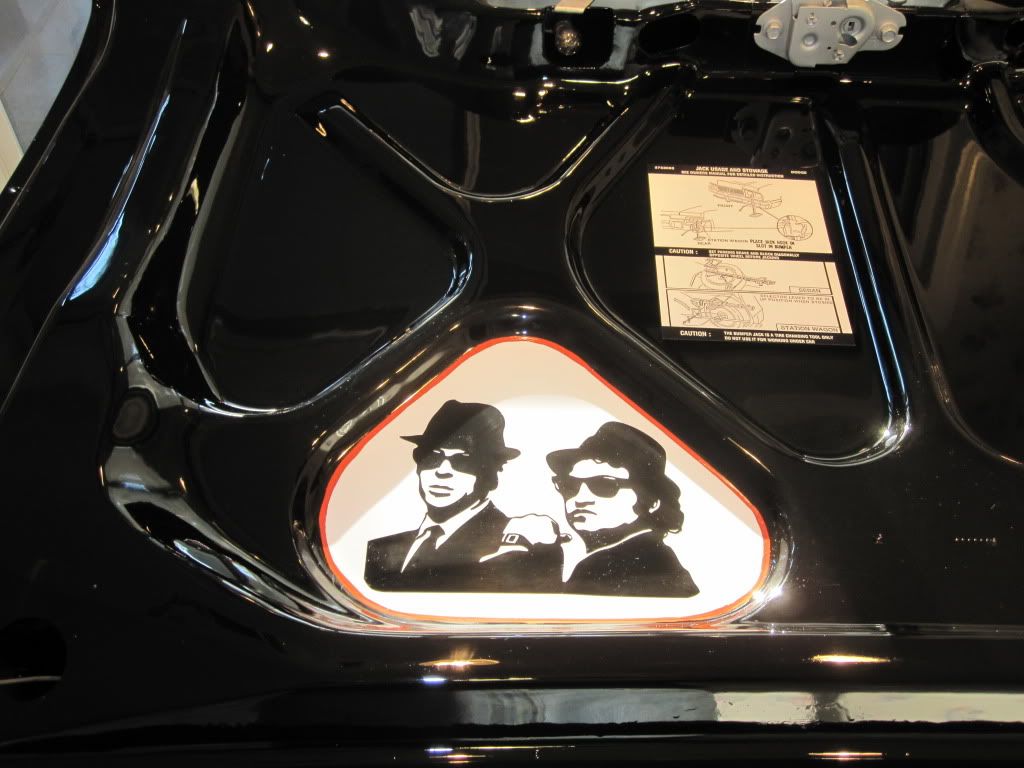 Pinstriped it with the hemi orange from the air cleaner, a little shaky but I didn't practice a lot. I think it would be fun to try more striping, just not on the Blumo. 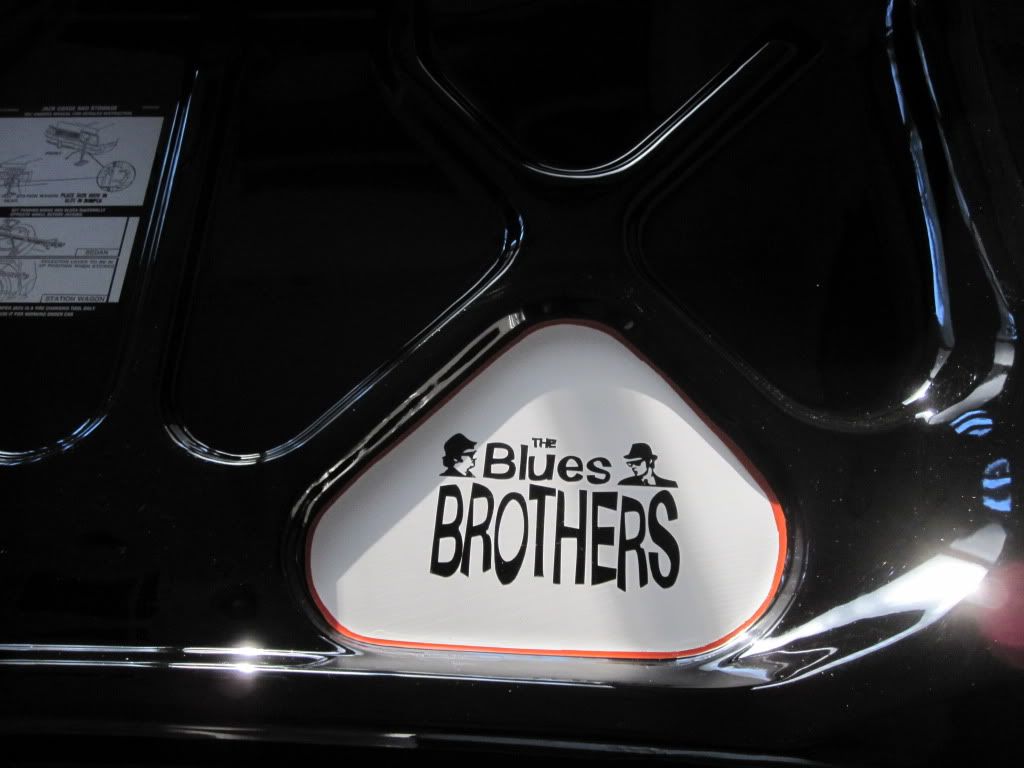 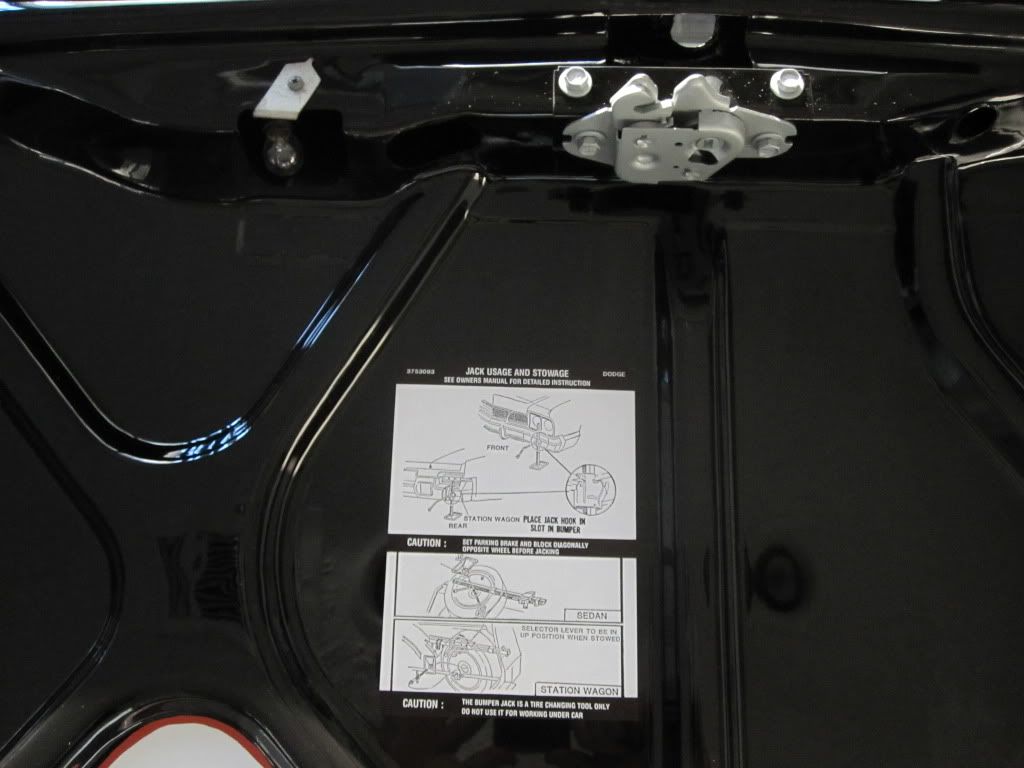 The decals are from Ebay, the lock mechanism is painted with Eastwood's Tank Tone. |
|
|
|
Post by dentarthurdent on Mar 7, 2012 20:59:41 GMT -5
I love this. Like, love love it! |
|
|
|
Post by blusmbl on Mar 12, 2012 19:33:22 GMT -5
|
|


 ;D
;D